...
Rampiva Scheduler 5.5 or later
OpenJDK 11 or later installed
...
Instructions
A. Perform a Basic
...
Keycloak Installation
| 1 | Download and extract https://github.com/keycloak/keycloak/releases/download/17.0.0/keycloak-17.0.0.zip | |||||||
| 2 | In a command prompt, open the directory keycloak-17.0.0, then to start Keycloak.
| On Linux run:
On Windows run:
| ||||||
| 3 | Create an administrative user by navigating to http://localhost:8080/, filling in the Administration Console form and clicking Create.
| 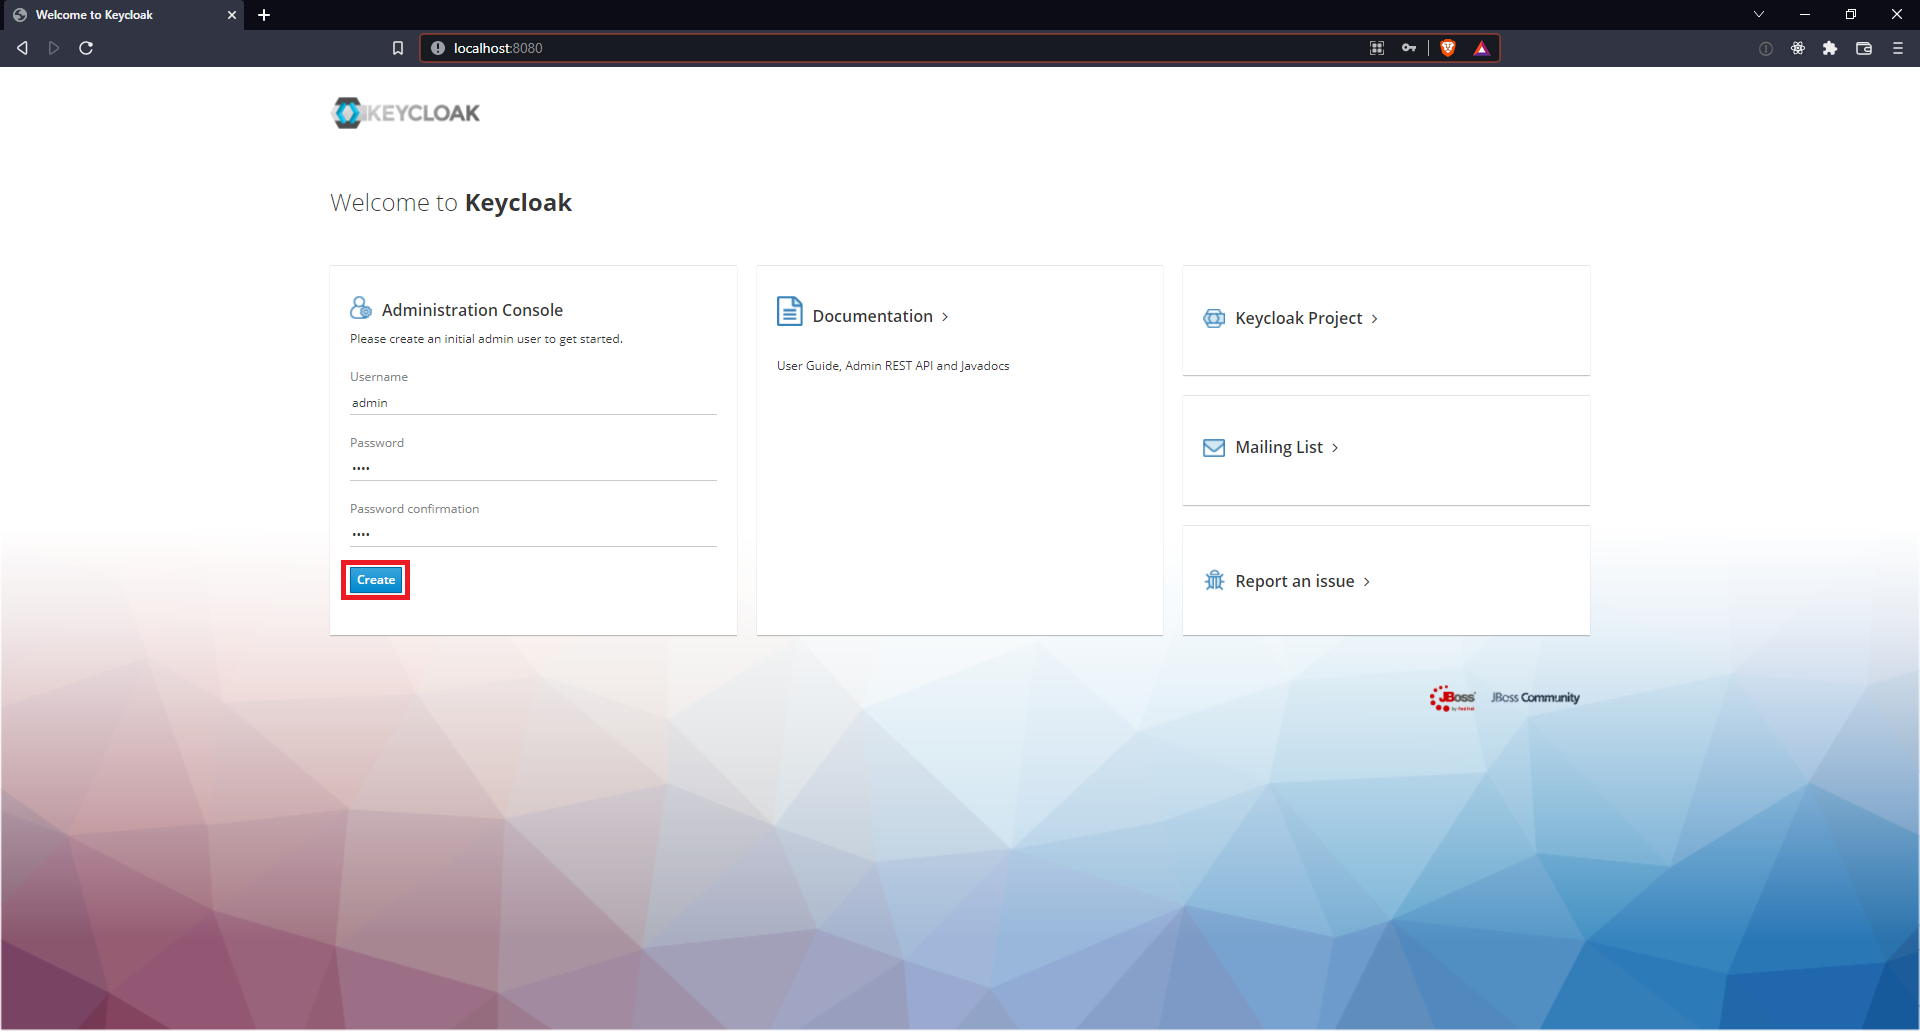 |
B. Create Users in
...
Keycloak
| 1 | Login to the admin console at http://localhost:8080/admin. | 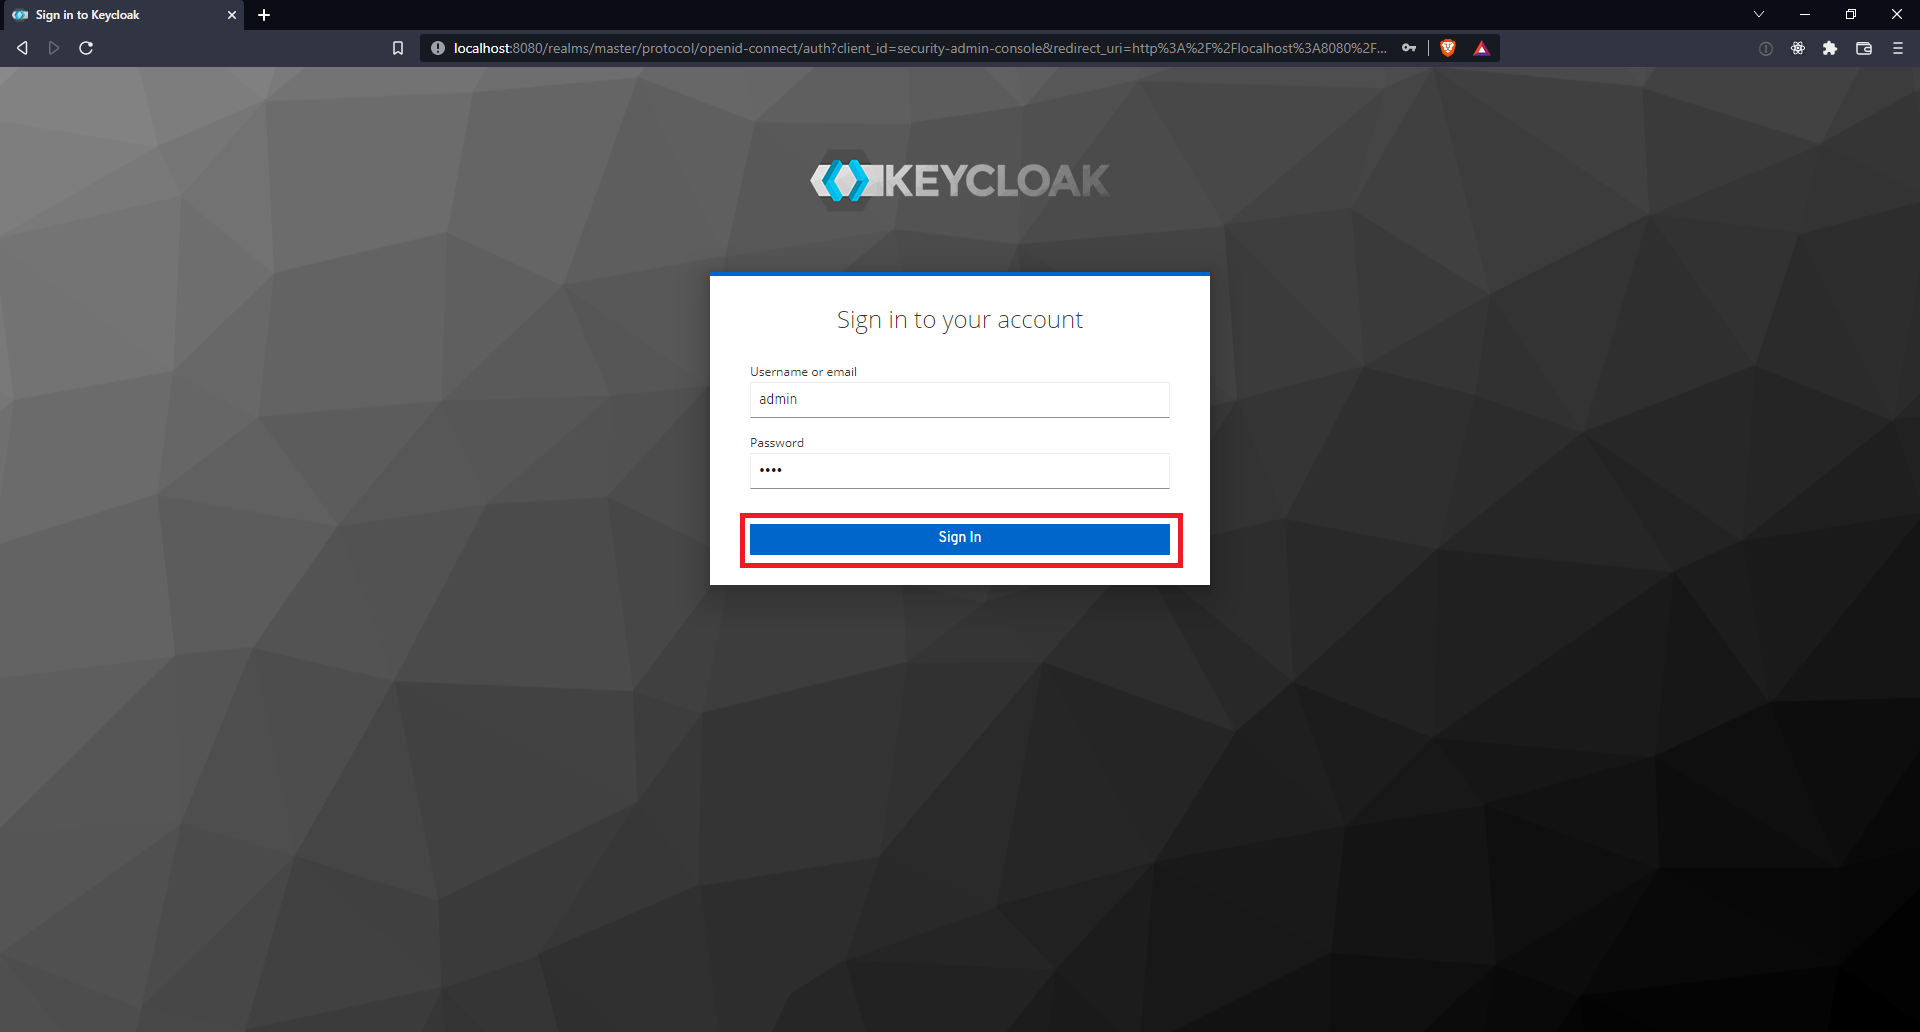 | ||||
| 2 | Hover the mouse over the dropdown in the top-left corner label Master, then click Add realm. | 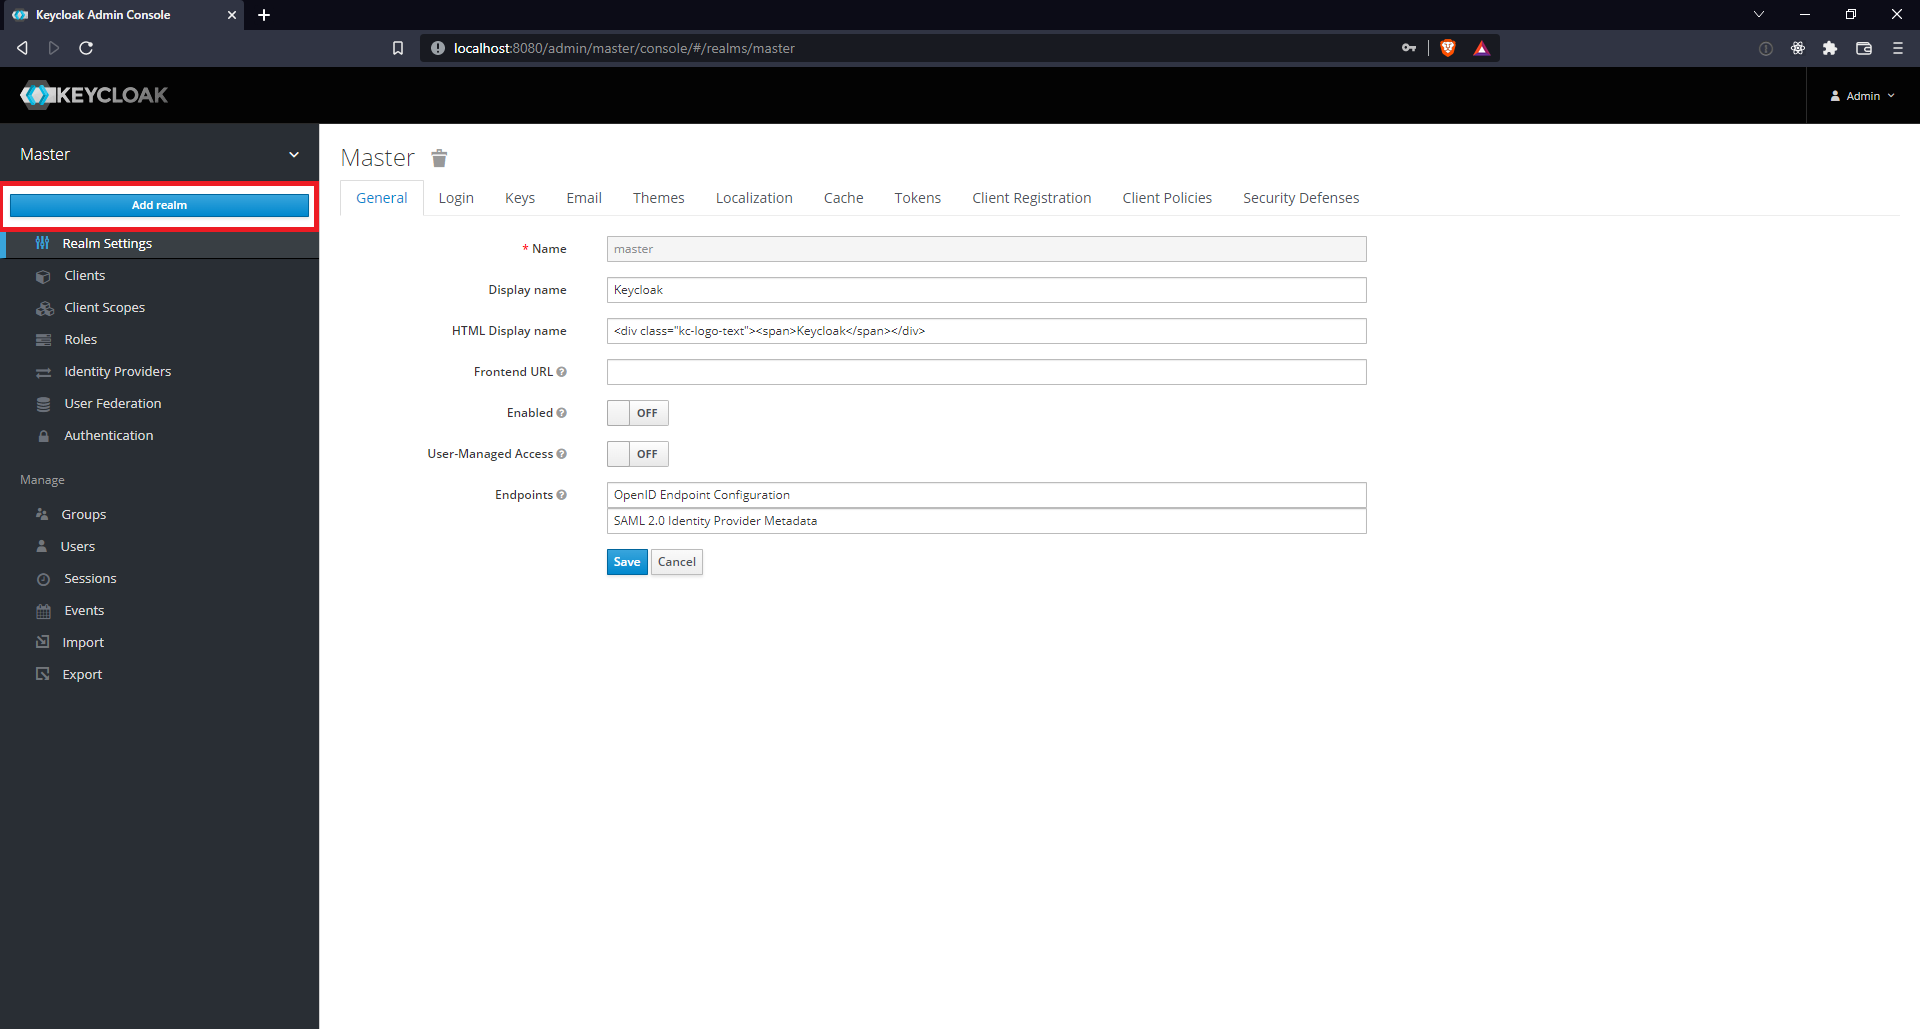 | ||||
| 3 | Fill in the name of the realm and click Create.
| 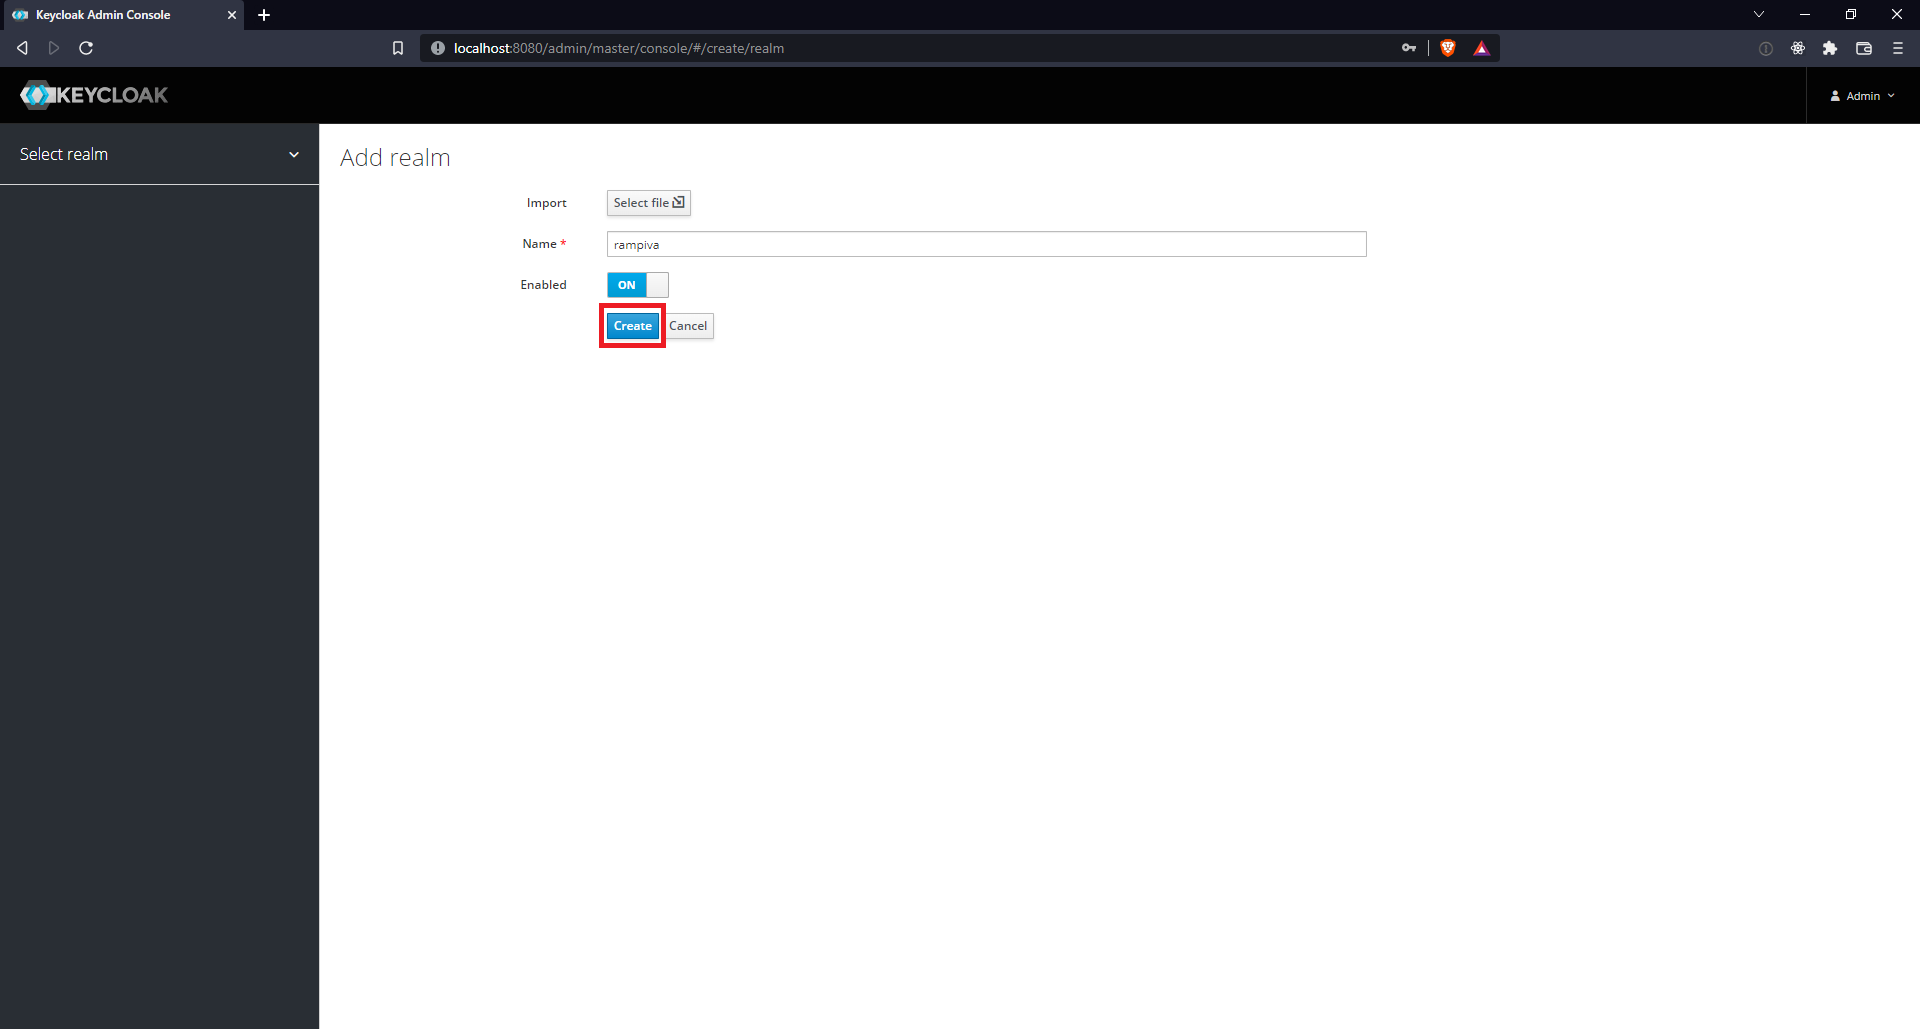 | ||||
| 4 | Click Users on the left-hand menu. | 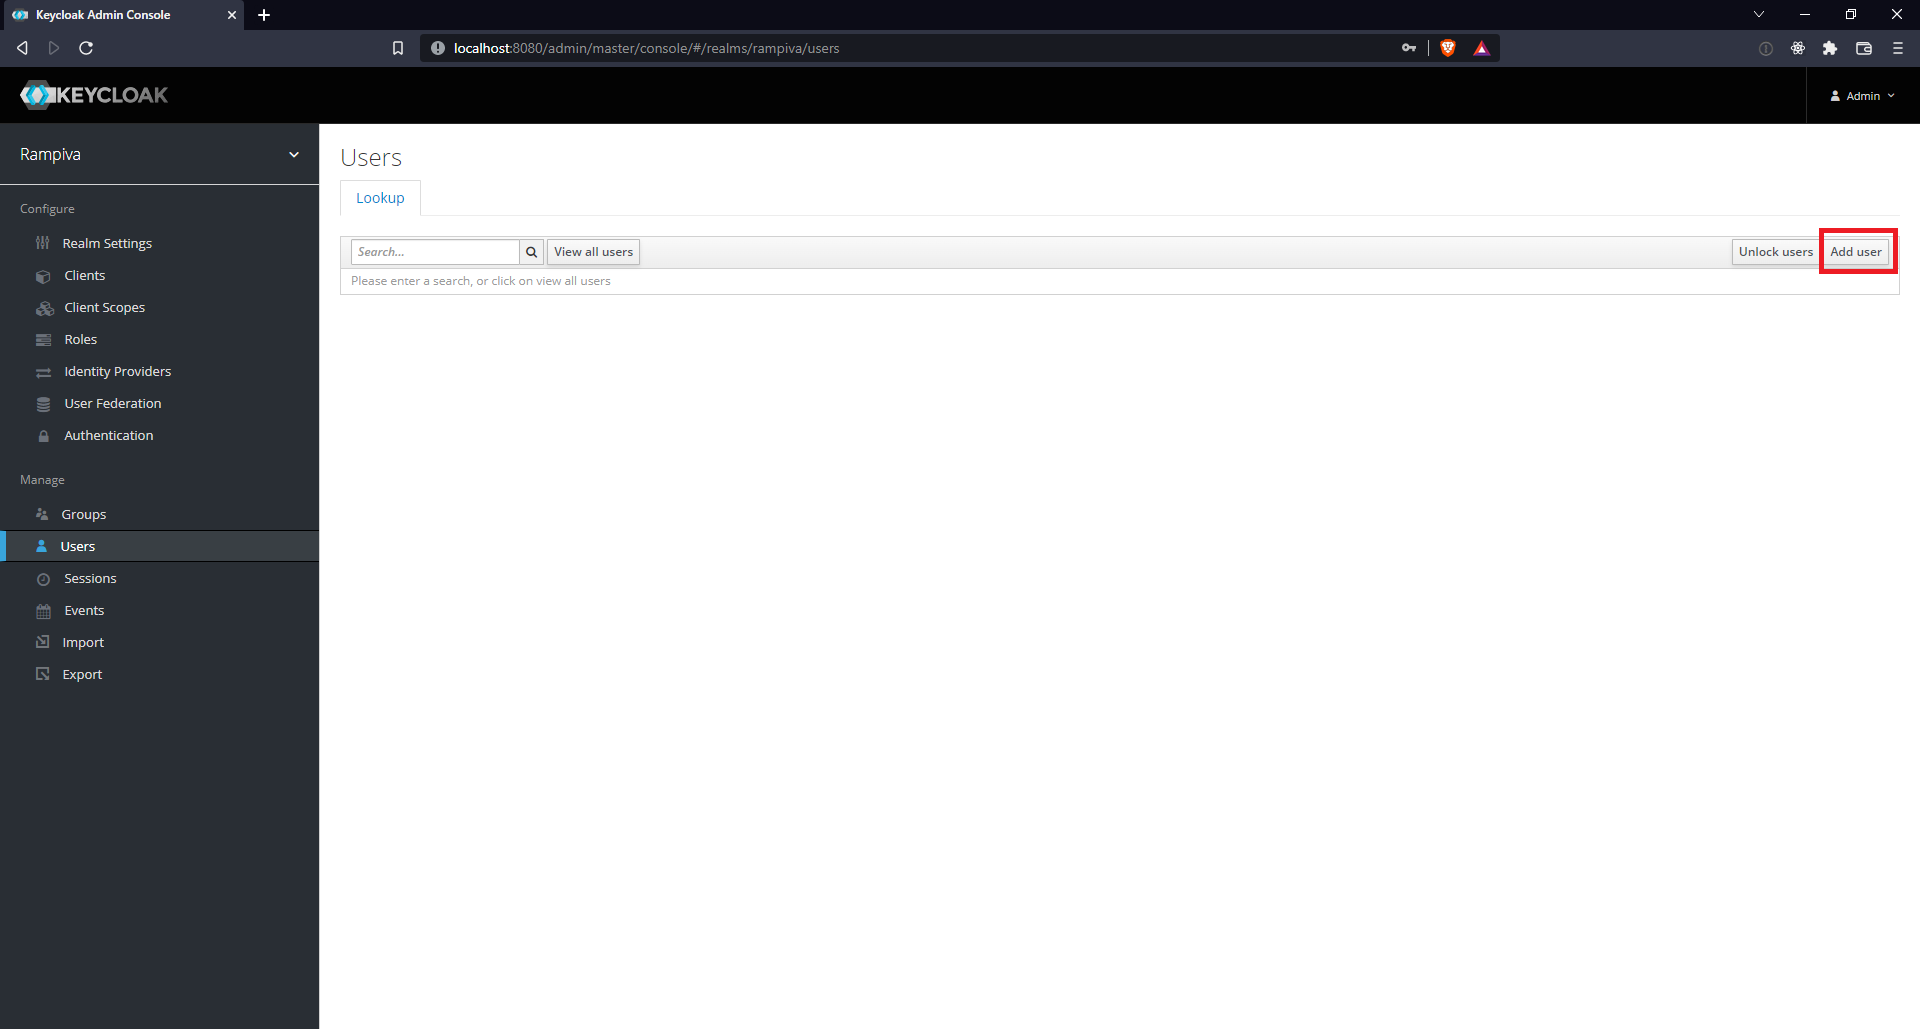 | ||||
| 5 | Click Add user from the top-right corner of the table. | |||||
| 6 | Fill in the the Username, First Name and Last Name and click Save.
| 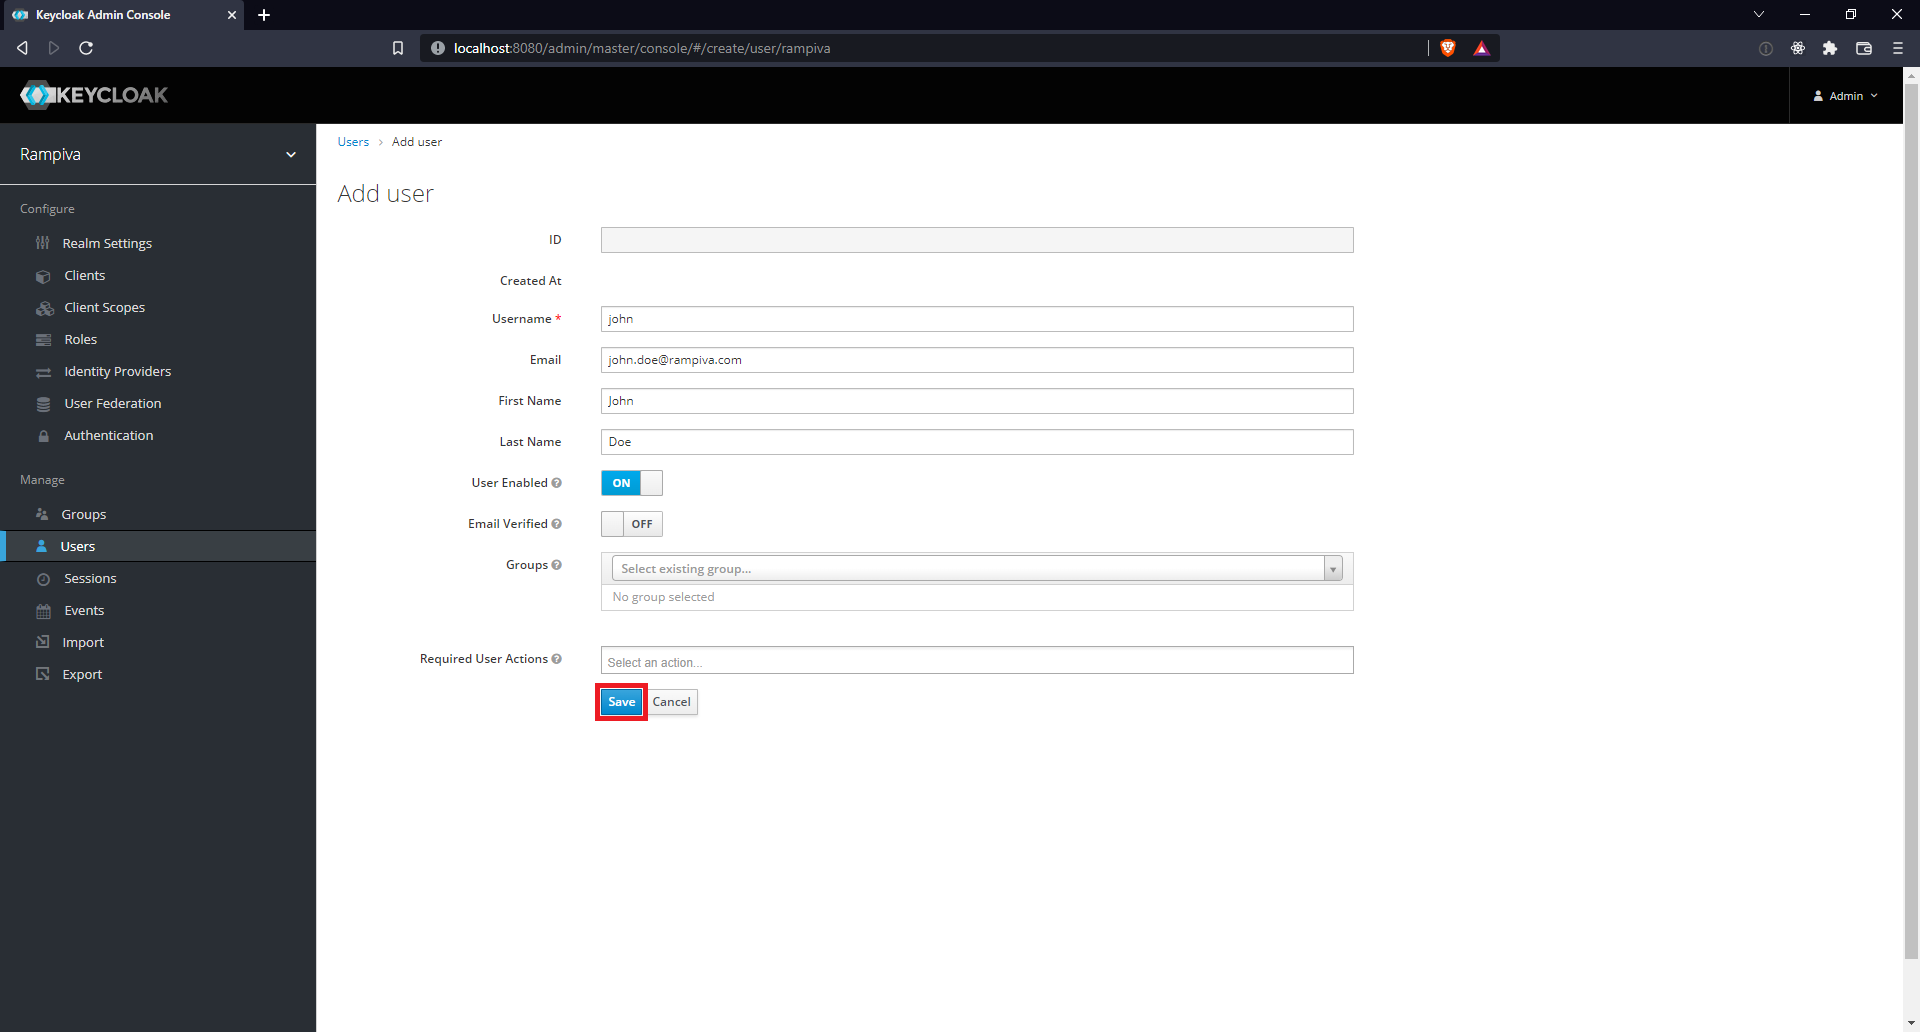 | ||||
| 7 | Select the Credentials tab at the top of the page. | 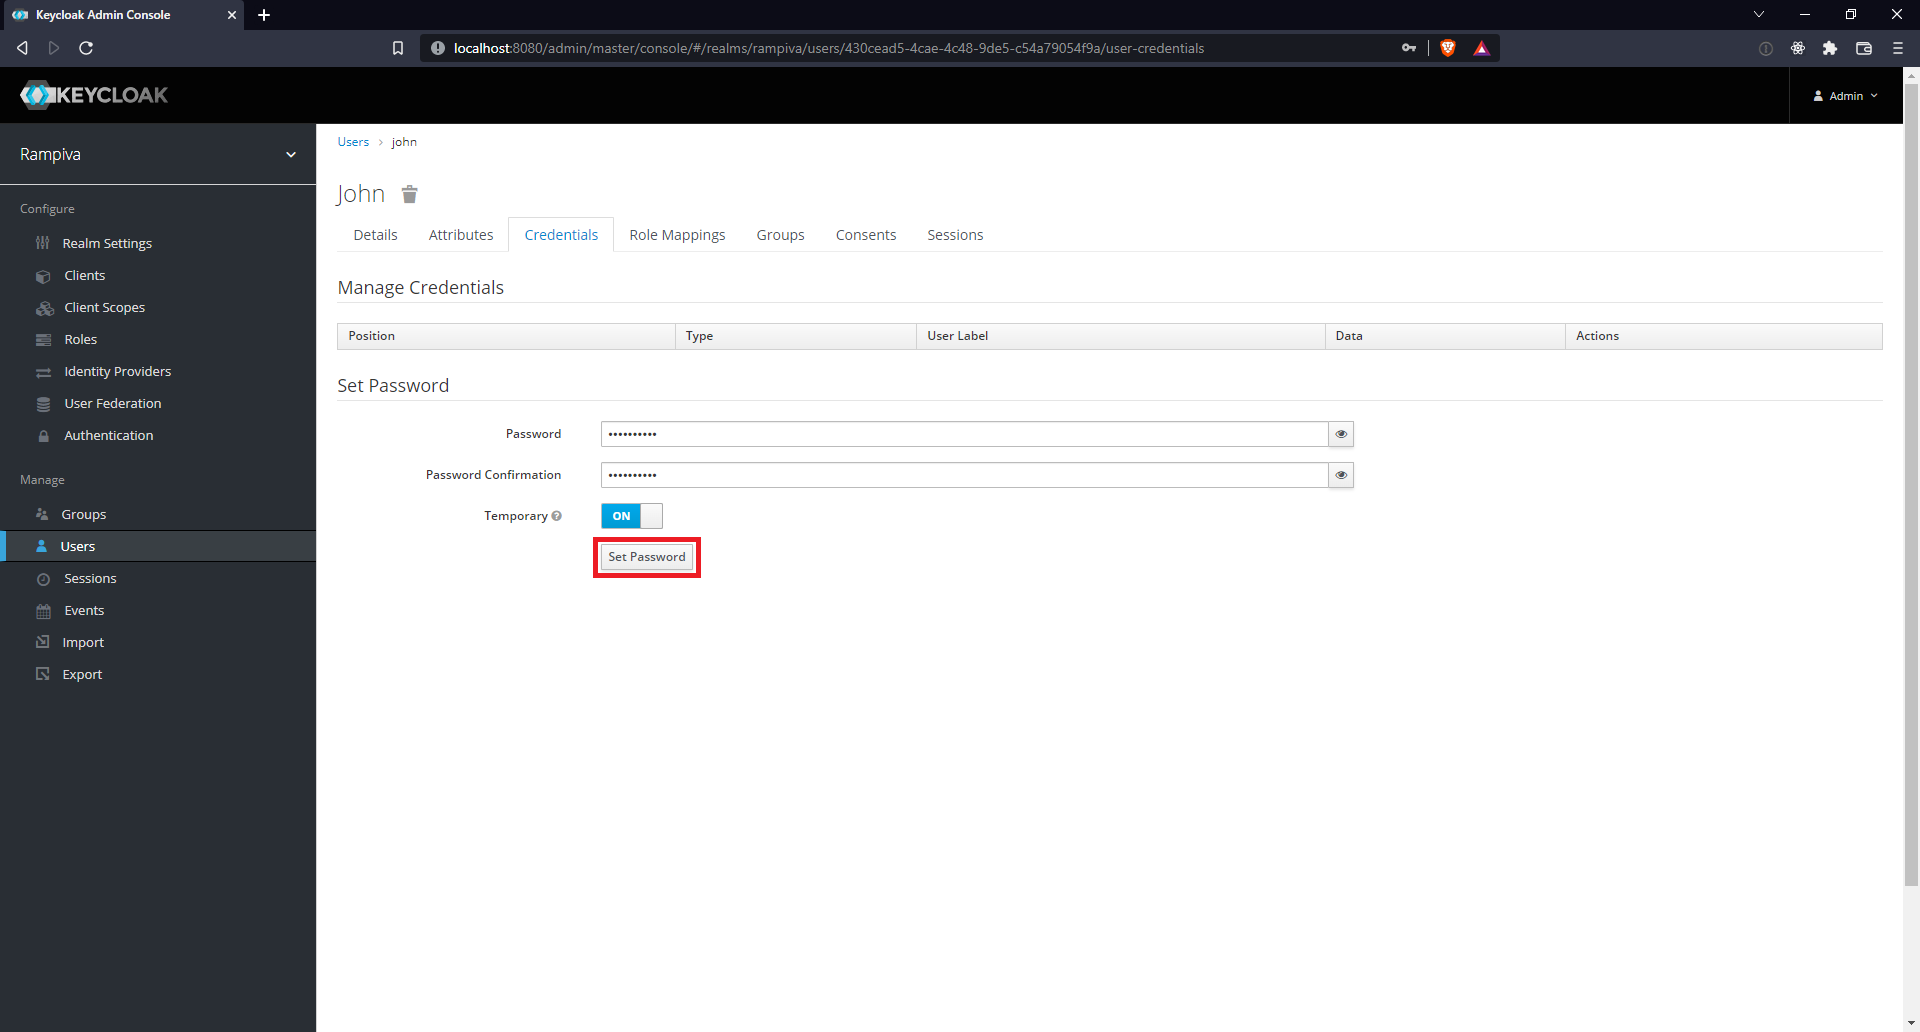 | ||||
| 8 | Fill in the Set Password section, and then click Set Password. |
C. Configure the Authentication Service in
...
KeyCloak
| 1 | Login to the admin console at http://localhost:8080/admin. | 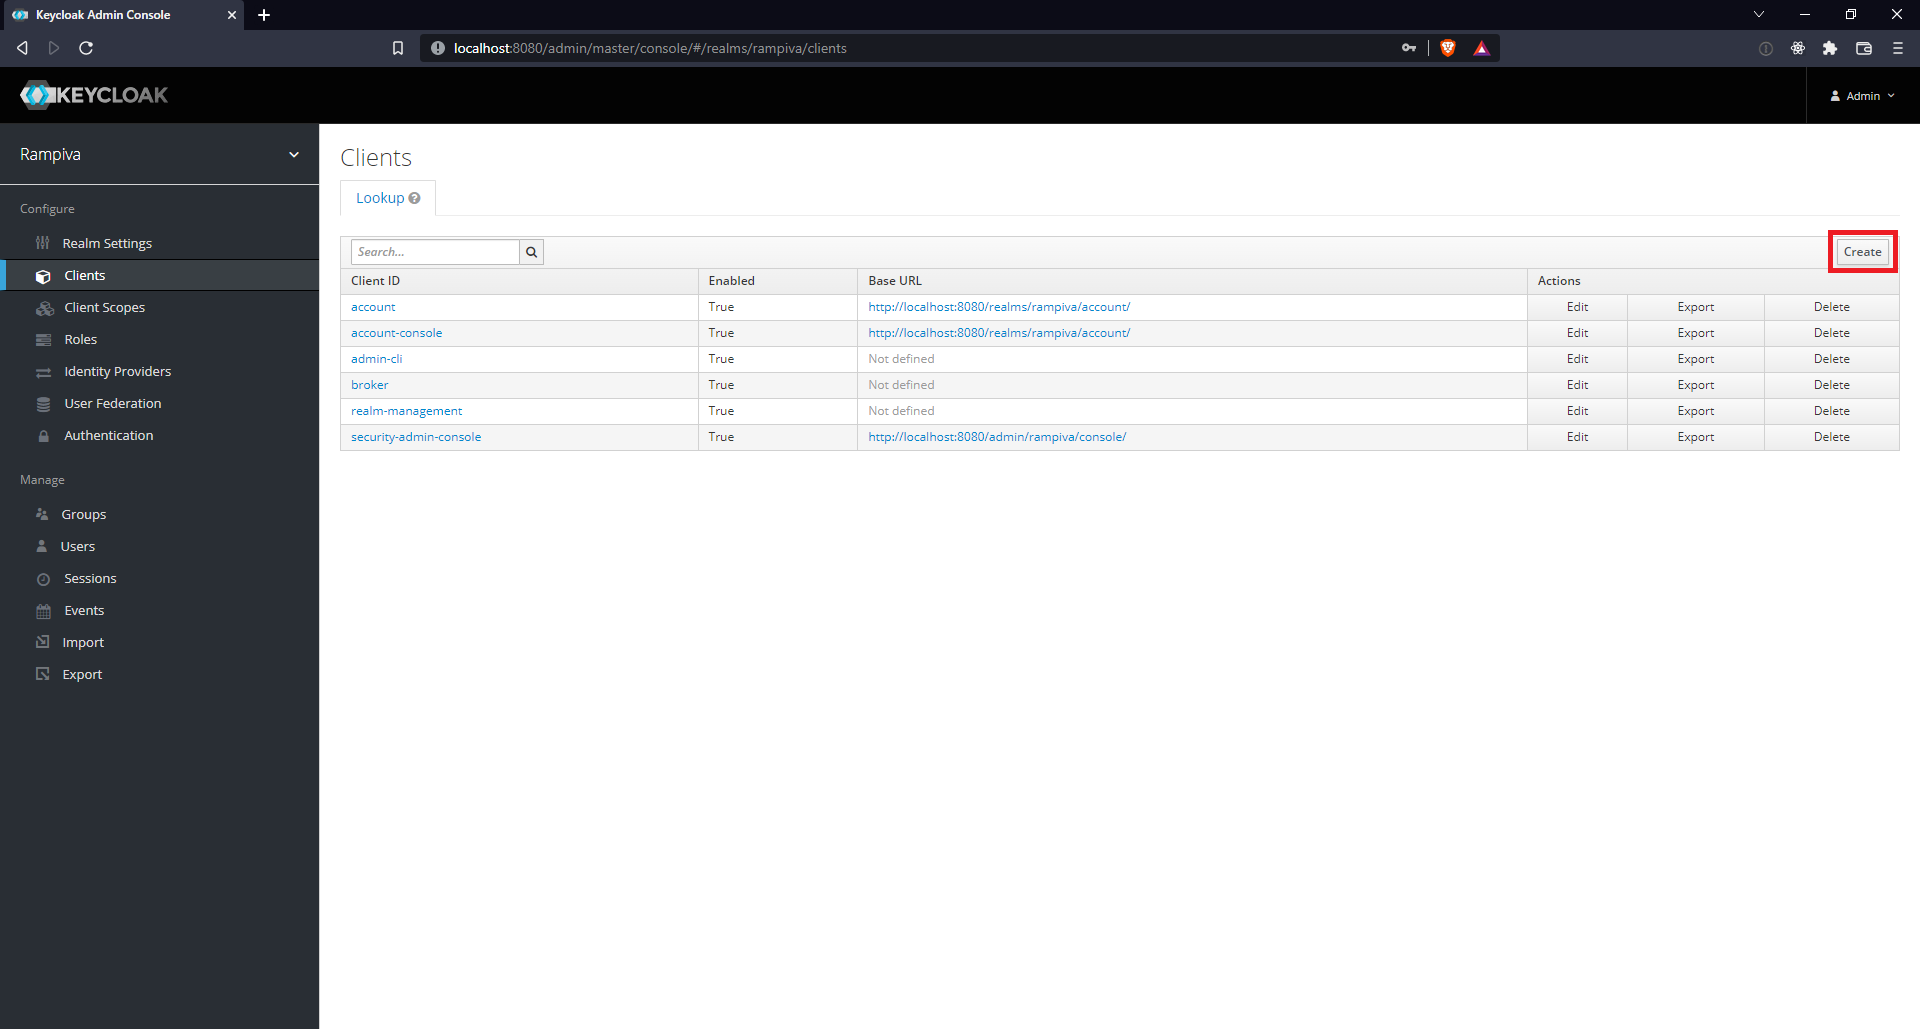 | |
| 2 | Click Clients. | ||
| 3 | Click Create in the top-right corner. | ||
| 4 | Provide a Client ID.
|
| 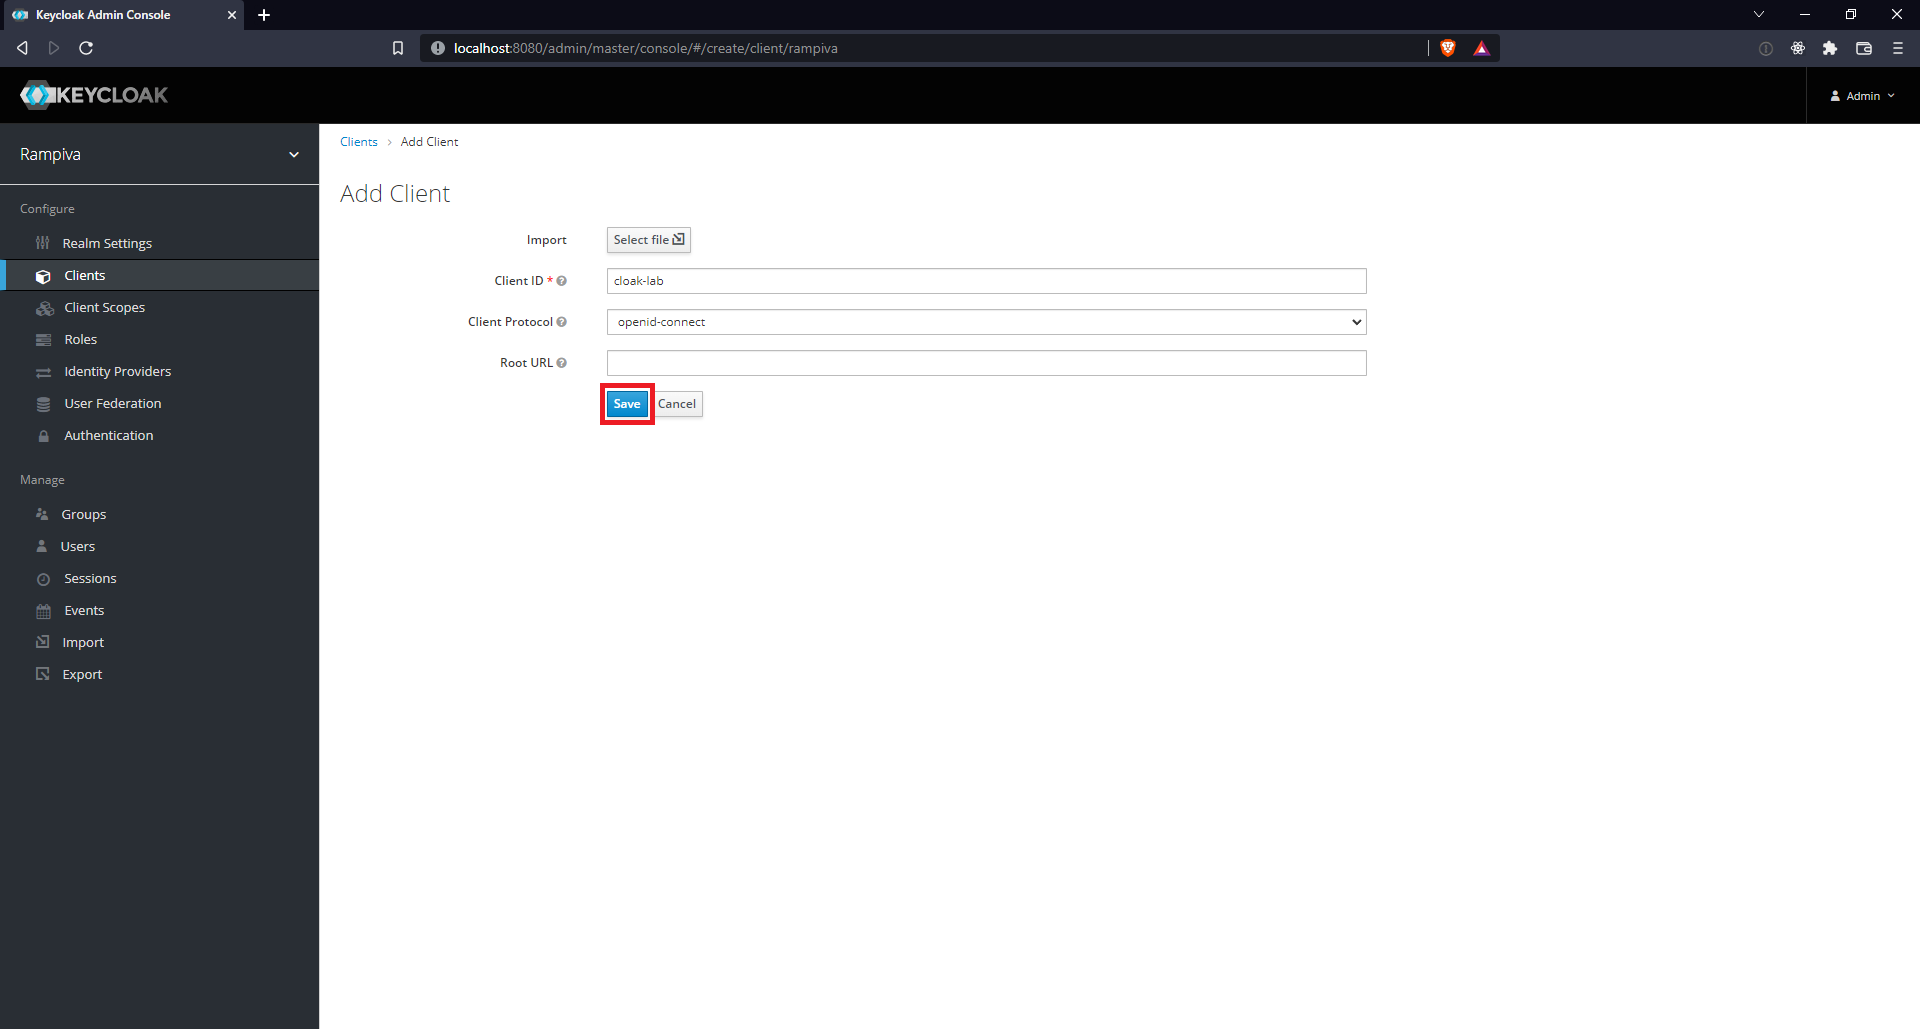 | |||
| 5 | For the Client Protocol select openid-connect from the dropdown. | |||
| 6 | Leave the Root URL empty. | |||
| 7 | Click Save. | |||
| 8 | Set the Access Type as confidential.
| 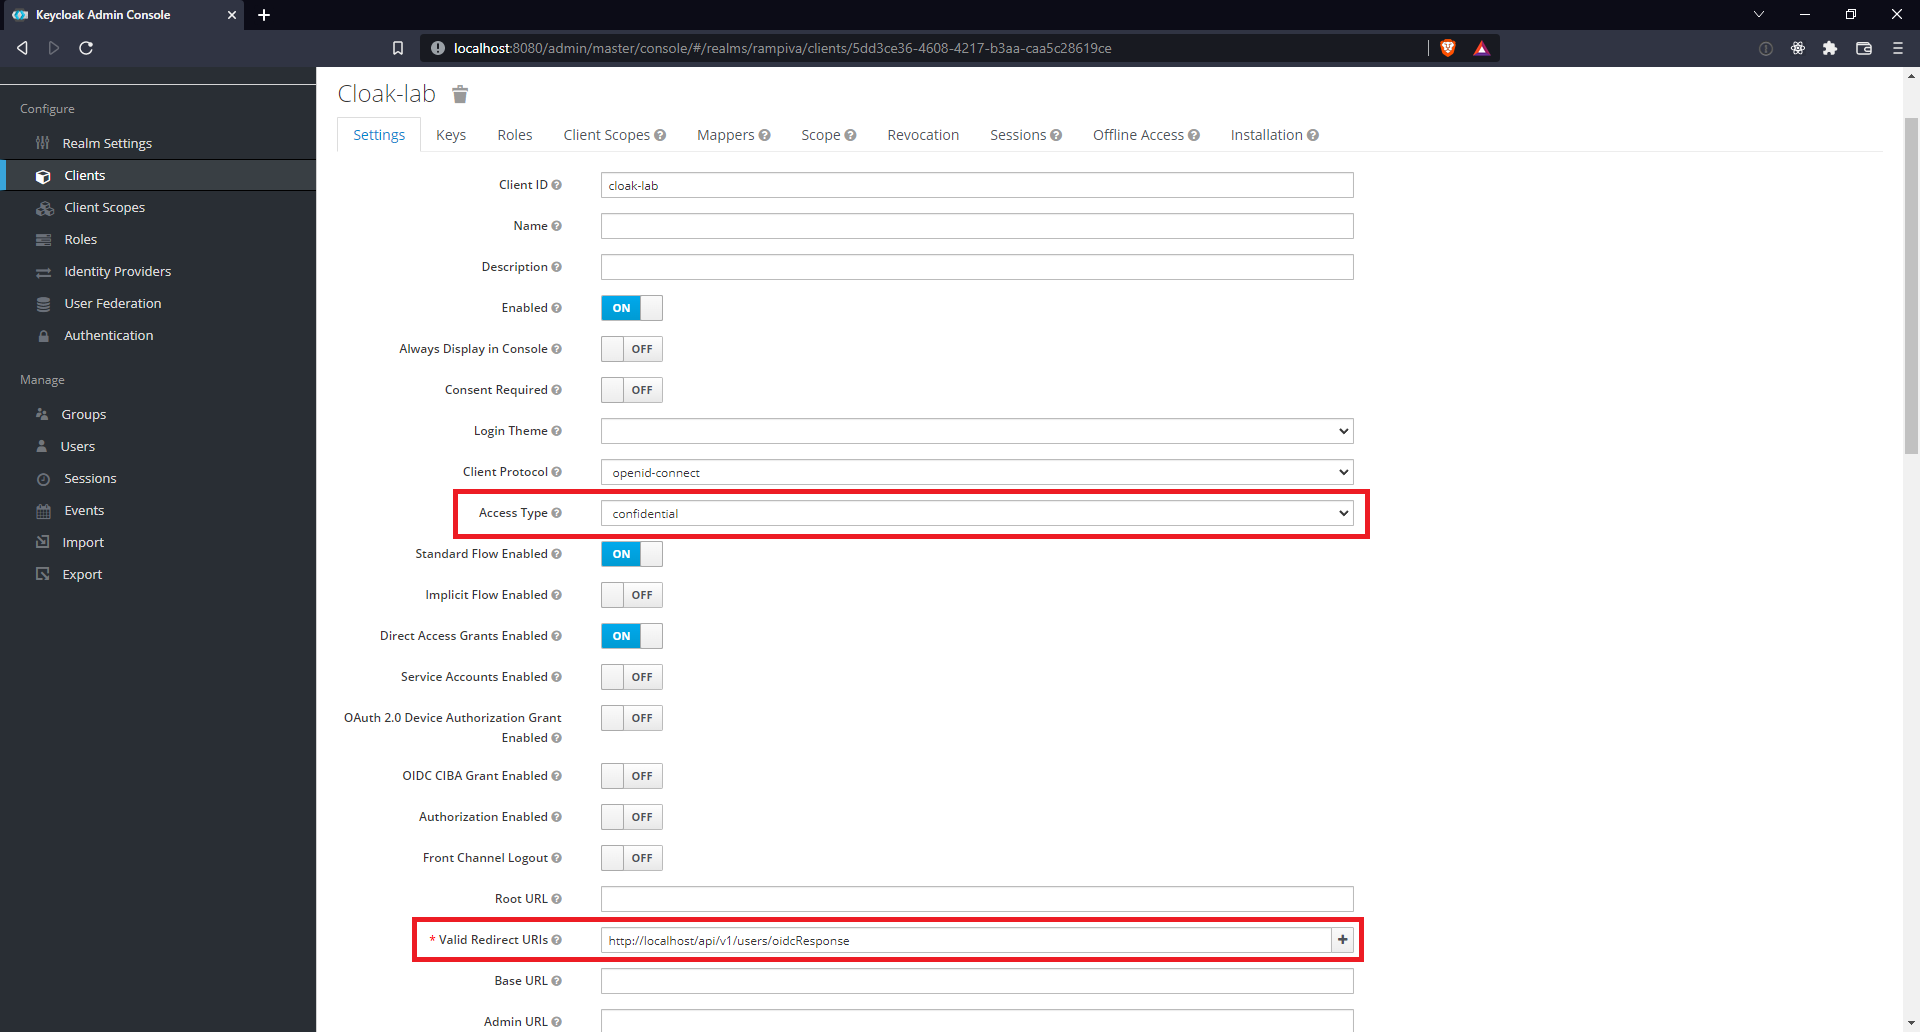 | ||
| 9 | Set the Valid Redirect URIs to https://automate.example.com/api/v1/users/oidcResponse.
| |||
| 10 | Scroll down to the bottom of the page and click Save. | |||
| 11 | Navigate to the Credentials tab at the top of the page. | 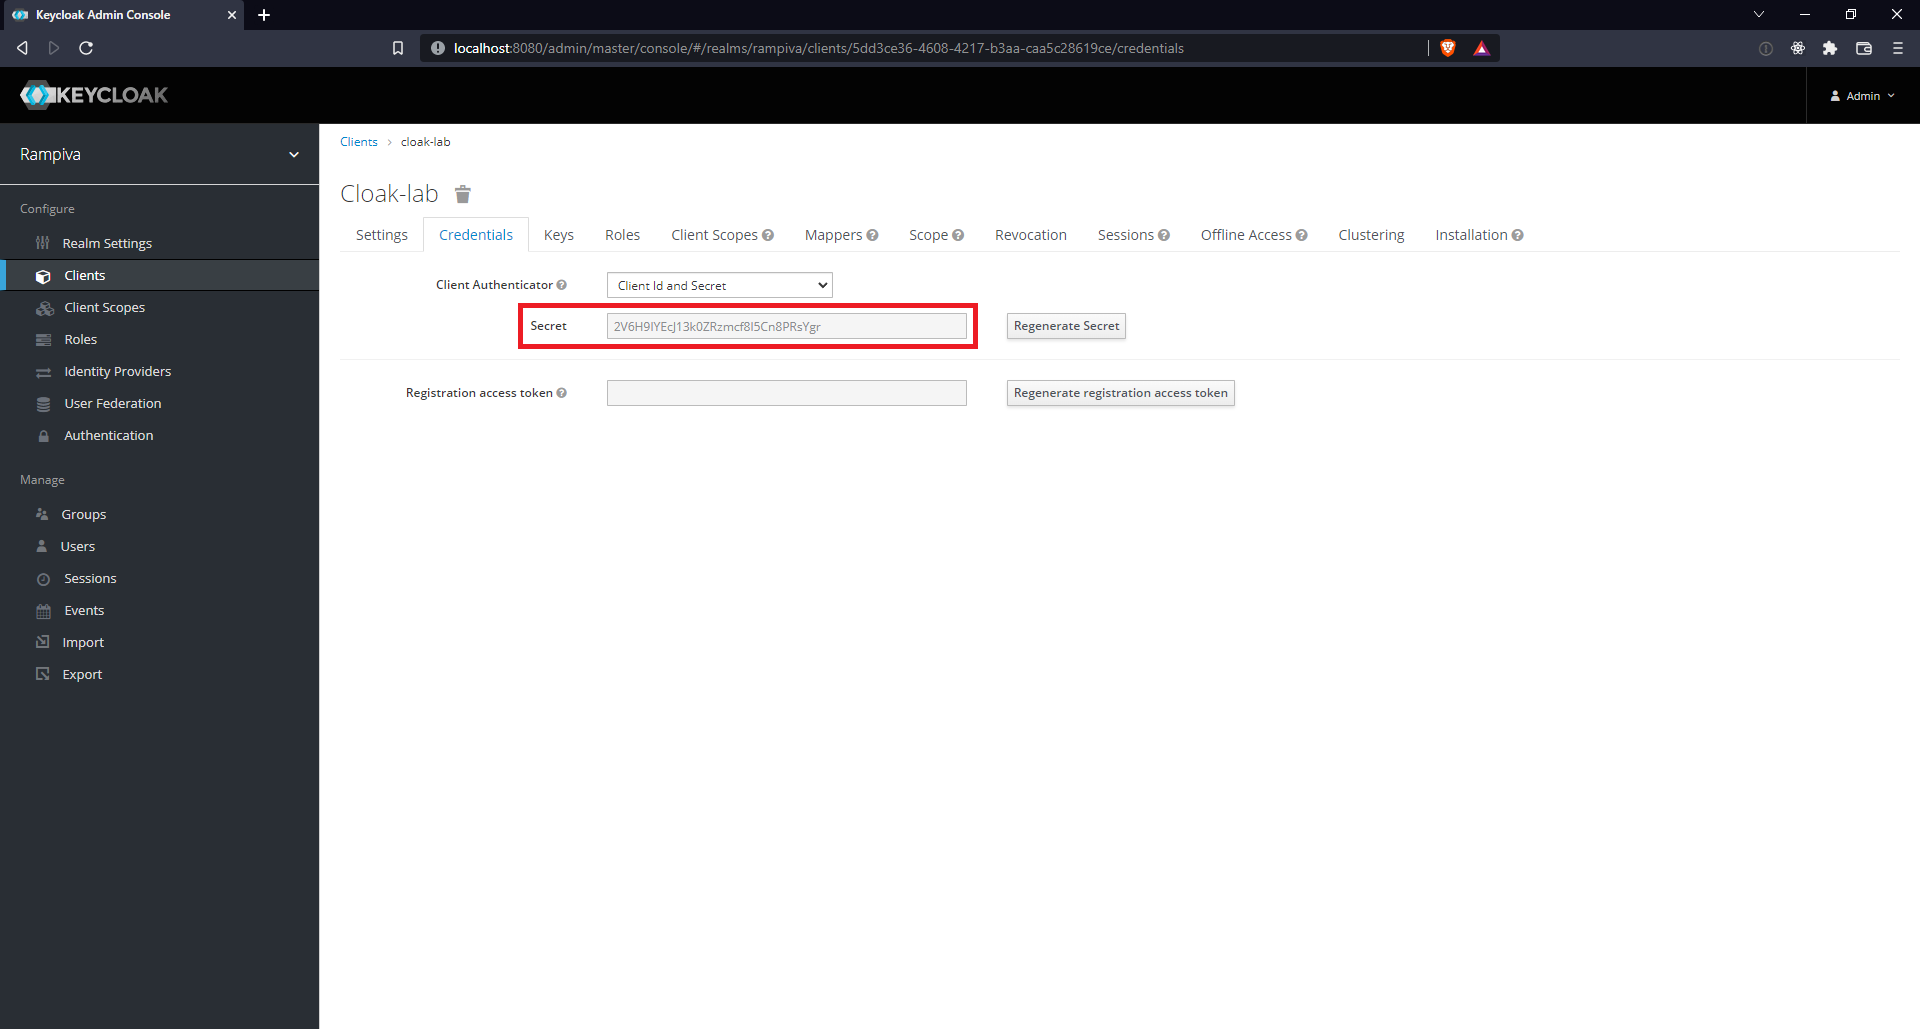 | ||
| 12 | Take note of the Secret value. | |||
| 13 | Click Realm Settingsfrom the left-hand menu. |  | ||
| 14 | In the Endpoints field, right click OpenID Endpoint Configuration, and copy the link. We will refer to this link as the Well-Known Configuration URI later in this article. |
D. Configure the Authentication Service in Rampiva Automate
| 1 | Open Rampiva Automate and navigate to the Settings page. | 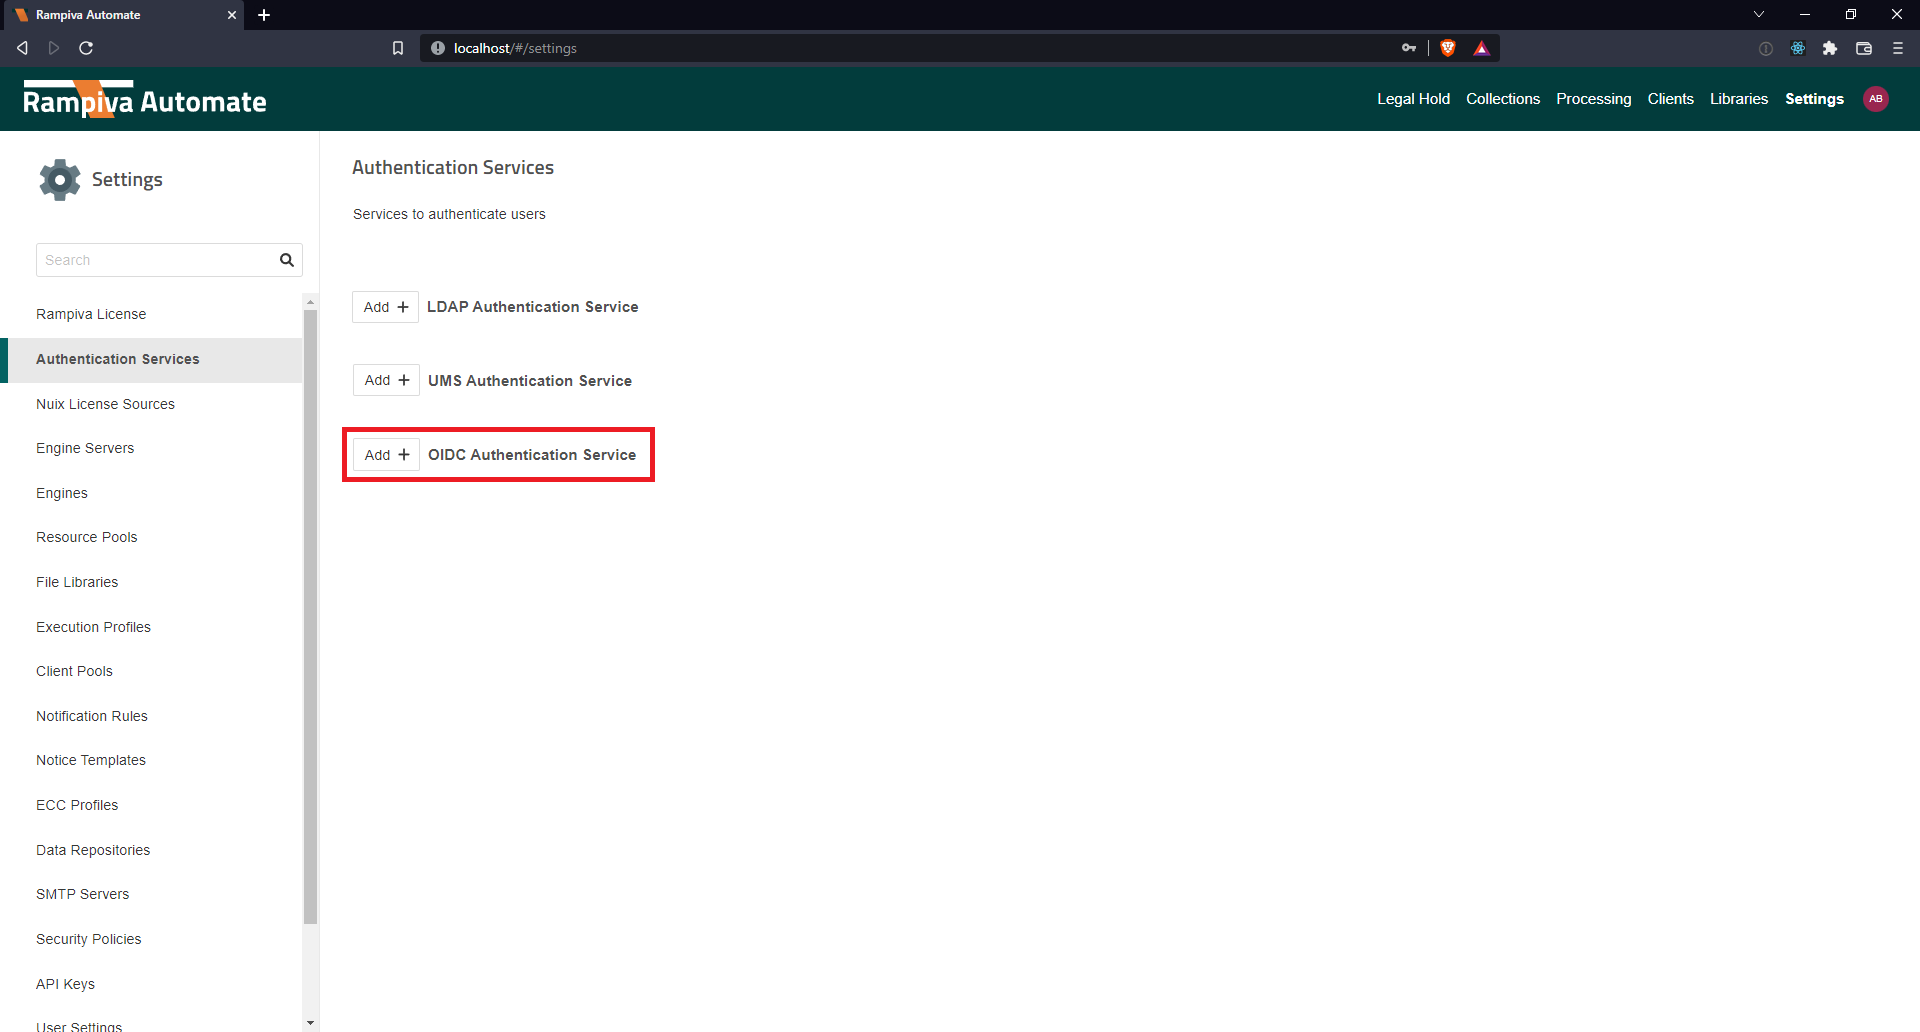 |
| 2 | From the Settings page, select Authentication Services panel. | |
| 3 | Click the Add + OIDC Authentication Service button to create a new Authentication Service. | |
| 4 | Enter the name for the Authentication Service, for example |
Keycloak. | 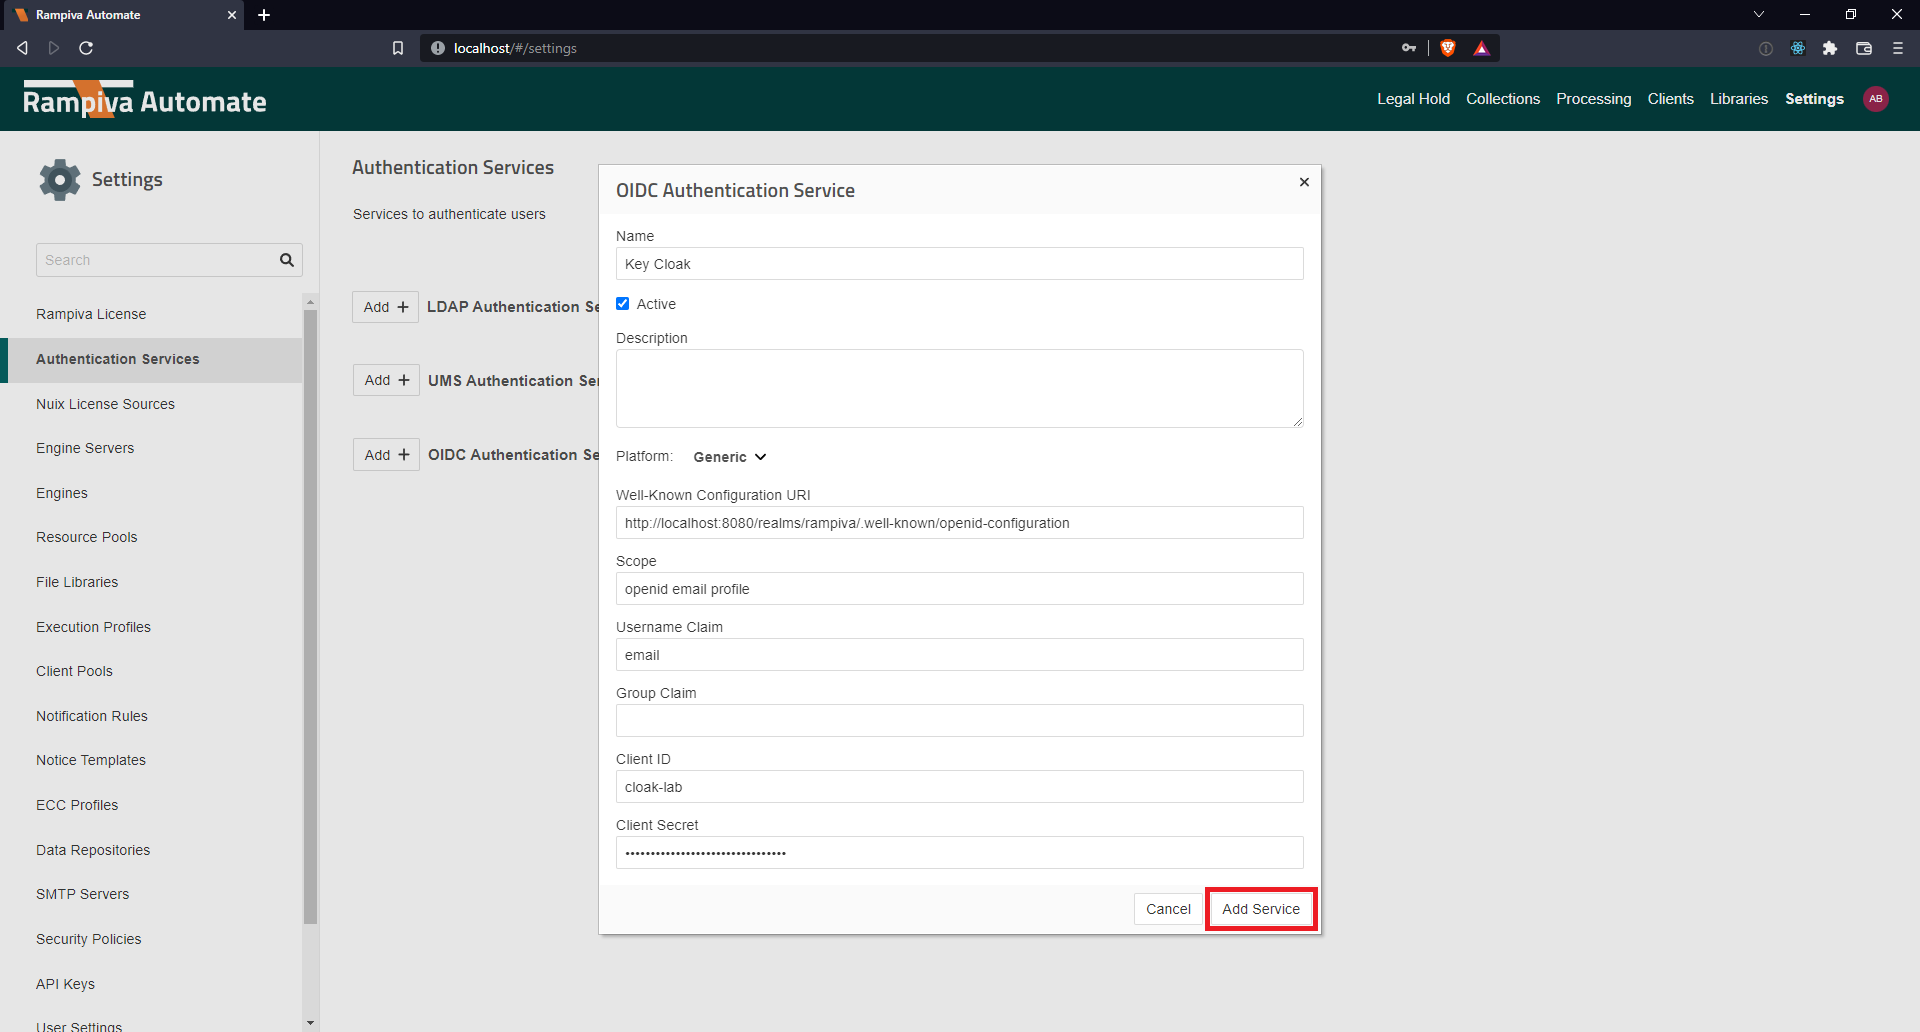 | ||
| 5 | For the Platform select Generic. | ||
| 6 | In the Well-Known Configuration URI field, type the value noted in the previous section at step 14 for this setting. | ||
| 7 | In the Scope field, type openid email profile | ||
| 8 | In the Username Claim field, type email | ||
| 9 | In the Client ID field, type the value noted in the previous section at step 4 for this setting. | ||
| 10 | In the Client Secret field, type the Secret value noted in the previous section at step 12 for this setting. | ||
| 11 | Click Add Service. | ||
| 12 | Log out of Rampiva Automate.
|
| 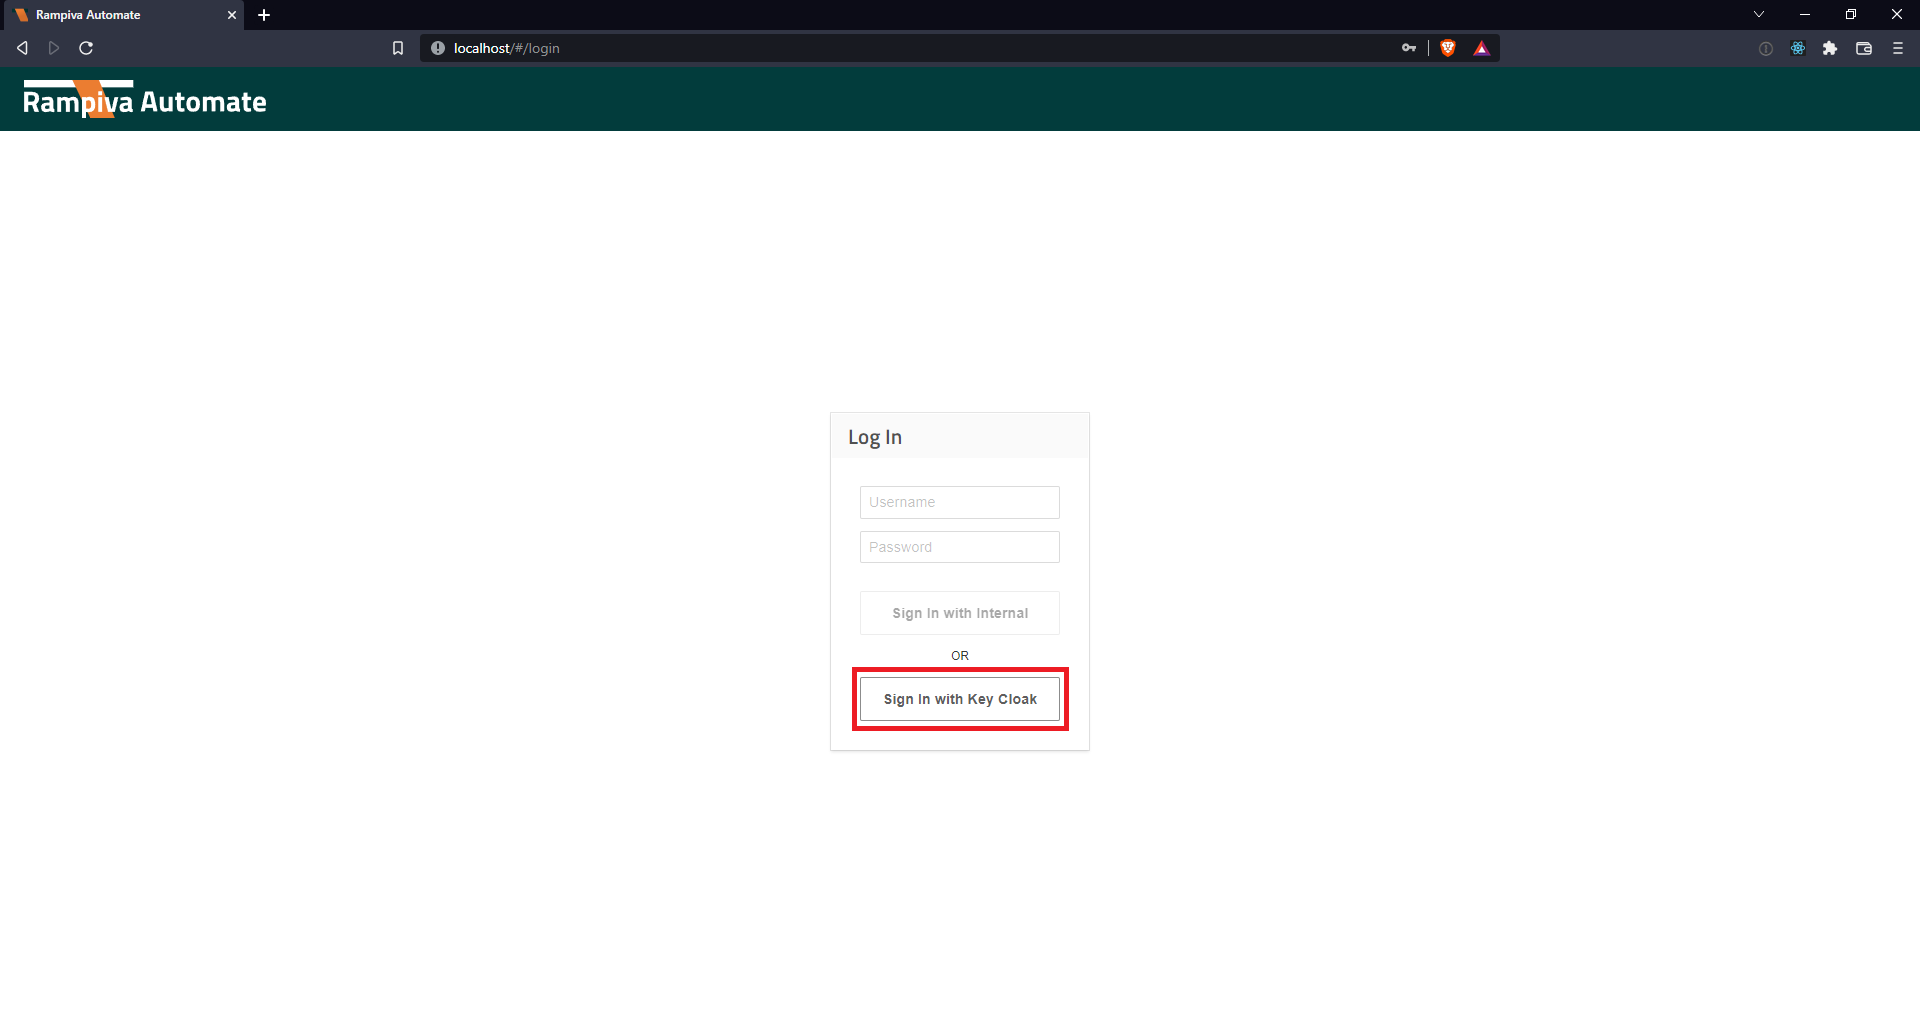 | |
| 13 | Test the authentication by clicking Sign In with |
Keycloak. | ||||
| 14 | Enter the credentials of a user account and click Sign In.
| 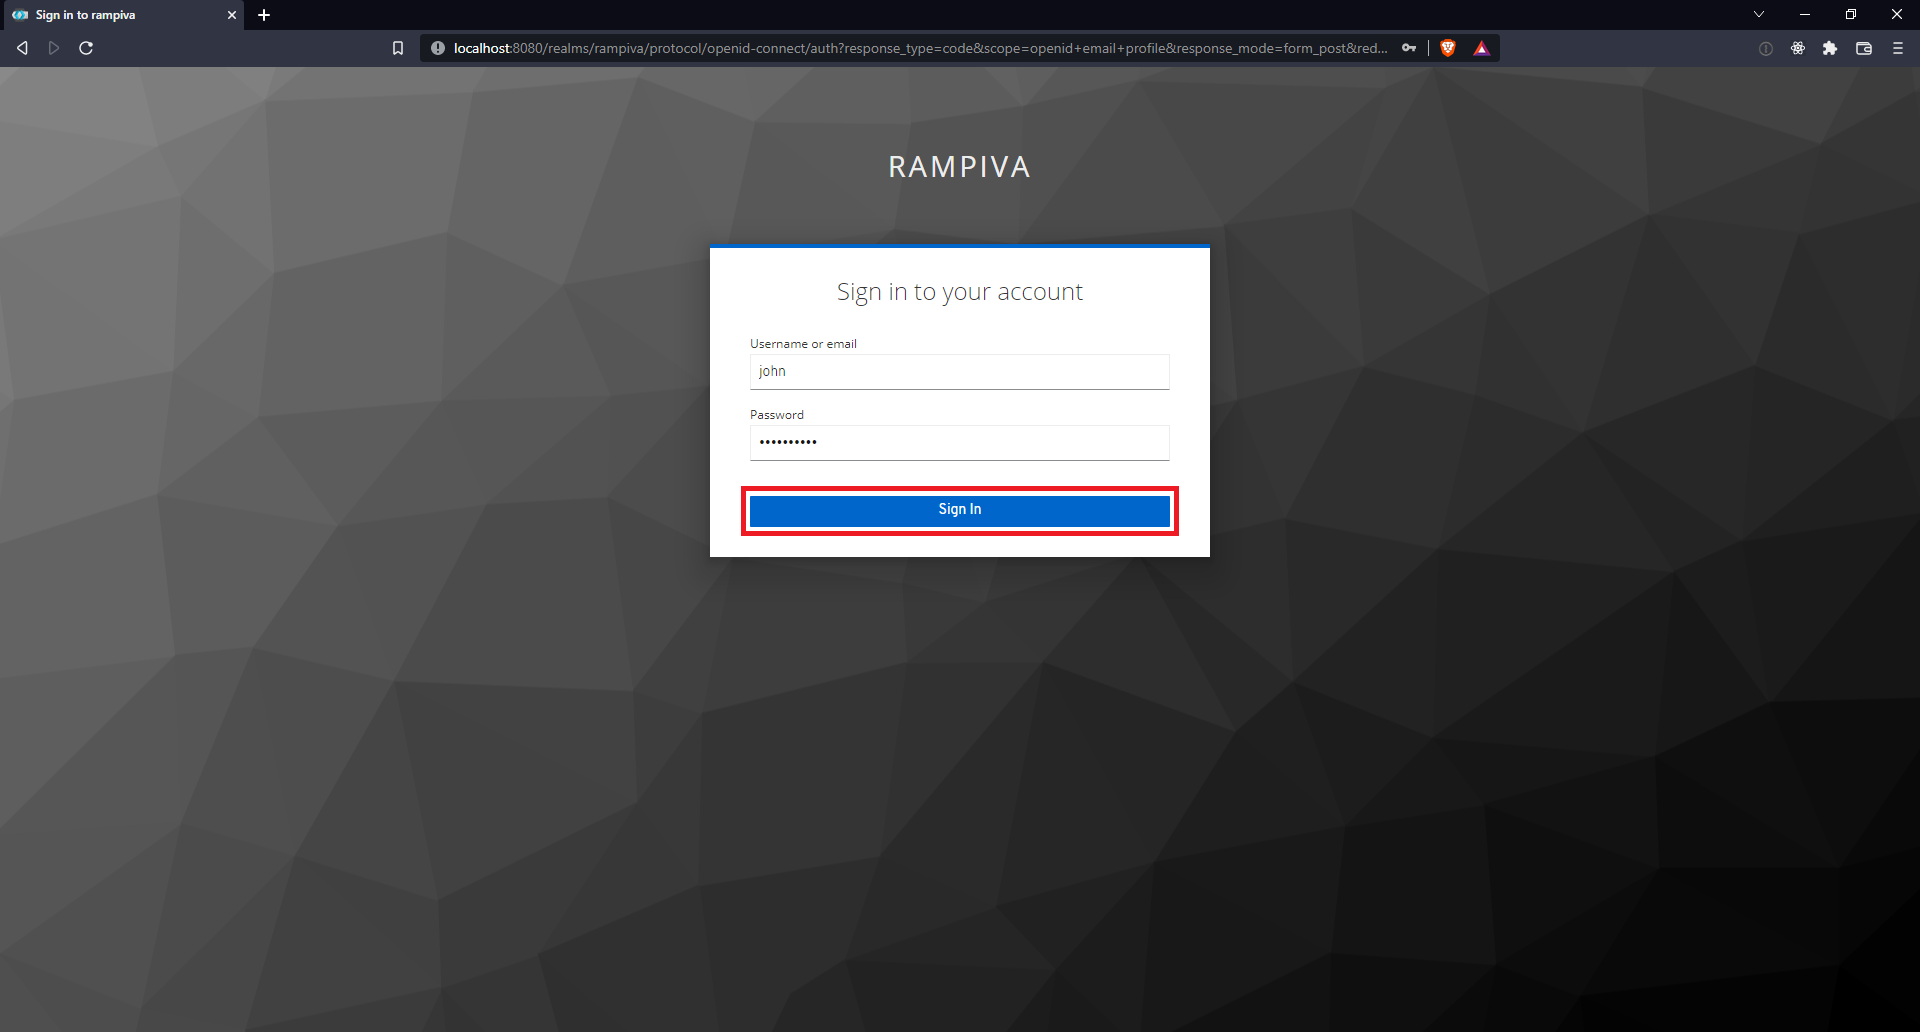 |
| Page Properties | ||
|---|---|---|
| ||
|