...
| 1 | Browse to Rampiva Automate. |  | ||
| 2 | Select the Settings tab. | |||
| 3 | Select the Authentication Services tab. | |||
| 4 | Click Add+ Microsoft Authentication Service. | |||
| 5 | Name the service Microsoft 365 - example.com, where example.com is the name of your domain. | 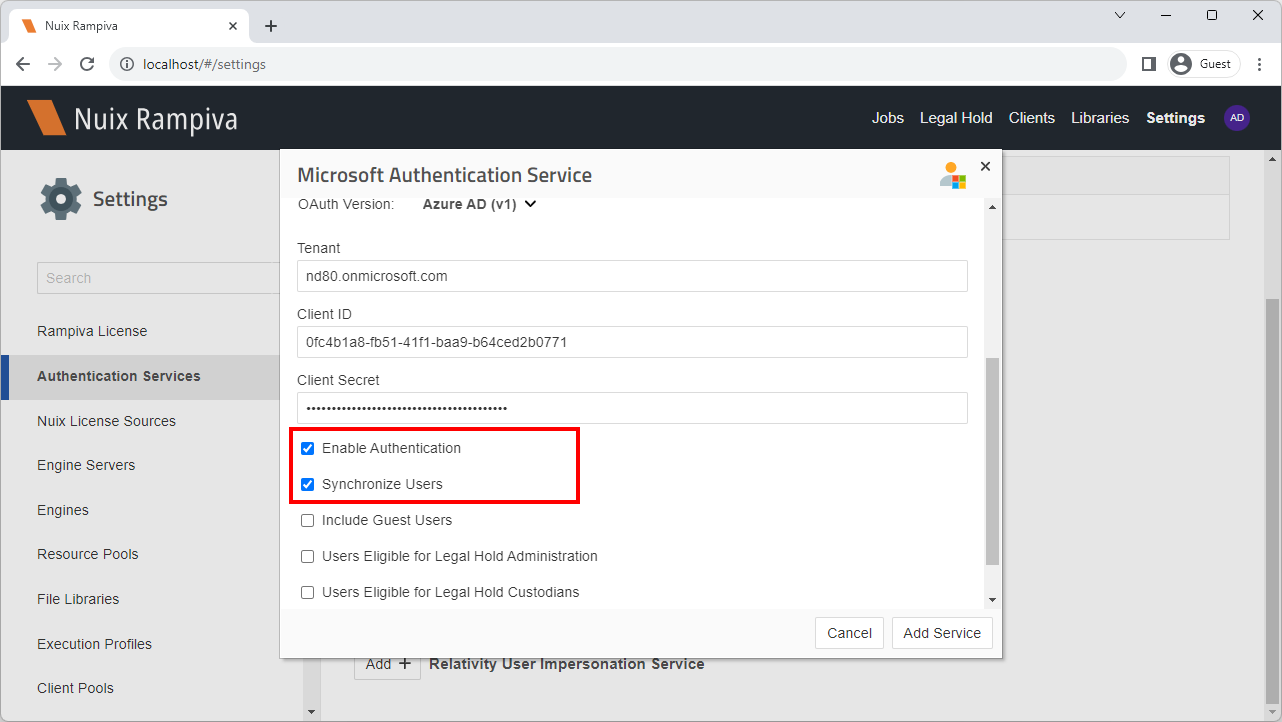 | ||
| 6 | Select the environment Microsoft Commercial. | |||
| 7 | Fill out the Tenant, Client ID and Client Secret with the values recorded from the previous section. | |||
| 8 | Leave the Enable Authentication option enabled.
| |||
| 9 | Check Synchronize Users option. | |||
| 10 | Click Add Service. | |||
| 11 | Select the Third-Party Services tab. | 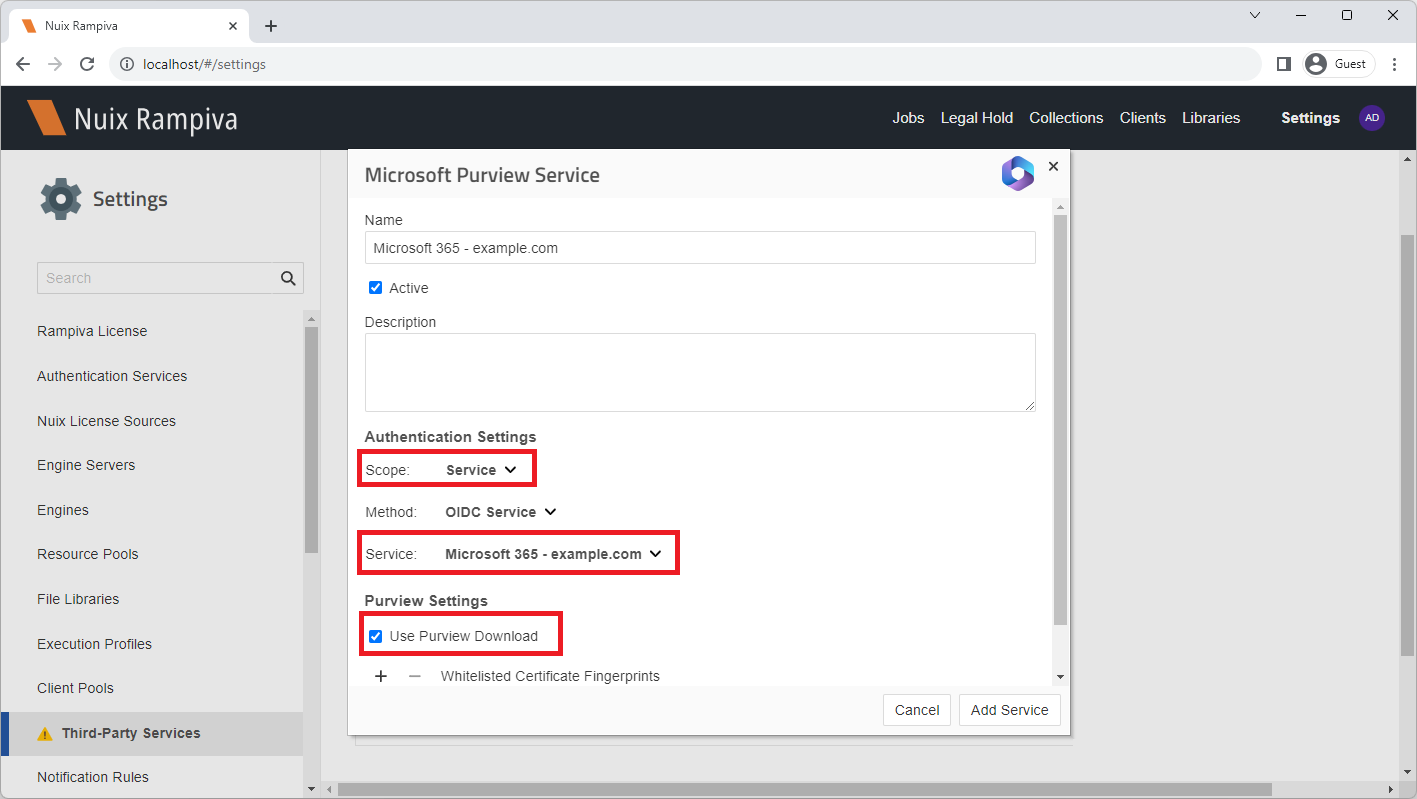 | ||
| 12 | Click Add+ Microsoft Purview Service. | |||
| 13 | Name the service Microsoft 365 - example.com, where example.com is the name of your domain. | |||
| 14 | Set the authentication Scope to either:
| |||
| 15 | Select the authentication Service Microsoft 365 - example.com create previously.
| |||
| 16 | Enable the option Use Purview Download. | |||
| 17 | Click Add Service. | |||
| 18 | When prompted to sign-in with the Purview eDiscovery Manager account, sign in with a user account that has eDiscovery Manager permissions.
| 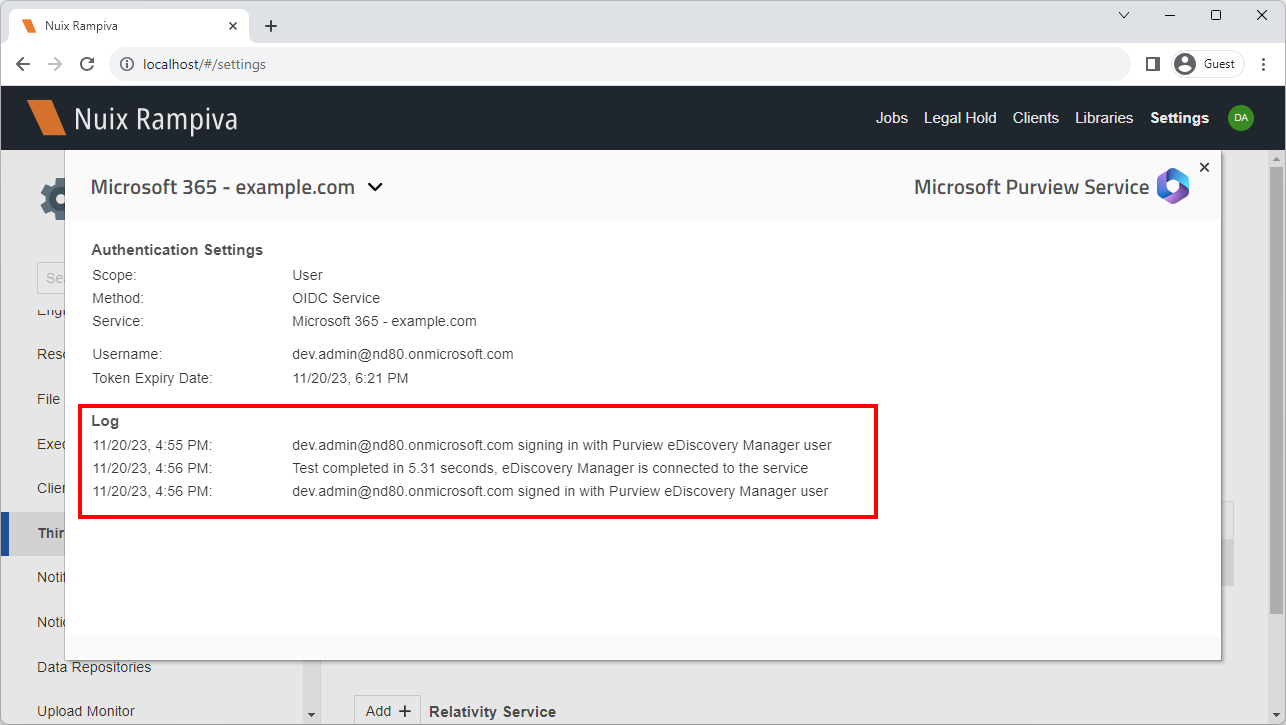 | ||
| 19 | Expand the Log section to confirm that the authentication was successful and that no warning messages are shown. |
...
D. Run a Test Collection
| 1 | Browse to Rampiva Automate. | |||
| 2 | Open the Jobs - Purview tab. | 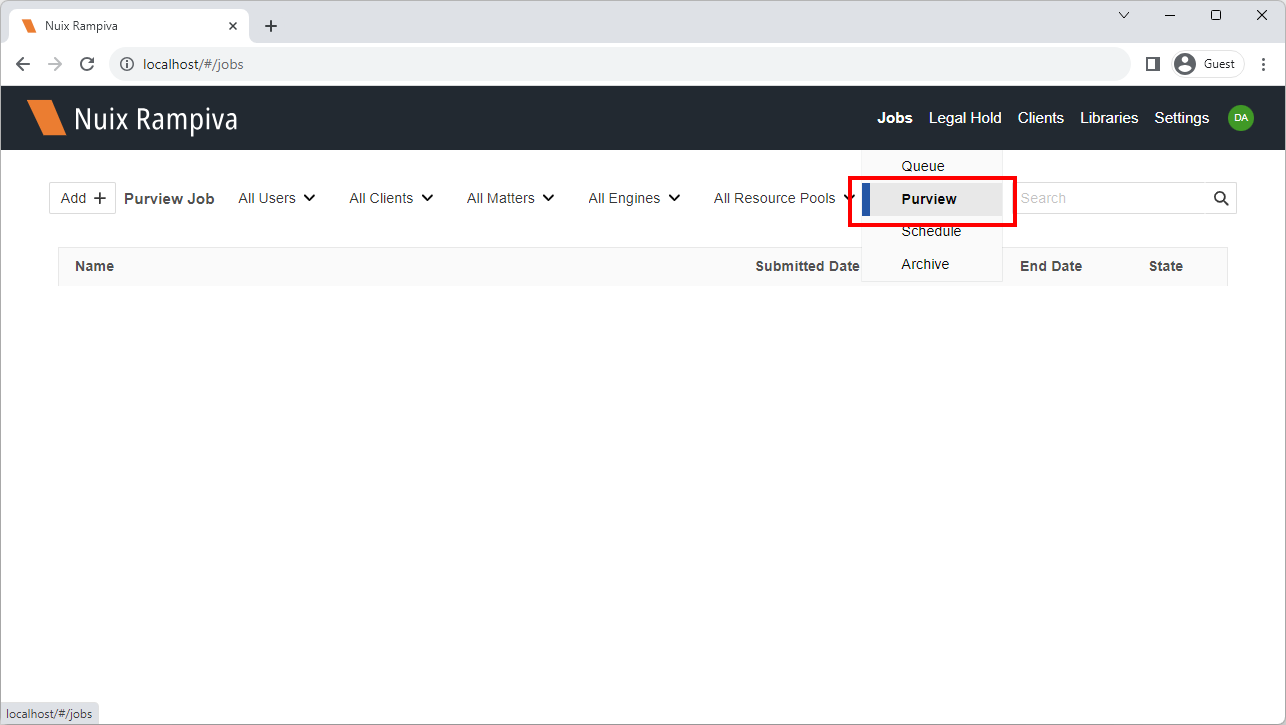 | ||
| 3 | Click Add + Purview Job. | 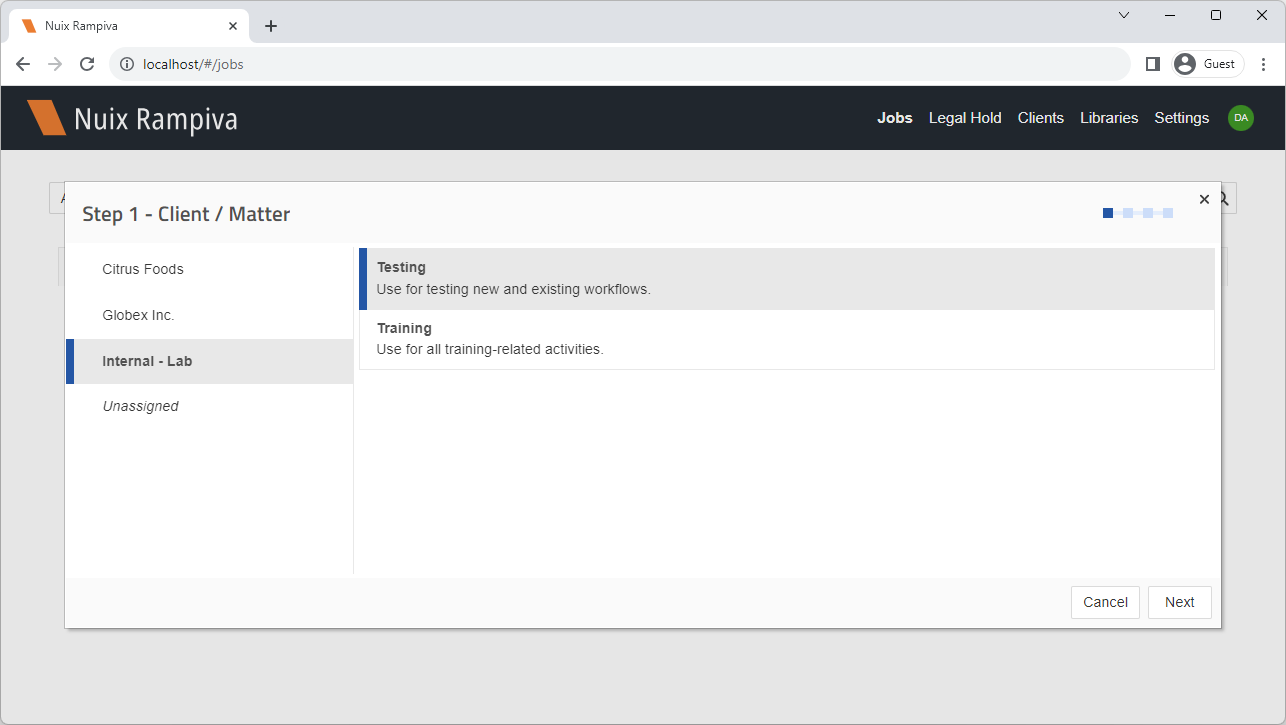 | ||
| 4 | Select the Internal - Lab client, and the Testing matter and click Next. | |||
| 5 | From the Purview library, select the Apply Hold and Collect Locally workflow and click Next. | 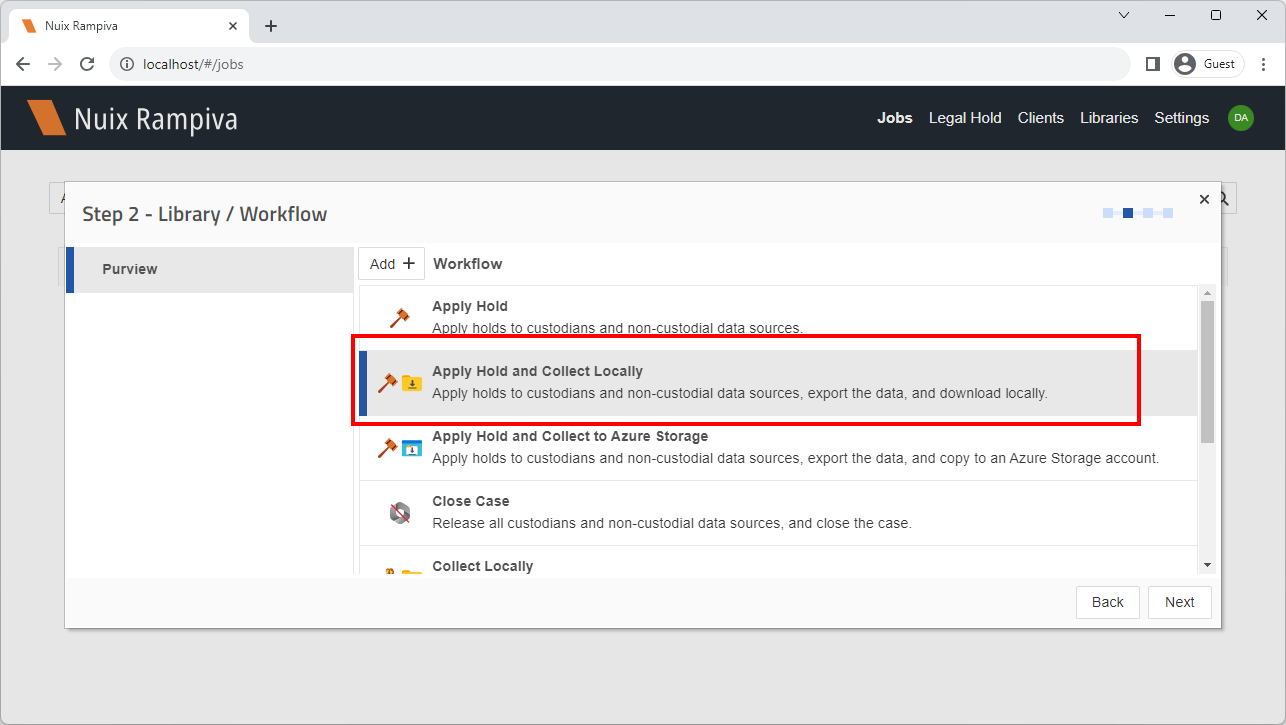 | ||
| 6 | Select an Execution Profile and a Resource Pool. | 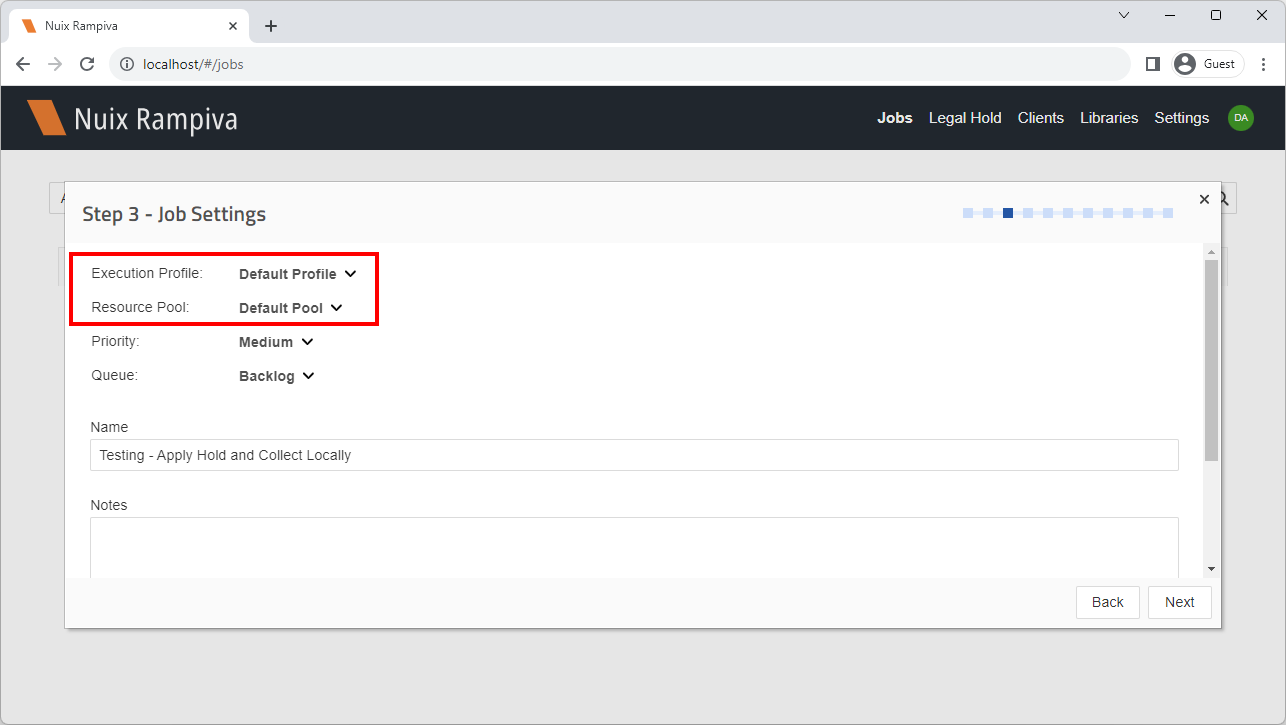 | ||
| 7 | Scroll to the bottom of the page and confirm the Purview Service and Download Location and click Next.
| 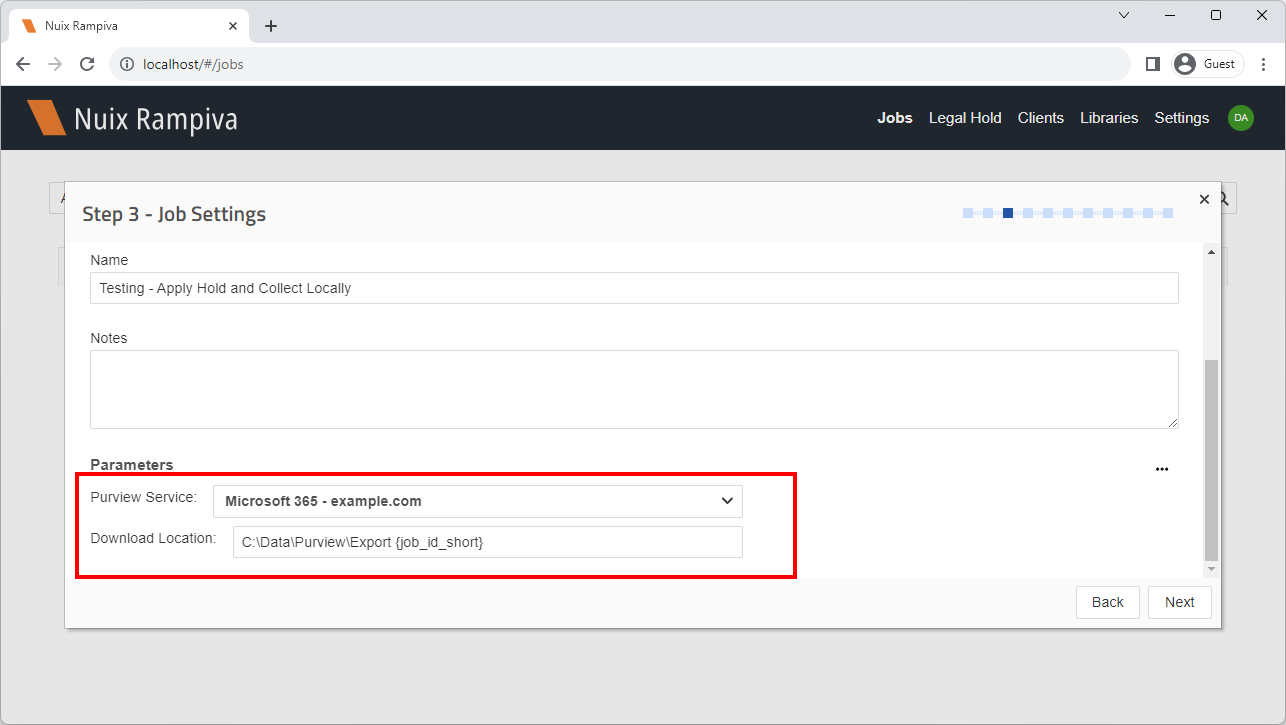 | ||
| 8 | Select the option to Create new Purview case. | 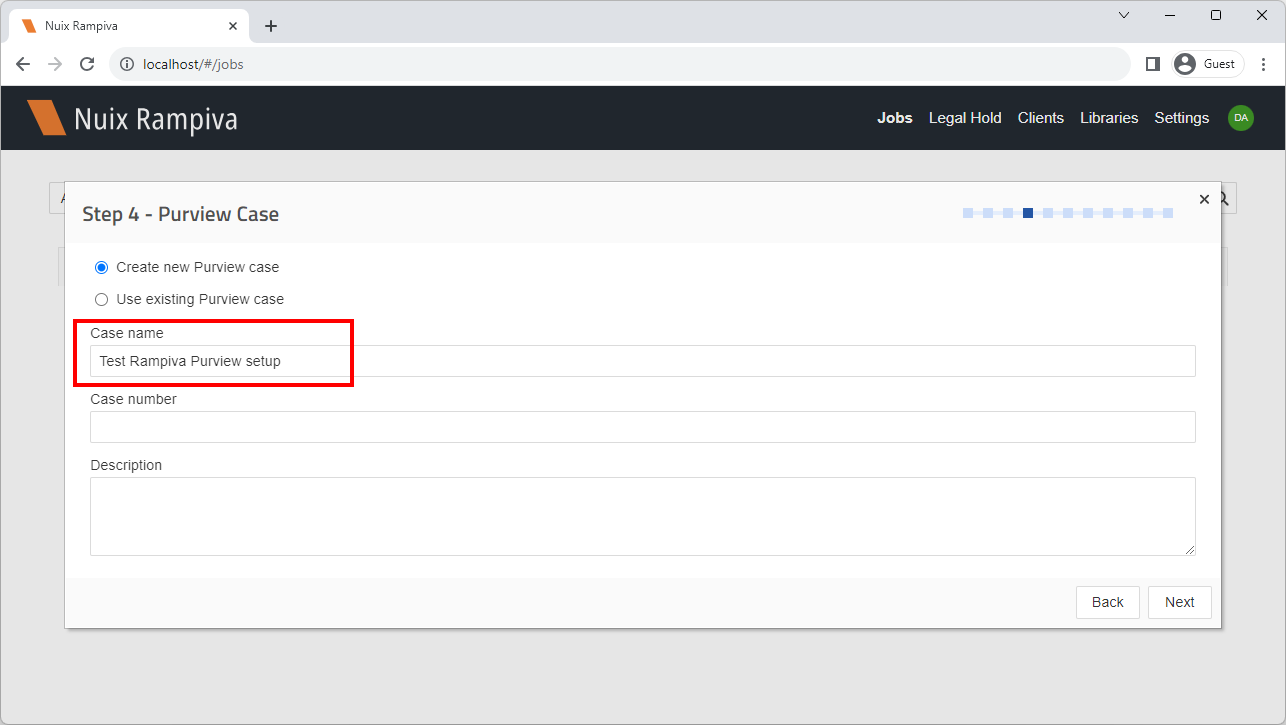 | ||
| 9 | Name the case Test Rampiva Purview setup and click Next. | |||
| 10 | Add a custodian using the + button and click Next. | 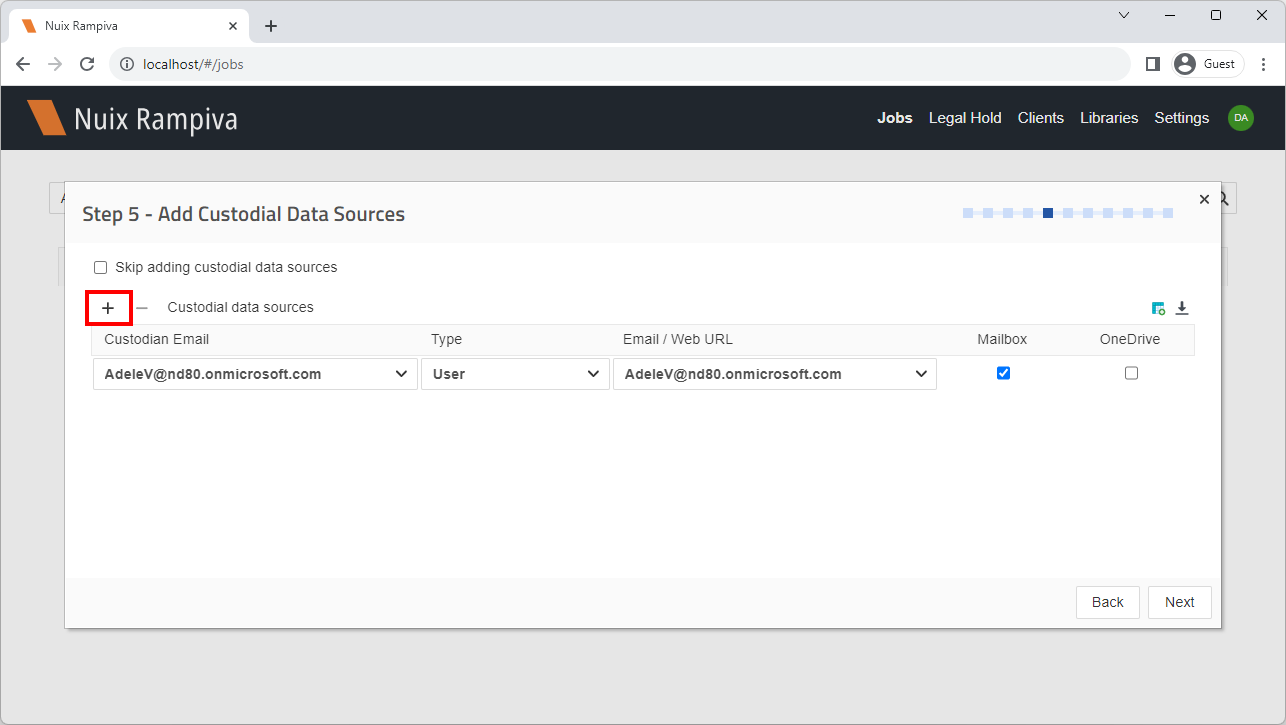 | ||
| 11 | Add a non-custodial data source using the + button and click Next. | 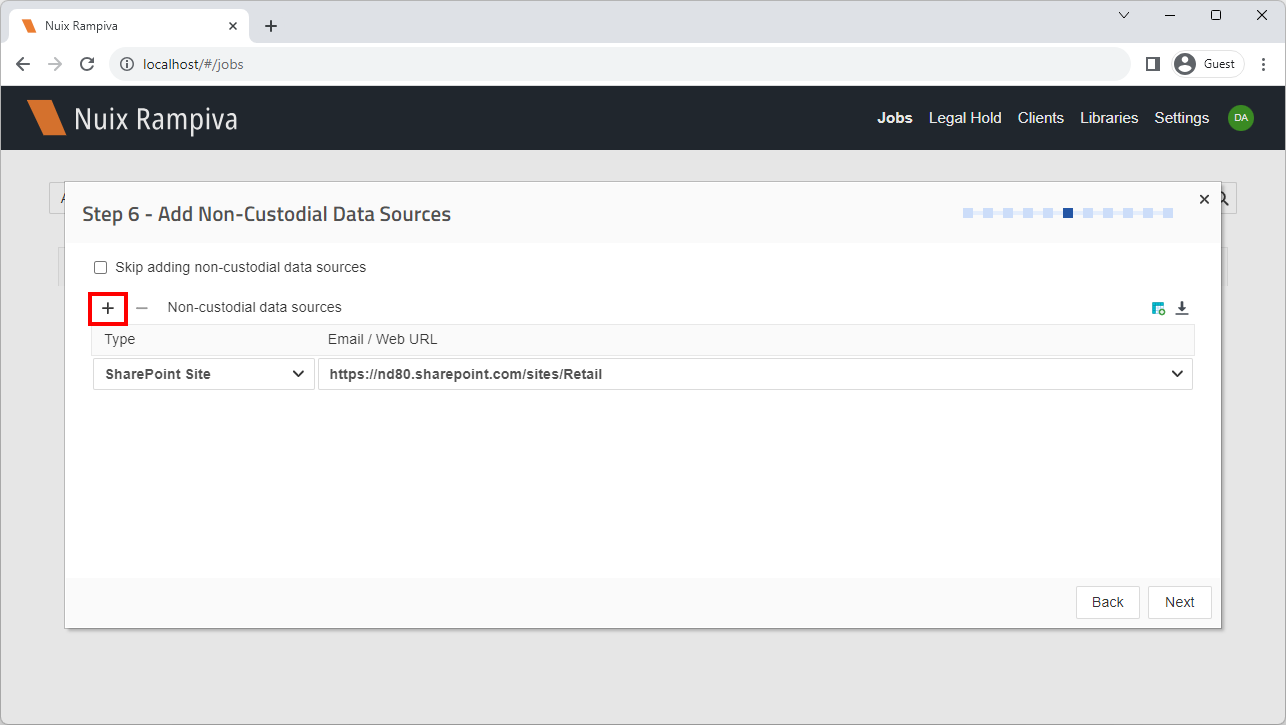 | ||
| 12 | Leave the default search options and click Next. |  | ||
| 13 | Leave the default review set options and click Next. | 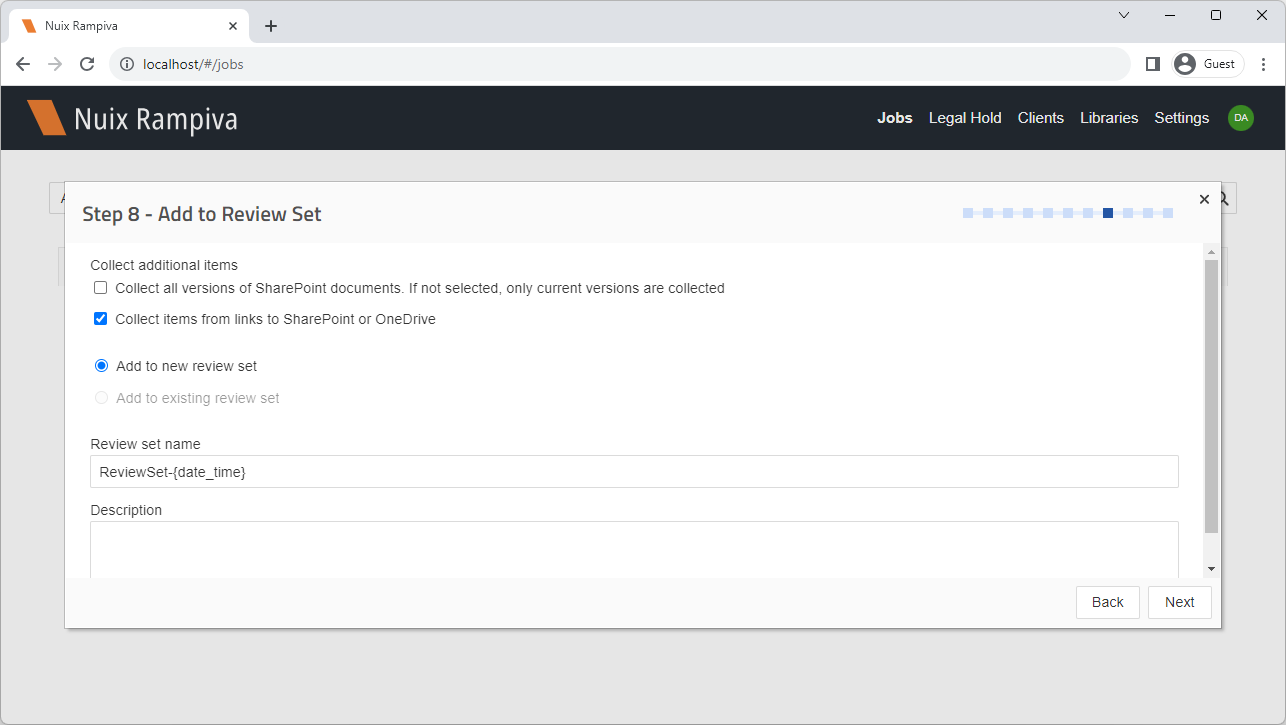 | ||
| 14 | Leave the default export review set options and click Next. | 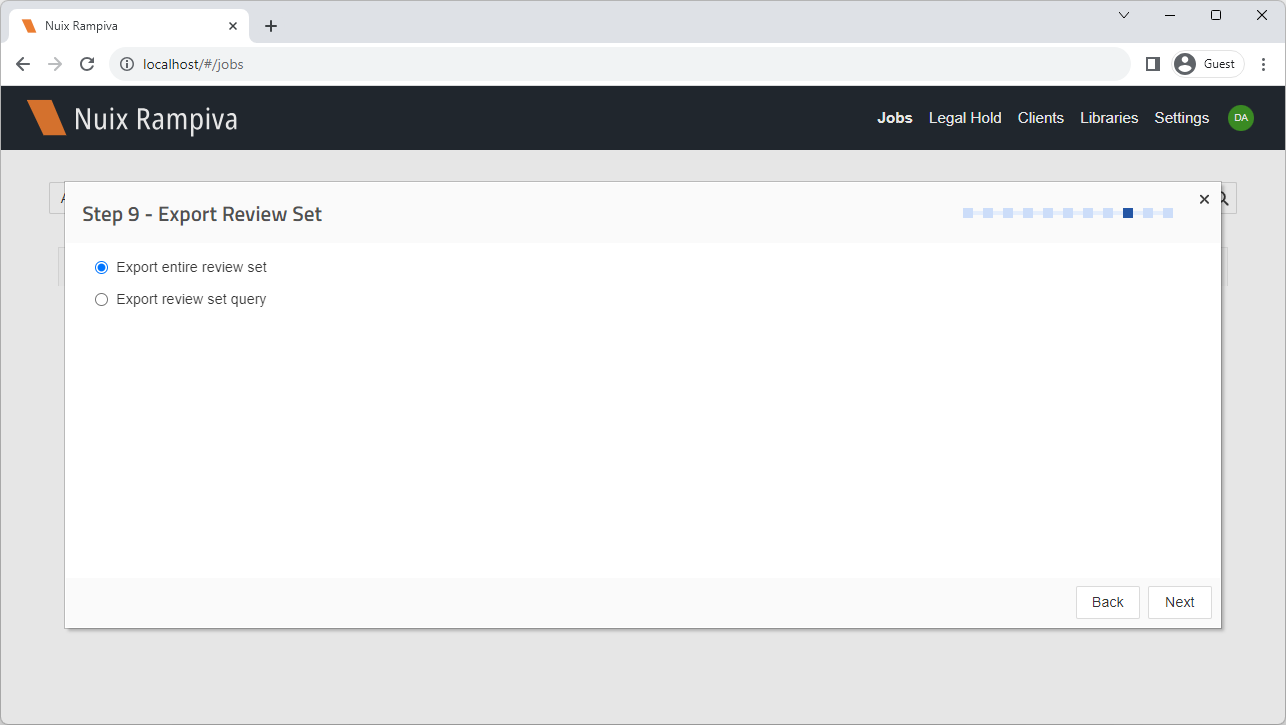 | ||
| 15 | Leave the default export review set options and click Next. | 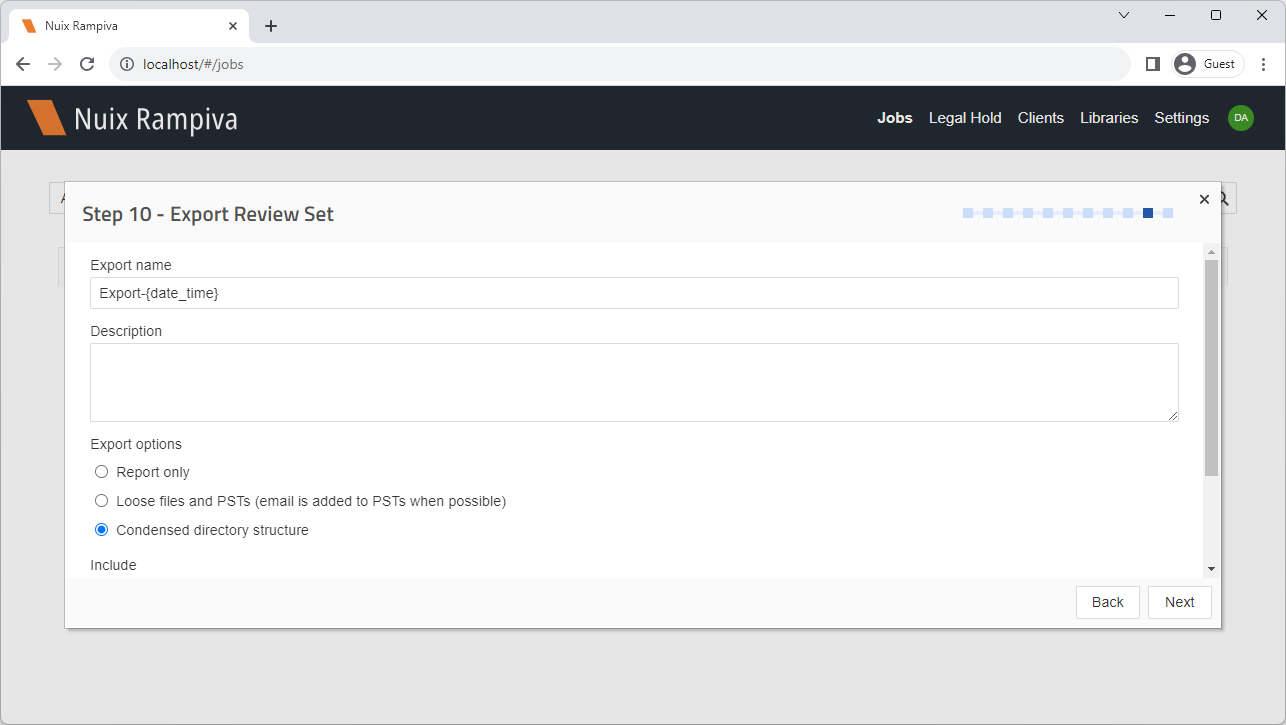 | ||
| 16 | Confirm the Job settings and click Submit. | 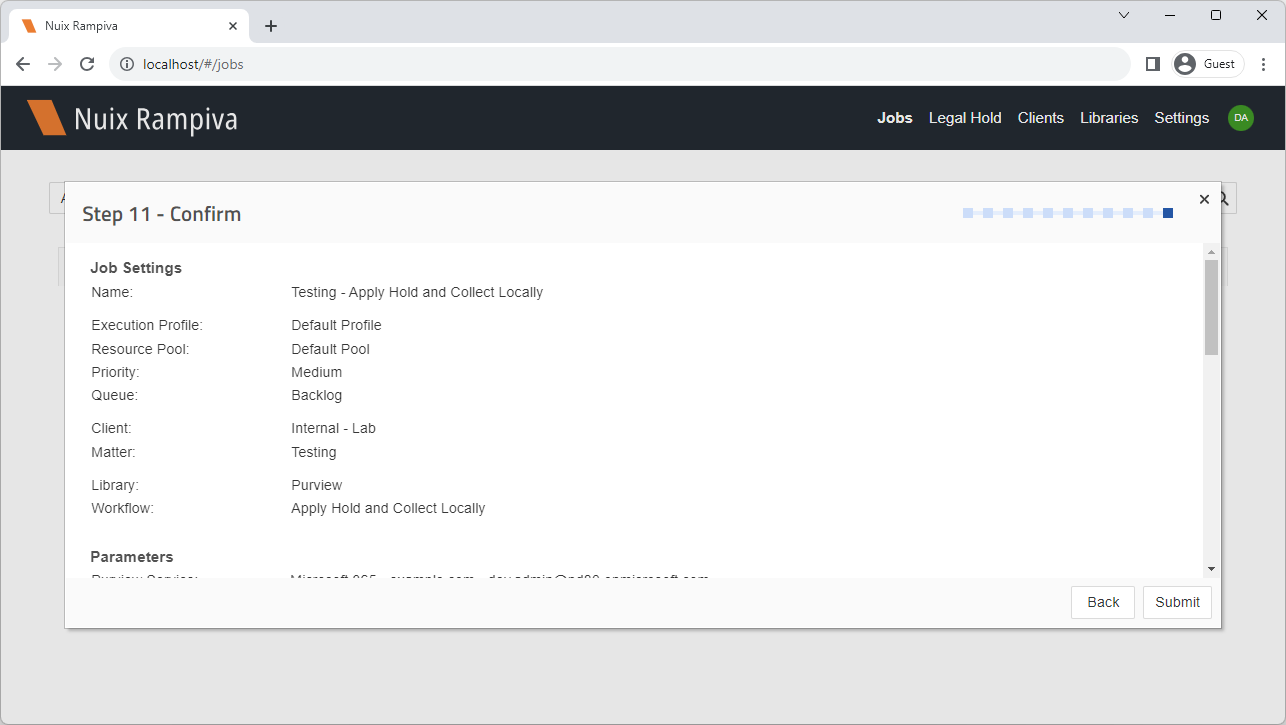 | ||
| 17 | Monitor the progress of the Job in the Workflow section. | 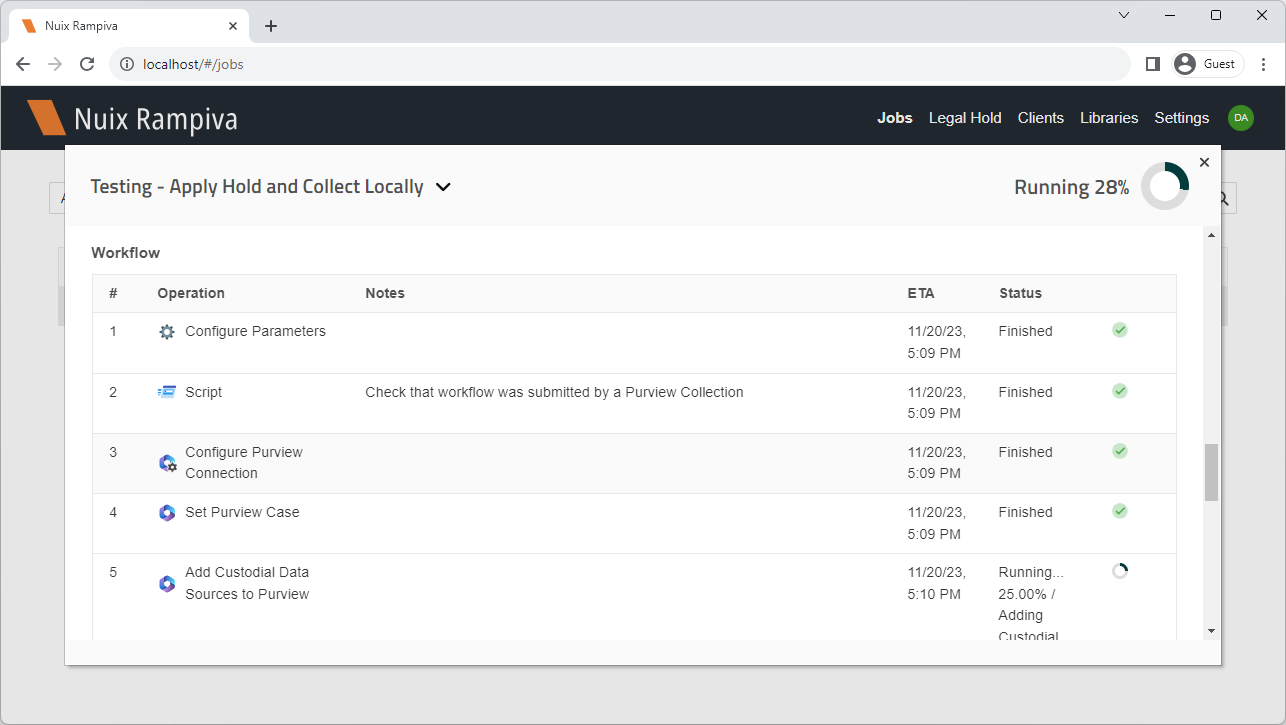 | ||
| 18 | After the Job completes, the data will be available in the base data folder configured in the execution profile, by default C:\Data\Purview\Export a1a1a1a1. | 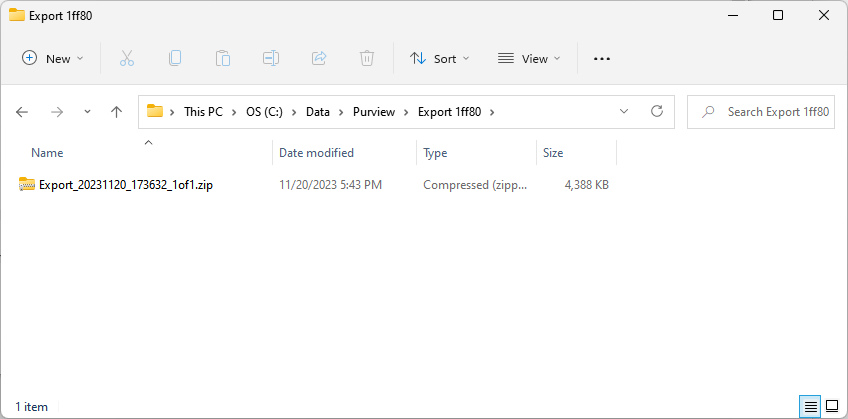 |
...