...
| 1 | Browse to DigitalOcean Apps at https://cloud.digitalocean.com/apps | 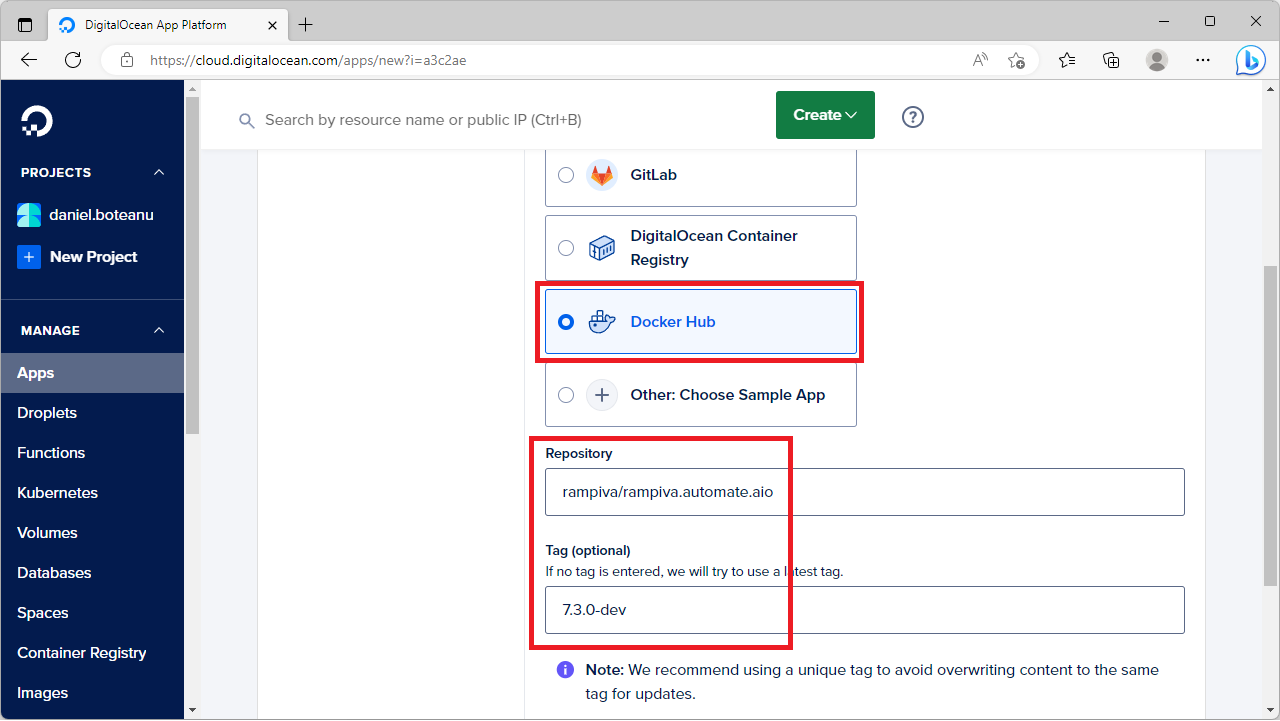 | |||
| 2 | Select Create App. | ||||
| 3 | Select the Service Provider Docker Hub. | ||||
| 4 | Type in the Repository value:
| ||||
| 5 | Type in the Tag value:
| ||||
| 6 | Click Next. | ||||
| 7 | Click Edit in the Web Service rampiva-rampiva-automate-aio. | 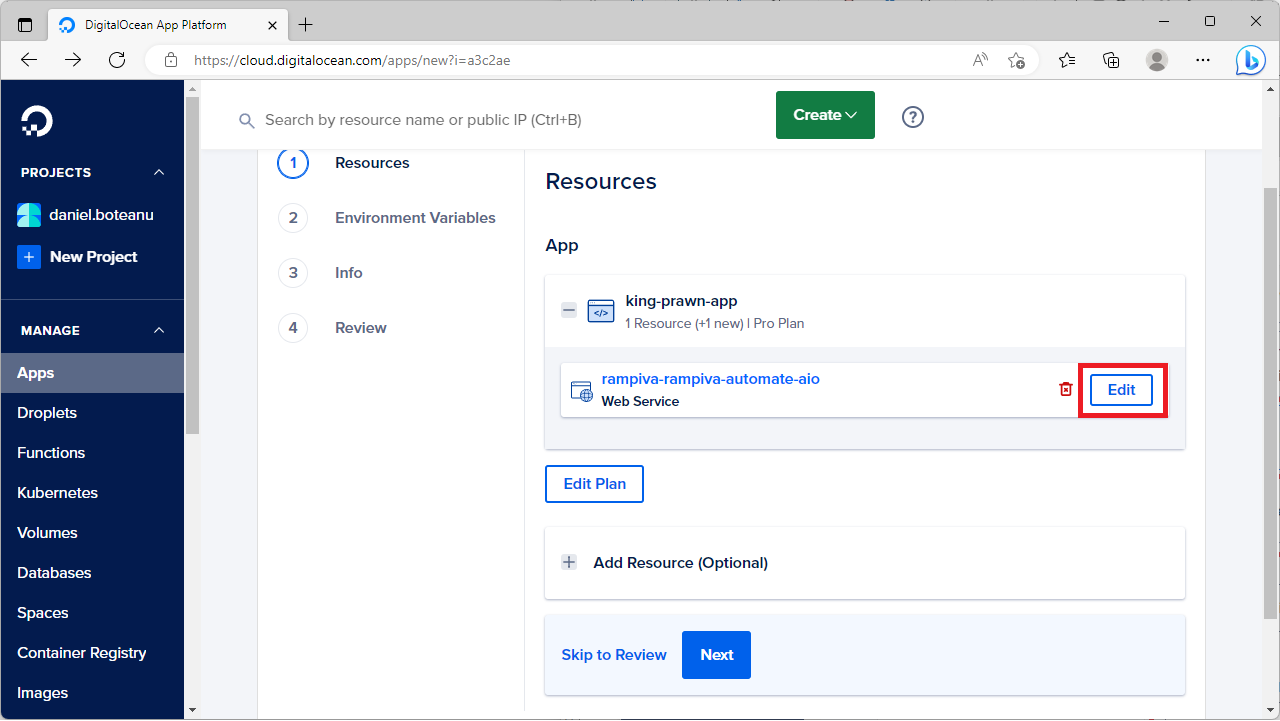 | |||
| 8 | Click Edit in the line HTTP Port. | 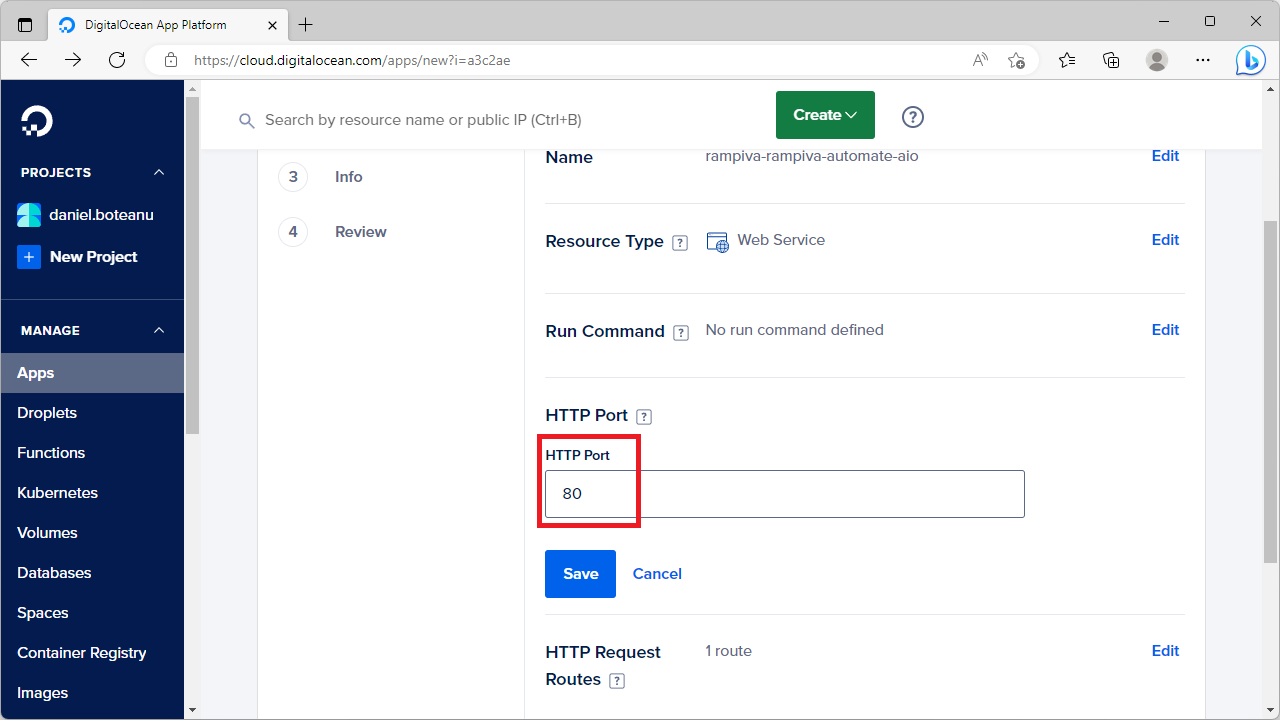 | |||
| 9 | Change the port to 80. | ||||
| 10 | Click Save. | ||||
| 11 | Click Back. | ||||
| 12 | Click Edit Plan. | 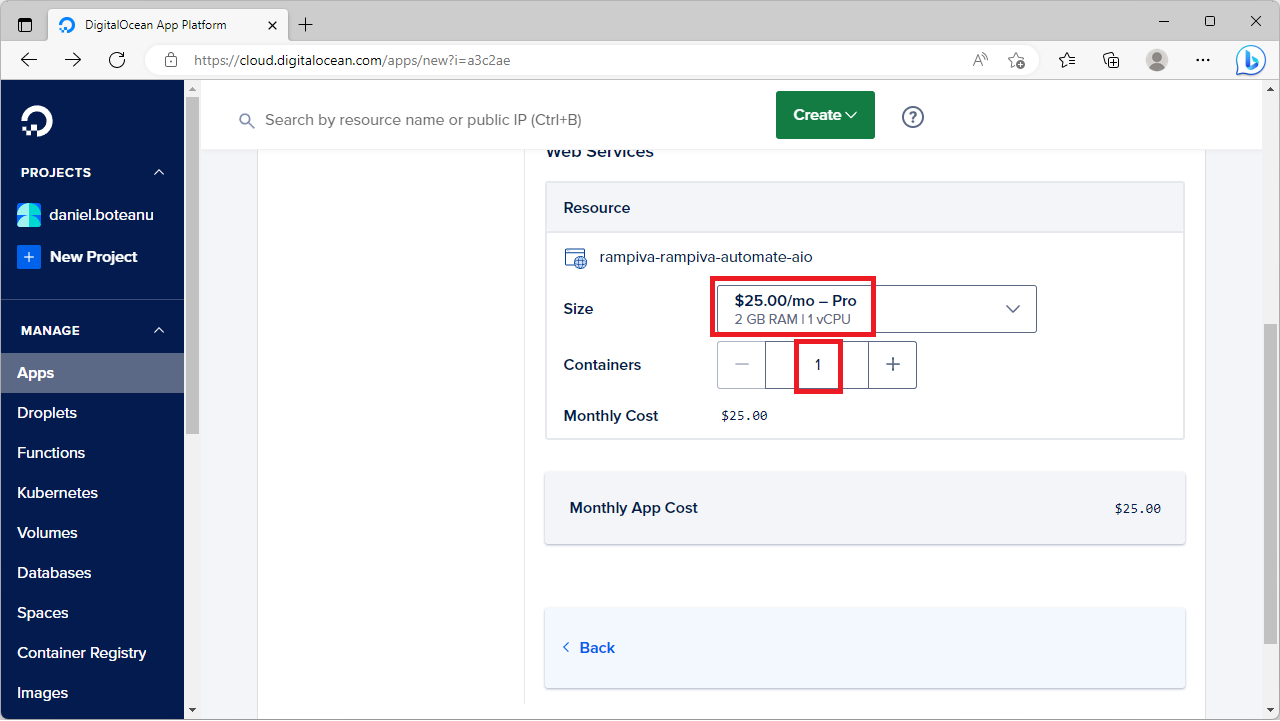 | |||
| 13 | In the Size section, select at a minimum the option 2 GB RAM | 1 vCPU.
| ||||
| 14 | Change the containers count to 1. | ||||
| 15 | Click Back. | ||||
| 16 | Click Next. | ||||
| 17 | In the Environment Variables Global section, click Edit. | ||||
| 18 | Add the following values:
| 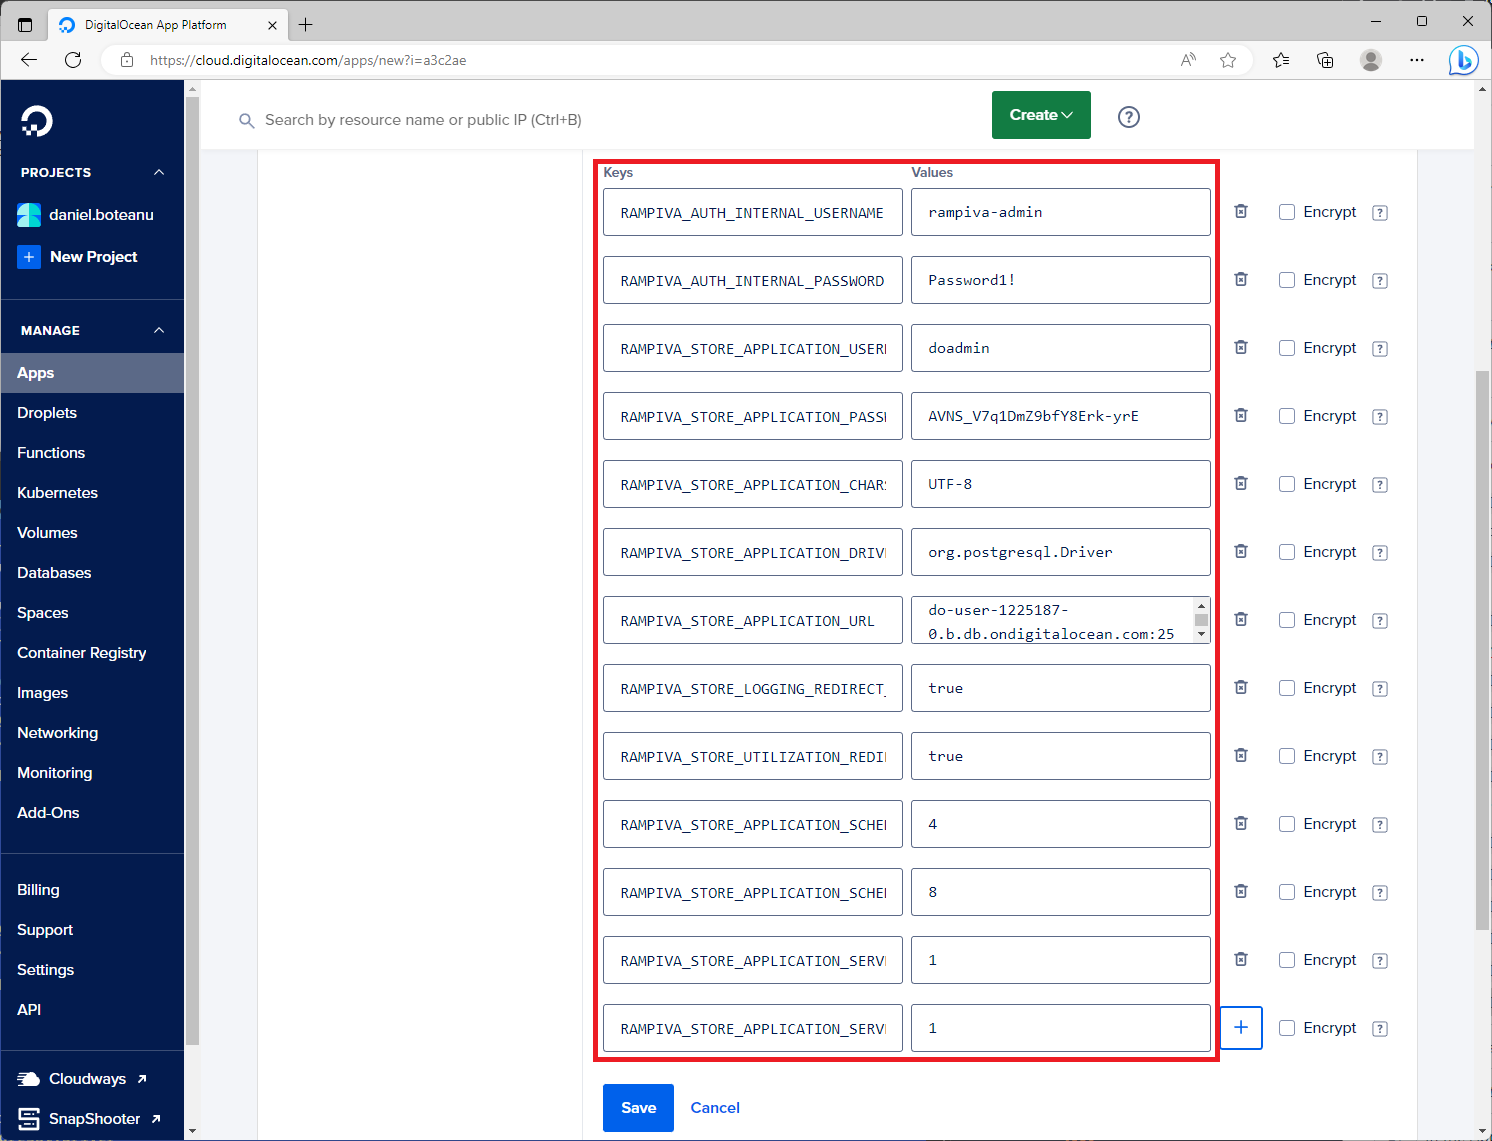 | |||
| 19 | Click Save. | ||||
| 20 | Click Next. | ||||
| 21 | In the App Info section, click Edit. | 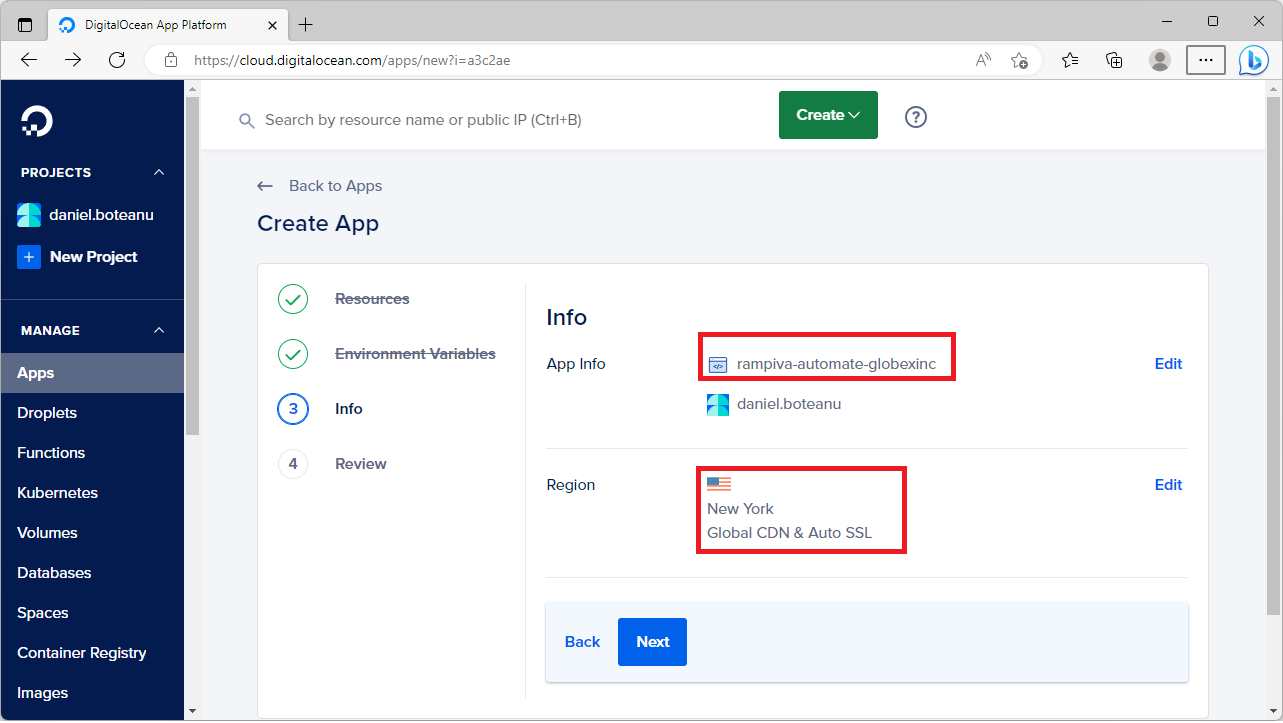 | |||
| 22 | Name the app rampiva-automate-company, where company is the name of your company. | ||||
| 23 | Click Save. | ||||
| 24 | Select the desired region and click Save. | ||||
| 25 | Click Next. | ||||
| 26 | Scroll to the bottom of the page and click Create Resources. | ||||
| 27 | Wait for the app to be deployed. | 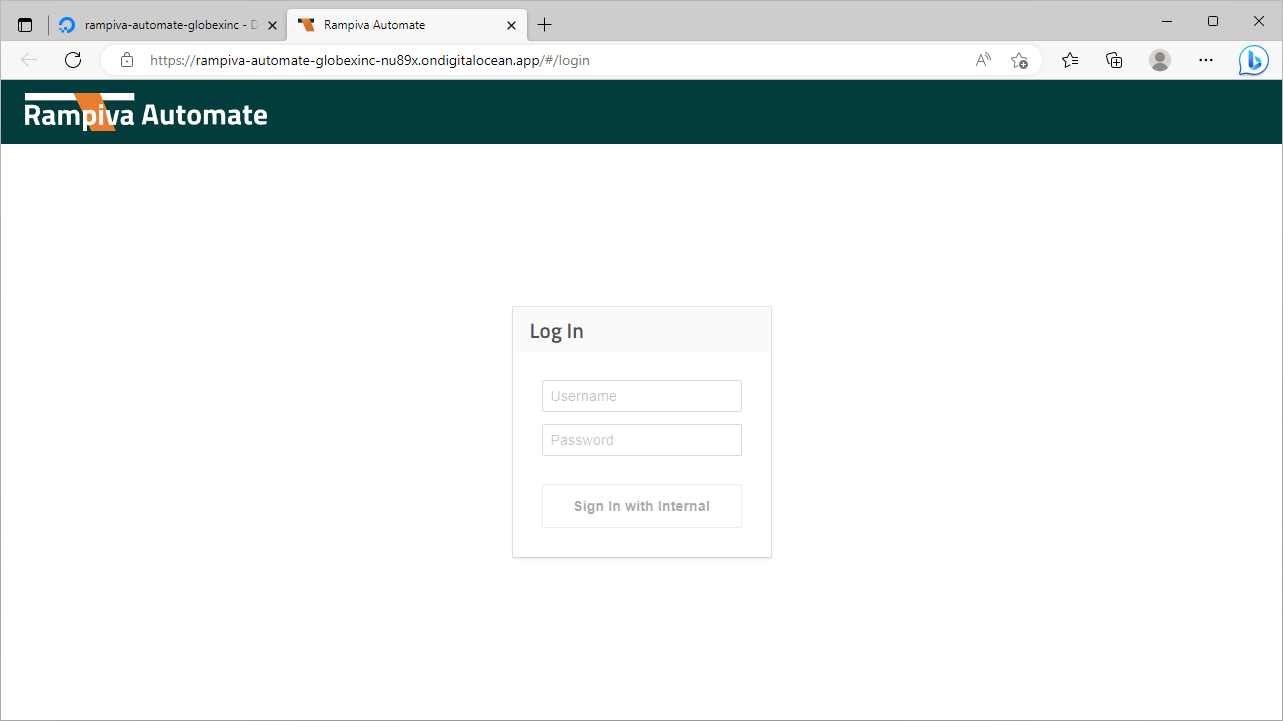 | |||
| 28 | Click Live App to navigate to the application URL. | ||||
| 29 | Confirm that you can log in with the internal username and password set in the previous step. |
...