...
This article is part of a series:
Submit a Rampiva Automate job from Microsoft Flow using the native connector: Integrate Microsoft Flow with Rampiva Automate (Native Connector)
Trigger a Microsoft Flow when an event occurs in Rampiva Automate - Integrate Rampiva Automate with Microsoft Flow (Native Connector)
Submit Rampiva Automate job using the API when a form is submitted in Microsoft Forms: Integrate Microsoft Power Apps with Rampiva Automate (API) (this article)
Trigger a Microsoft Power Apps Flow using a script when the status of a Rampiva Automate job changes: Integrate Rampiva Automate with Microsoft Power Apps (Script)
...
A. Create a Form to Capture the Job Requests
| 1 | Open Microsoft Forms at https://www.office.com/launch/forms |  | |
| 2 | Select New Form. | ||
| 3 | Name the form Rampiva Job Submitter.
| ||
| 4 | Add a field named Job Name of type Text. | ||
| 5 | Add a field naed Source Data of type Text. | ||
| 6 | Click Share and copy the link to the form, for use later in this guide. |
B. Create the Power Apps Flow
| 1 | Open Microsoft Power Apps at https://make.powerapps.com/ | 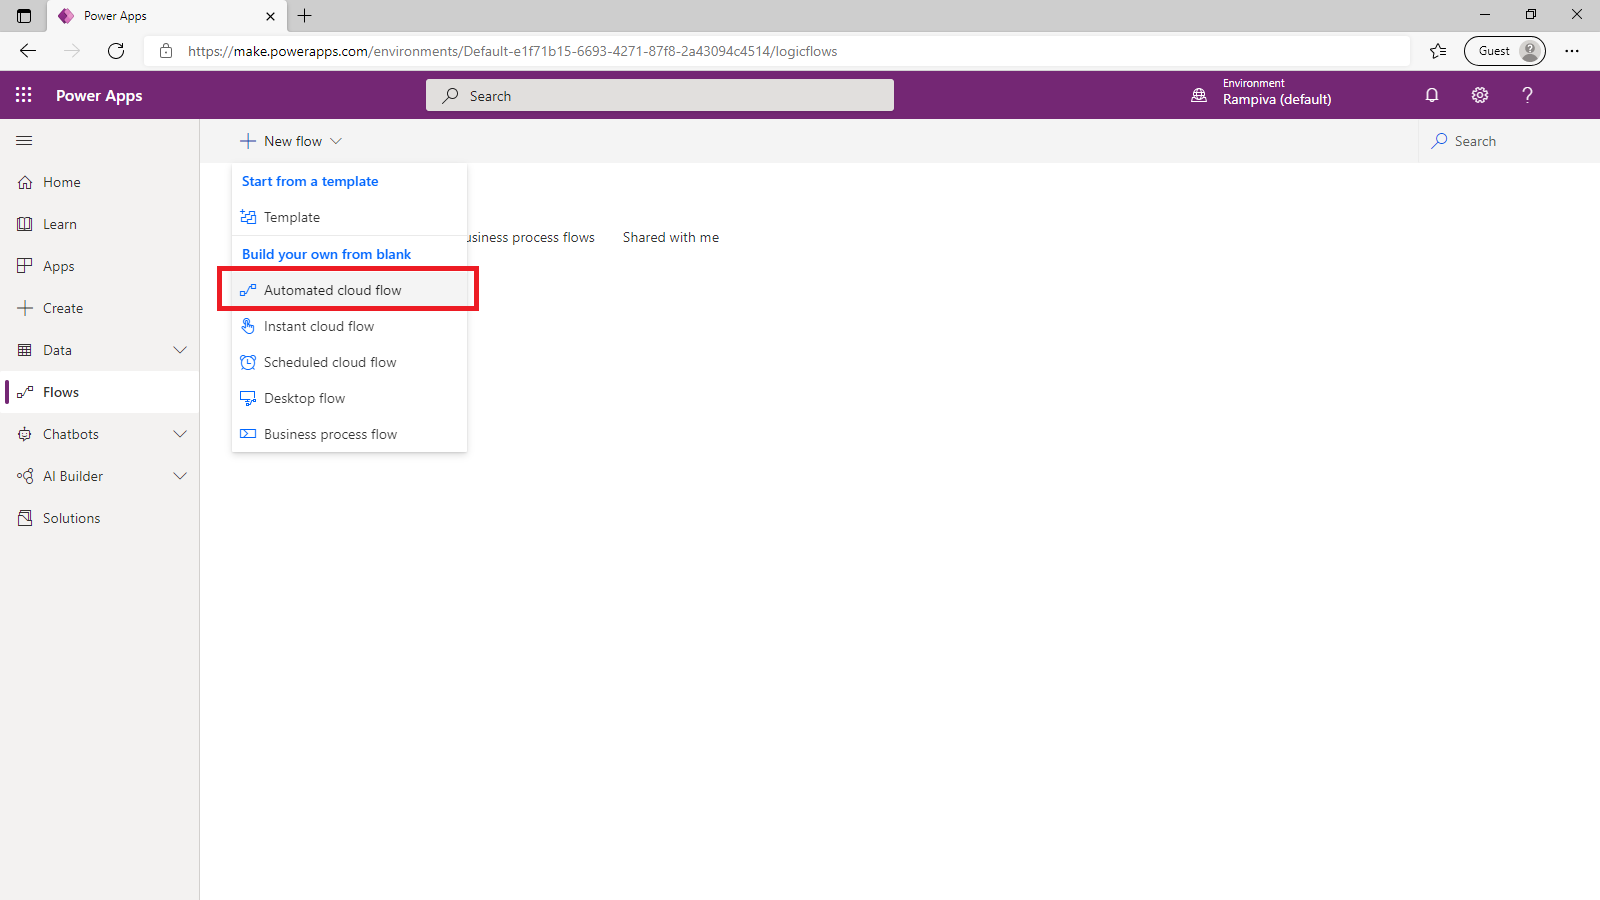 | |||
| 2 | Select the Flows tab. | ||||
| 3 | Create a New flow of the type Automated cloud flow. | ||||
| 4 | Name the flow Submit Rampiva Job. | 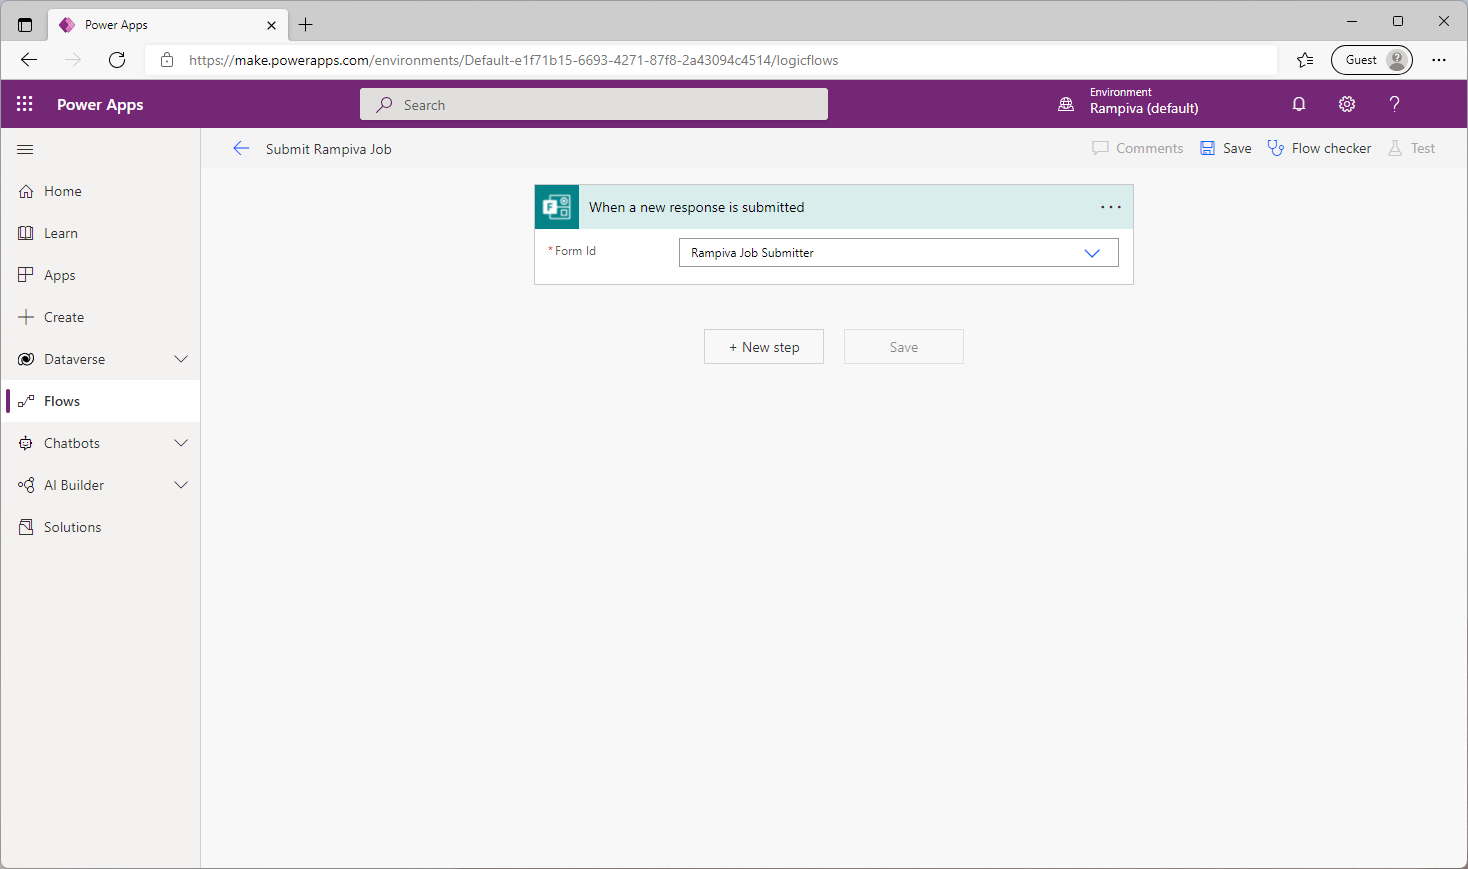 | |||
| 5 | Select the flow trigger When a new response is submitted, from the Microsoft Forms app. | ||||
| 6 | In the Form Id field, select the form previously created. | ||||
| 7 | Add a New step with the action Get response details, from the Microsoft Forms app.
| 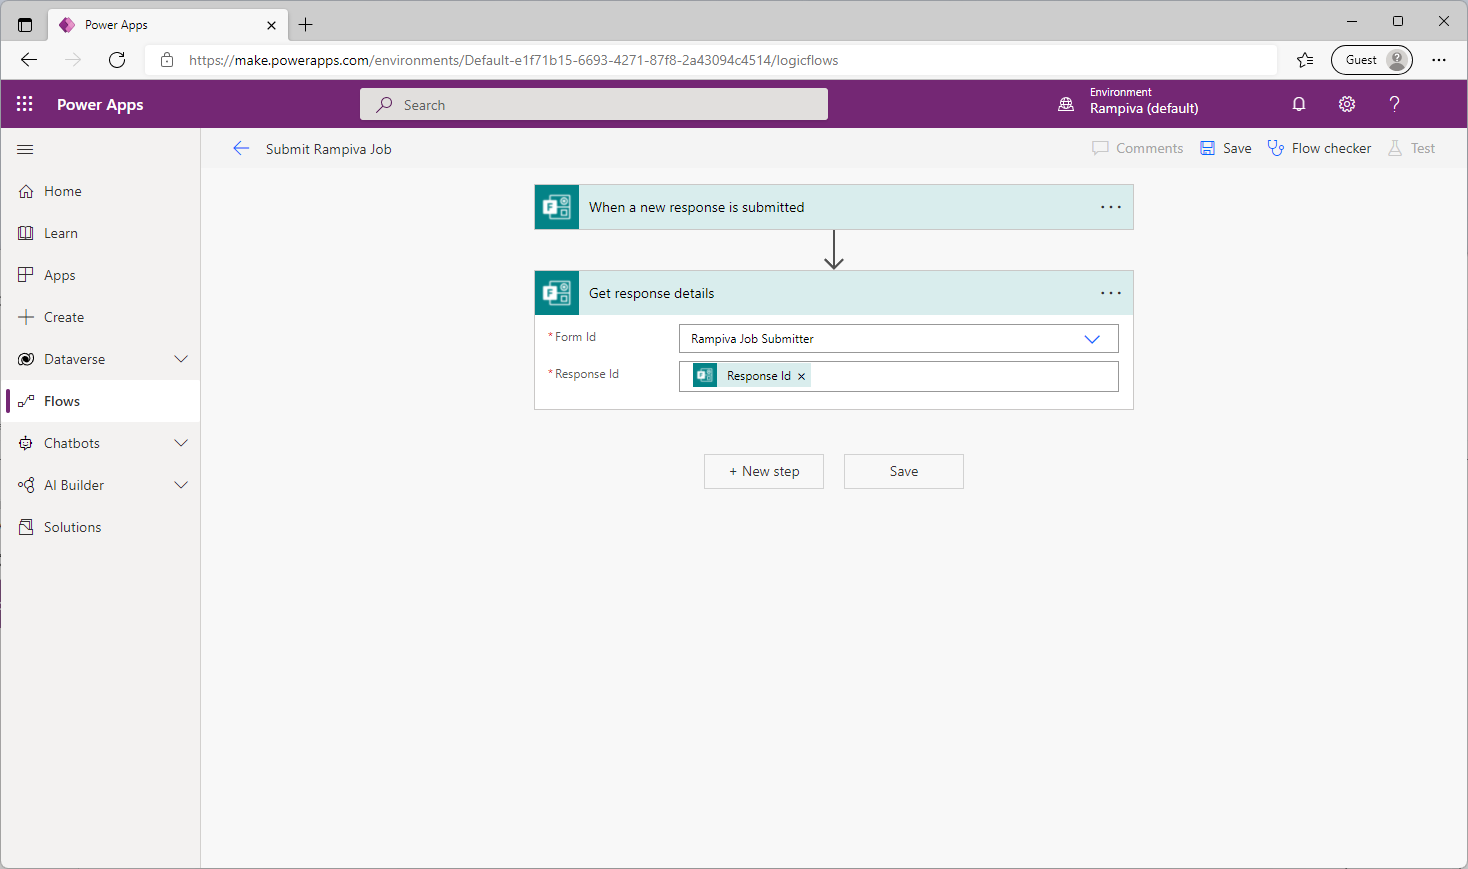 | |||
| 8 | In the Form Id field, select the form previously created. | ||||
| 9 | In the Response Id field, select the Reponse Id object from the Dynamic content section. | ||||
| 10 | Add a New step with the action HTTP, from the HTTP app.
| 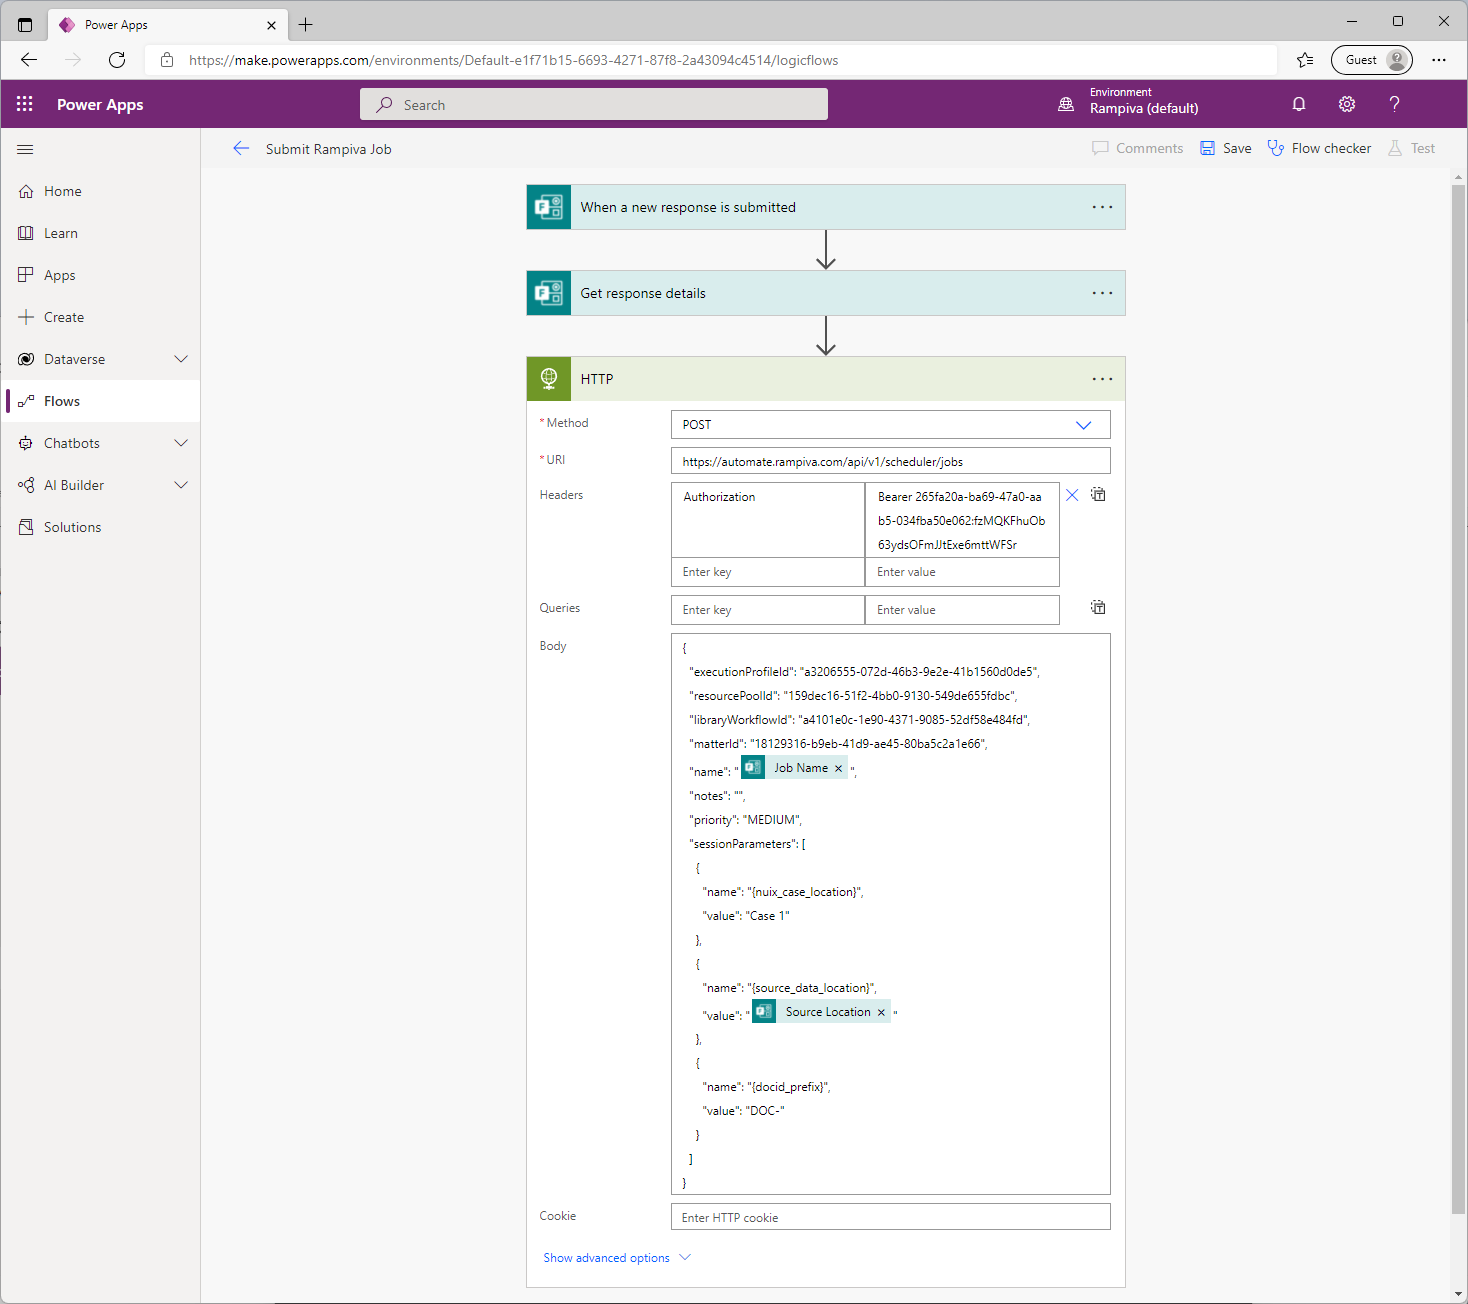 | |||
| 11 | Set the Method to POST. | ||||
| 12 | Set the URL to:
| ||||
| 13 | Type in the header key:
| ||||
| 14 | Type in the header value corresponding to the API Key authentication header, for example
| ||||
| 15 | Set the Body to:
| ||||
| 16 | Replace the text | ||||
| 17 | Click Save in the top-right section of the screen to save the flow. |
C. Test the Flow
| 1 | Open the link to the form previously created. | 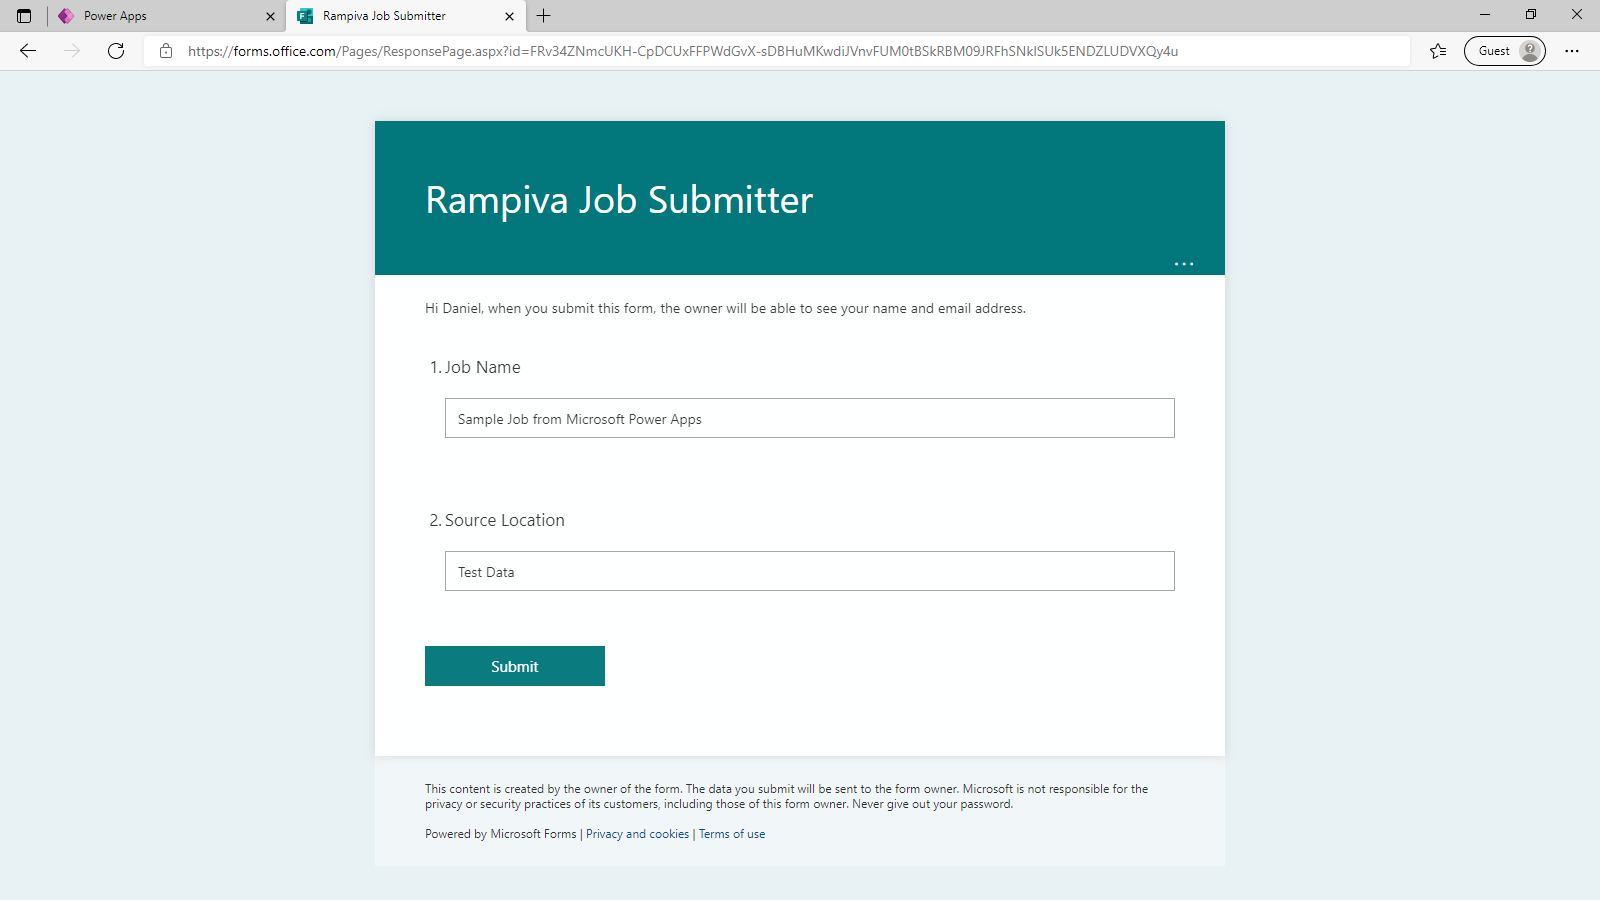 | ||
| 2 | Fill out the form with a sample Job Name and Source Location and Submit. | |||
| 3 | Return to Power Apps, to the Flows tab and select the Submit Rampiva Job application.
| 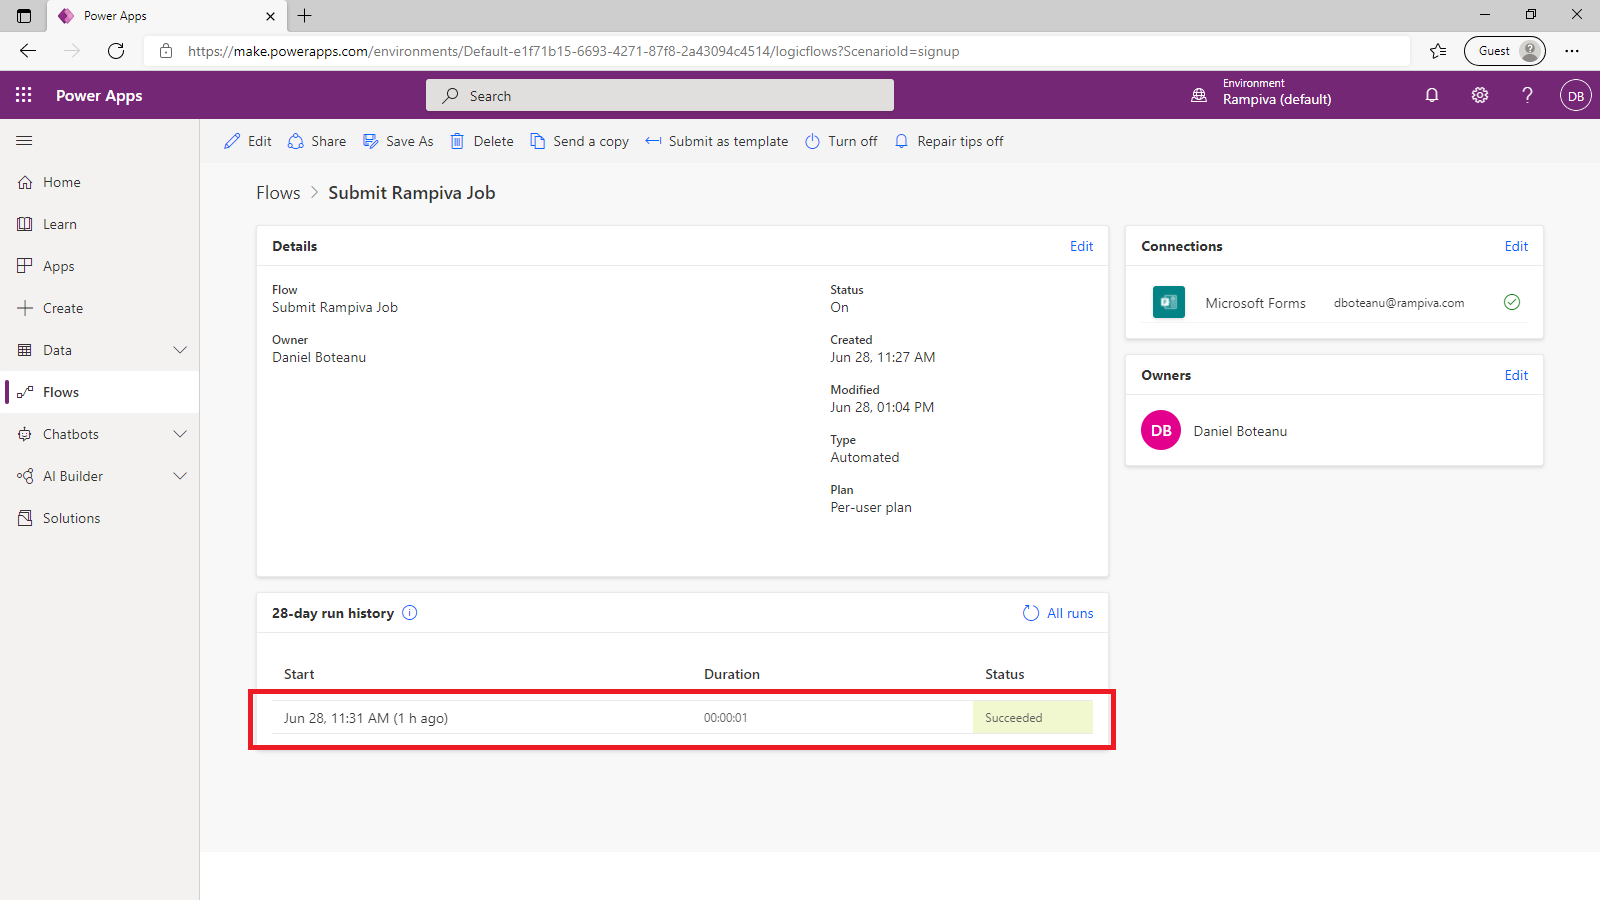 | ||
| 4 | Open Rampiva Automate.
| 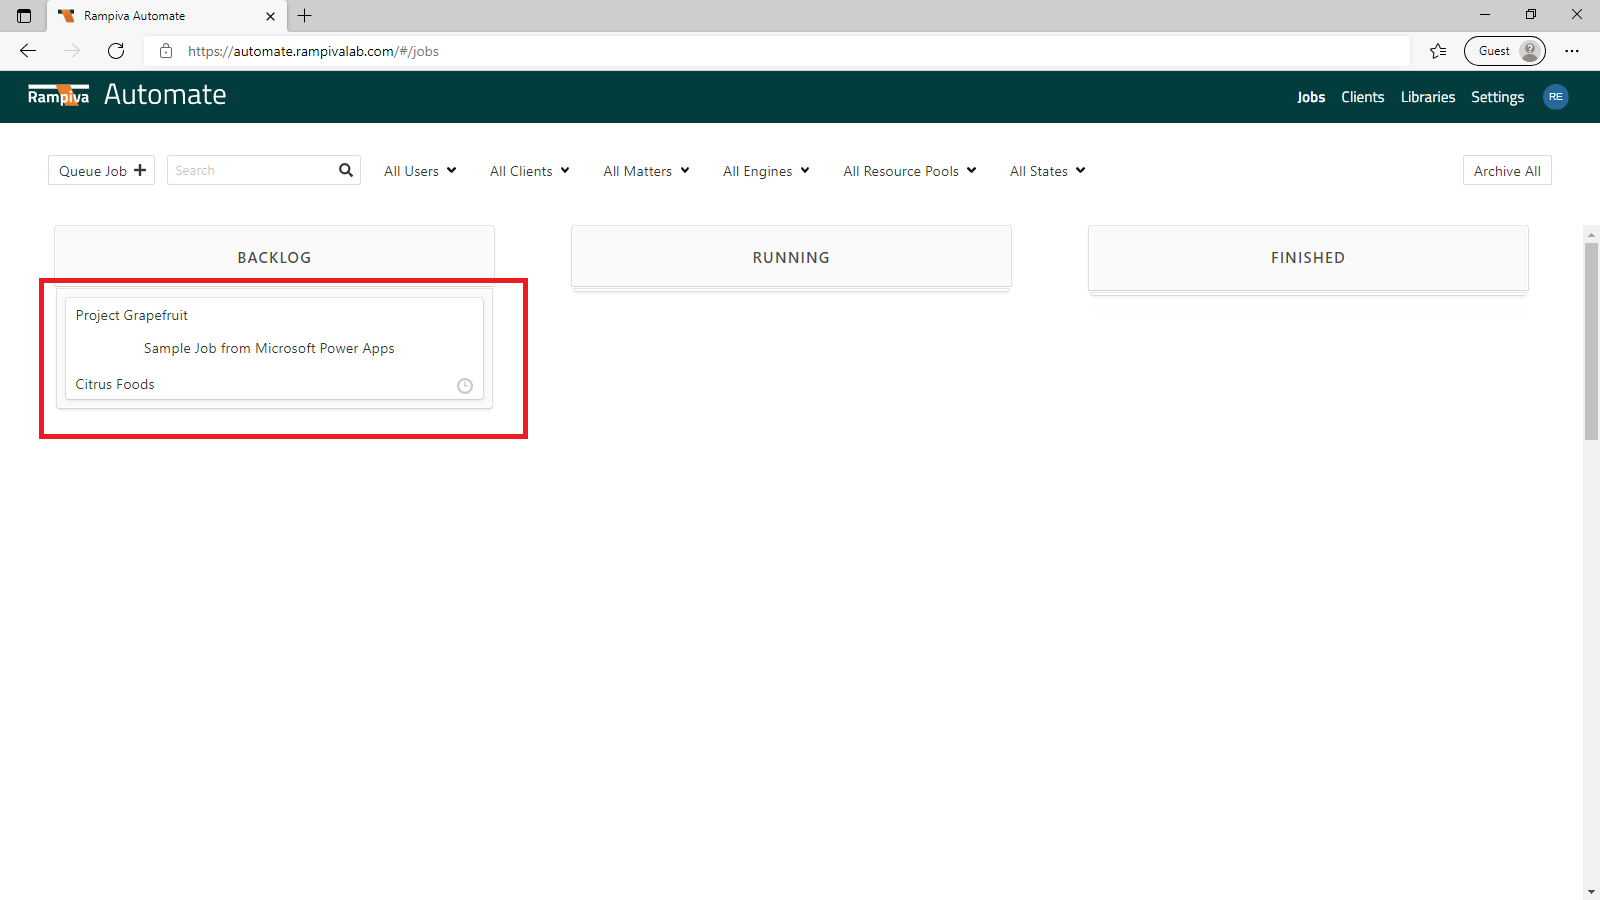 |
D. Troubleshooting
| 1 | If a job is not created in Rampiva Automate, open the flow run history event and inspect the input and output body of the HTTP operation for anomalies or errors. |