The material in this document is for informational purposes only. The products it describes are subject to change without prior notice, due to the manufacturer’s continuous development program. Rampiva makes no representations or warranties with respect to this document or with respect to the products described herein. Rampiva shall not be liable for any damages, losses, costs or expenses, direct, indirect or incidental, consequential or special, arising out of, or related to the use of this material or the products described herein.
Introduction
This article describes how to submit a Rampiva Automate job from Microsoft Flow using the API.
As an example, we will submit a job when a response is submitted in a Microsoft Form.
When creating a Flow that performs other tasks, it can be useful to first manually perform the tasks in the Rampiva Automate web interface and to monitor the endpoints called and the responses received in the browser network tab. Additionally, the Rampiva API documentation is available at http://localhost/openapi, where localhost is the server where Automate is installed.
This article is part of a series:
Submit a Rampiva Automate job from Microsoft Flow using the native connector: Integrate Microsoft Flow with Rampiva Automate (Native Connector)
Trigger a Microsoft Flow when an event occurs in Rampiva Automate - Integrate Rampiva Automate with Microsoft Flow (Native Connector)
Submit Rampiva Automate job using the API when a form is submitted in Microsoft Forms: Integrate Microsoft Power Apps with Rampiva Automate (API) (this article)
Trigger a Microsoft Power Apps Flow using a script when the status of a Rampiva Automate job changes: Integrate Rampiva Automate with Microsoft Power Apps (Script)
Prerequisites
Rampiva Automate 5.5.0 or later, accessible from the Internet
Rampiva API Key (see Authenticate to Rampiva Automate with an API Key)
Microsoft Power Apps
Instructions
A. Create a Form to Capture the Job Requests
| 1 | Open Microsoft Forms at https://www.office.com/launch/forms |  |
| 2 | Select New Form. | |
| 3 | Name the form Rampiva Job Submitter. This form will be used as a trigger. Whenever a response is submitted, a Flow will connect to Rampiva Automate and submit a job with the Job Name and Source Data parameters defined in this form. The fields we will use in the table in this guide are an example, and can be adjusted to correspond to the required parameters of the Rampiva workflow used. | |
| 4 | Add a field named Job Name of type Text. | |
| 5 | Add a field naed Source Data of type Text. | |
| 6 | Click Share and copy the link to the form, for use later in this guide. |
B. Create the Power Apps Flow
| 1 | Open Microsoft Power Apps at https://make.powerapps.com/ | 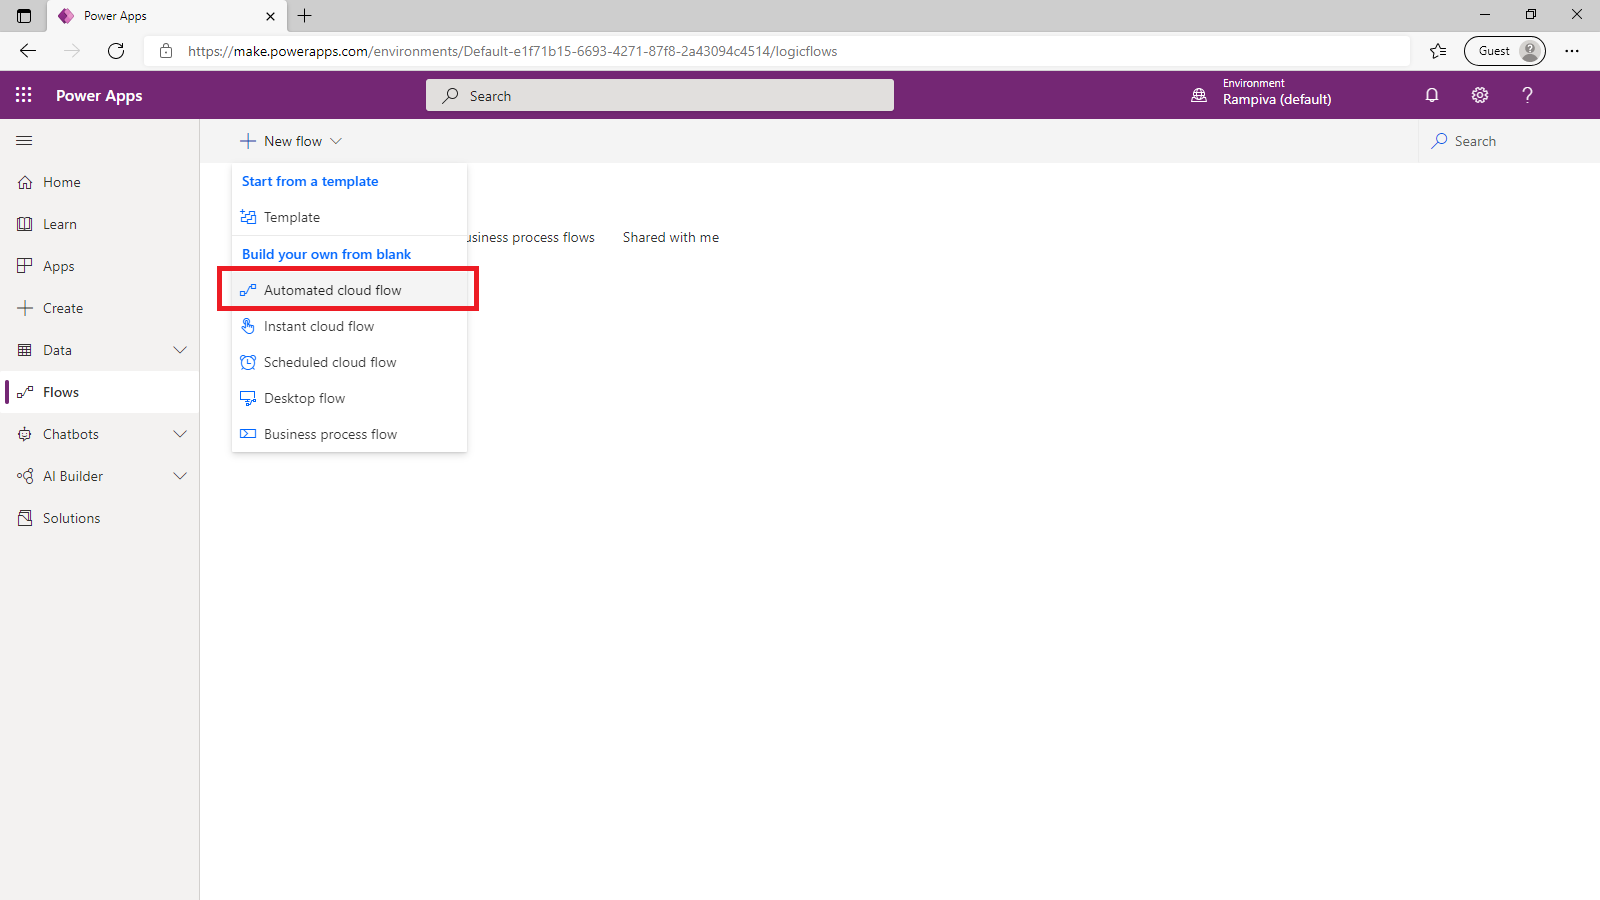 |
| 2 | Select the Flows tab. | |
| 3 | Create a New flow of the type Automated cloud flow. | |
| 4 | Name the flow Submit Rampiva Job. | 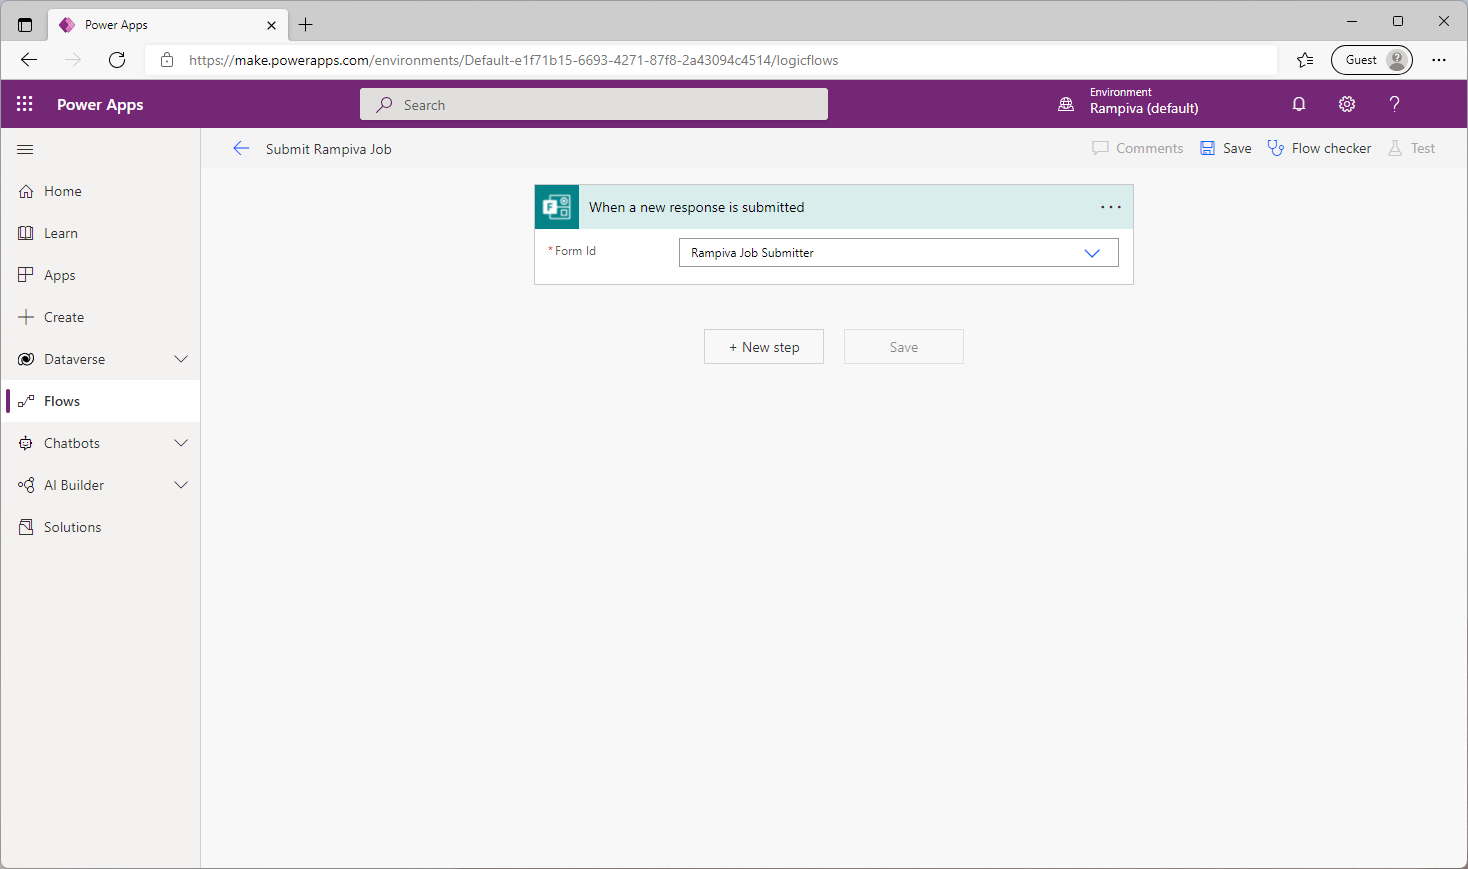 |
| 5 | Select the flow trigger When a new response is submitted, from the Microsoft Forms app. | |
| 6 | In the Form Id field, select the form previously created. | |
| 7 | Add a New step with the action Get response details, from the Microsoft Forms app. This step will be used to parse the response of the form and make the fields accessible to other steps in the flow. | 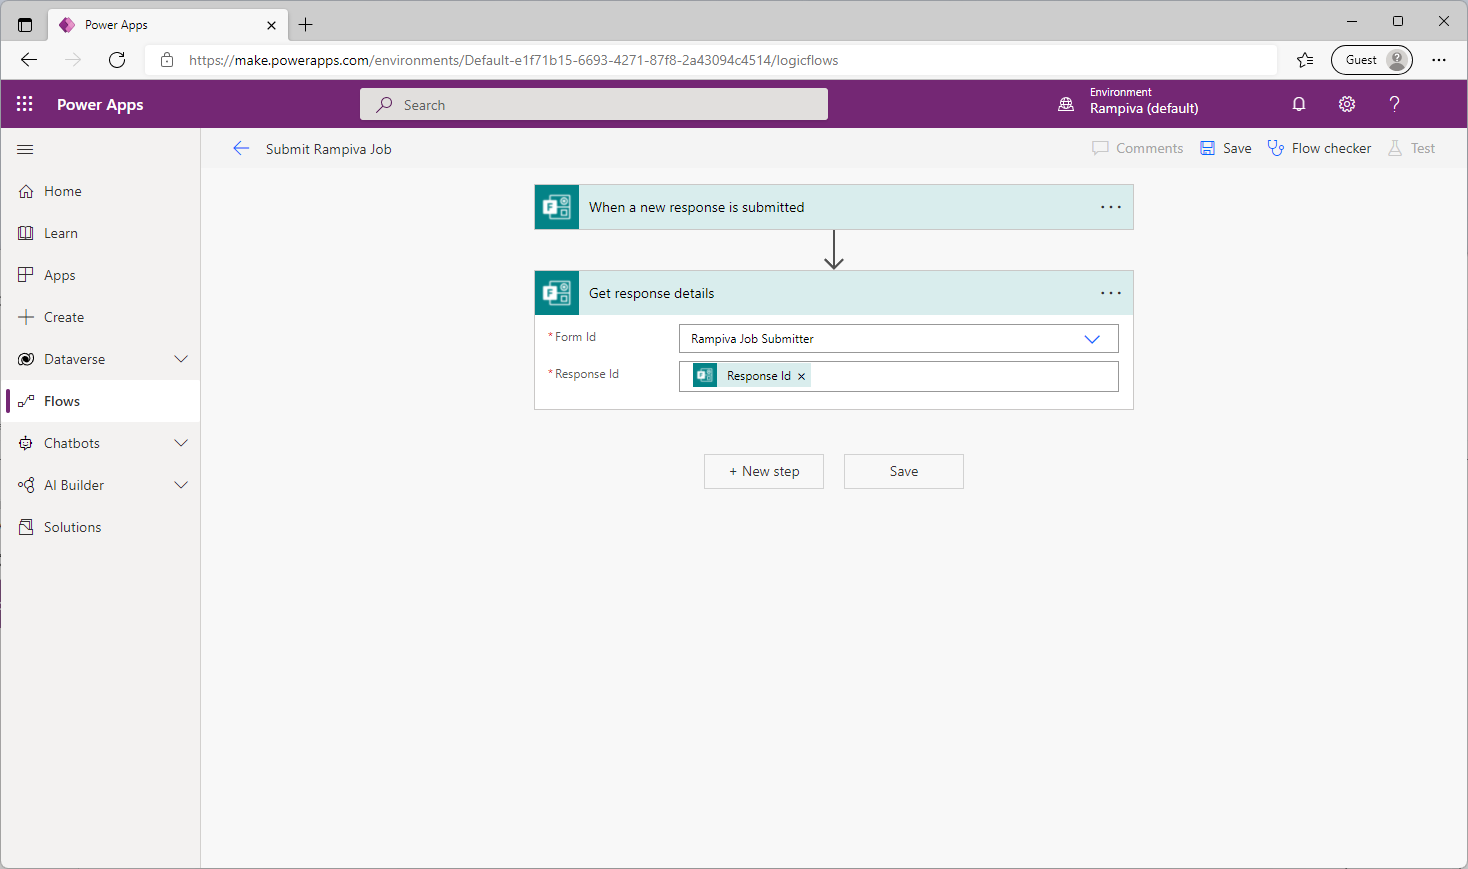 |
| 8 | In the Form Id field, select the form previously created. | |
| 9 | In the Response Id field, select the Reponse Id object from the Dynamic content section. | |
| 10 | Add a New step with the action HTTP, from the HTTP app. This step will be used to submit the Job to Rampiva Automate. | 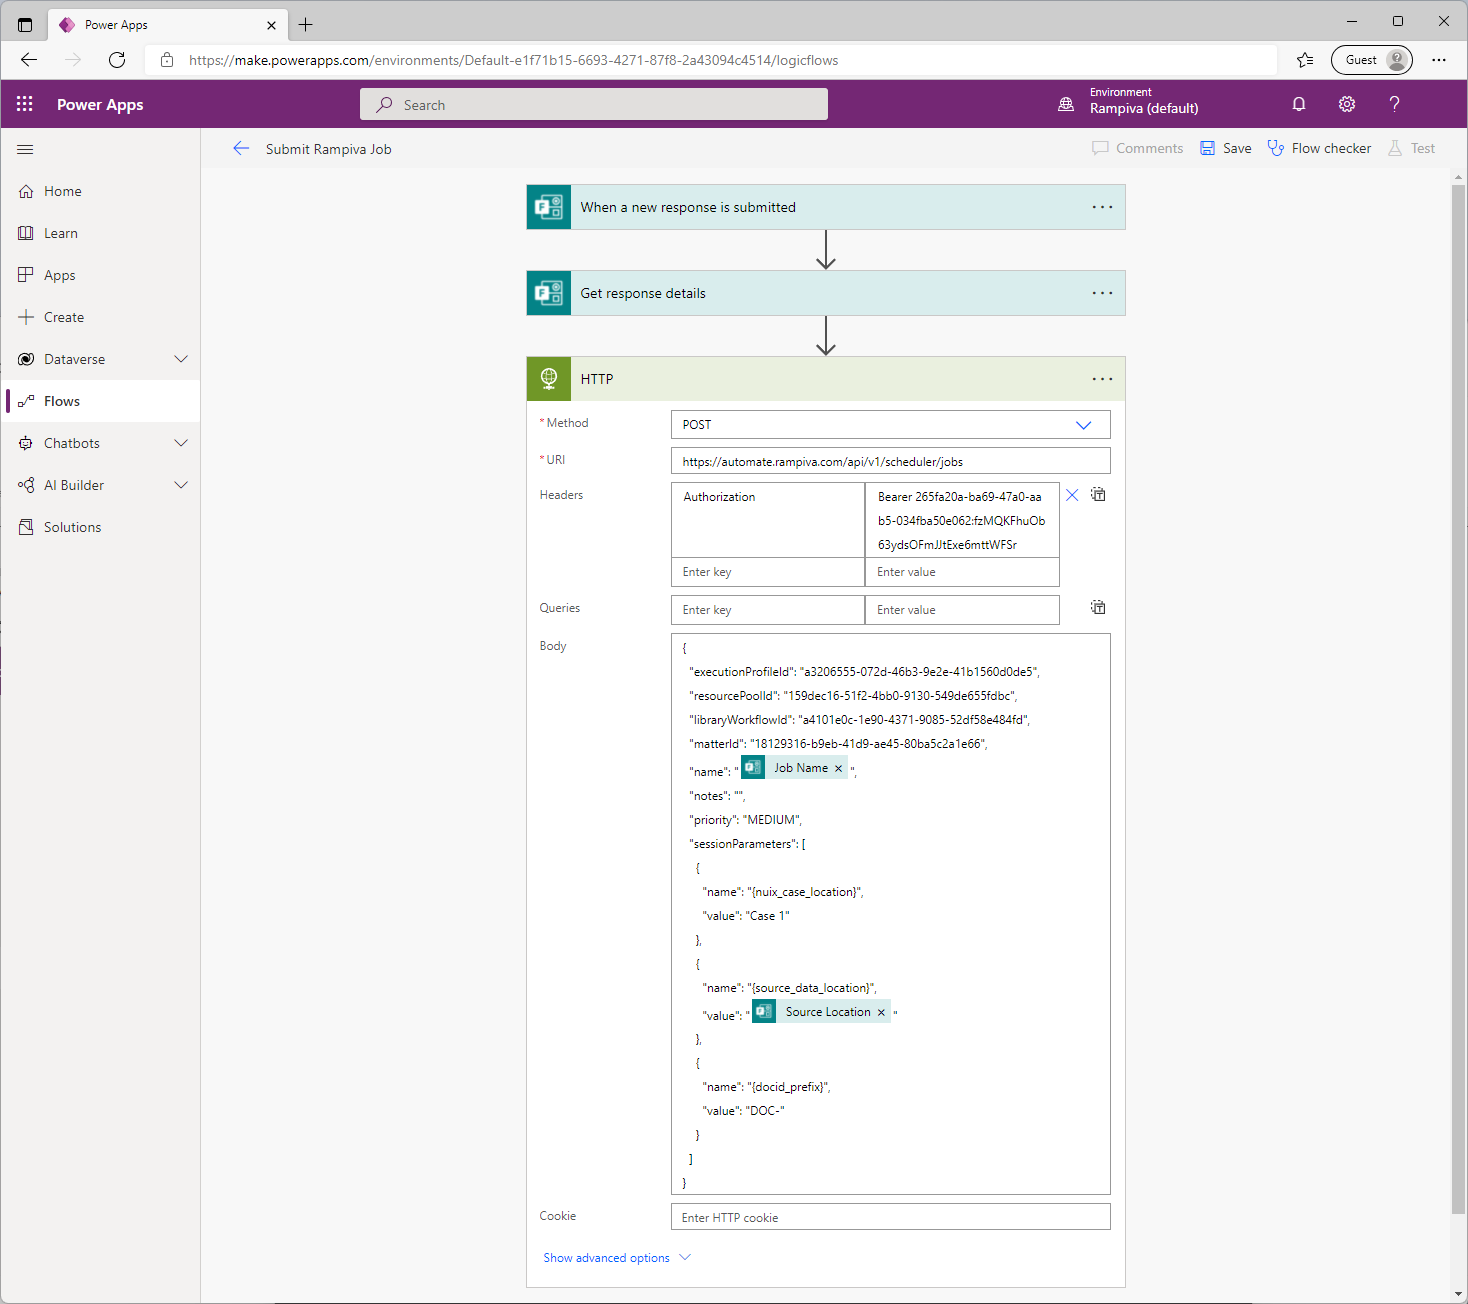 |
| 11 | Set the Method to POST. | |
| 12 | Set the URL to: https://automate.rampiva.com/api/v1/scheduler/jobs Update automate.rampiva.com with the publicly accessible name of your Automate deployment. | |
| 13 | Type in the header key: Authorization | |
| 14 | Type in the header value corresponding to the API Key authentication header, for example Bearer 265fa20a-ba69-47a0-aab5-034fba50e062:fzMQKFhuOb63ydsOFmJJtExe6mttWFSr See Authenticate to Rampiva Automate with an API Key for instructions on how to create an API Key. | |
| 15 | Set the Body to: {
"executionProfileId": "a3206555-072d-46b3-9e2e-41b1560d0de5",
"resourcePoolId": "159dec16-51f2-4bb0-9130-549de655fdbc",
"libraryWorkflowId": "a4101e0c-1e90-4371-9085-52df58e484fd",
"matterId": "18129316-b9eb-41d9-ae45-80ba5c2a1e66",
"name": "TODO Job Name",
"notes": "",
"priority": "MEDIUM",
"sessionParameters": [
{
"name": "{nuix_case_location}",
"value": "Case 1"
},
{
"name": "{source_data_location}",
"value": "TODO Source Location"
},
{
"name": "{docid_prefix}",
"value": "DOC-"
}
]
}
Update the executionProfileId, resourcePoolId, libraryWorkflowId and matterId with the identifiers corresponding to these objects from your Rampiva Automate deployment. To view the identifiers of objects in the Automate user interface, go to Settings → User Settings → Troubleshoot and turn on Show Object IDs. | |
| 16 | Replace the text | |
| 17 | Click Save in the top-right section of the screen to save the flow. |
C. Test the Flow
| 1 | Open the link to the form previously created. | 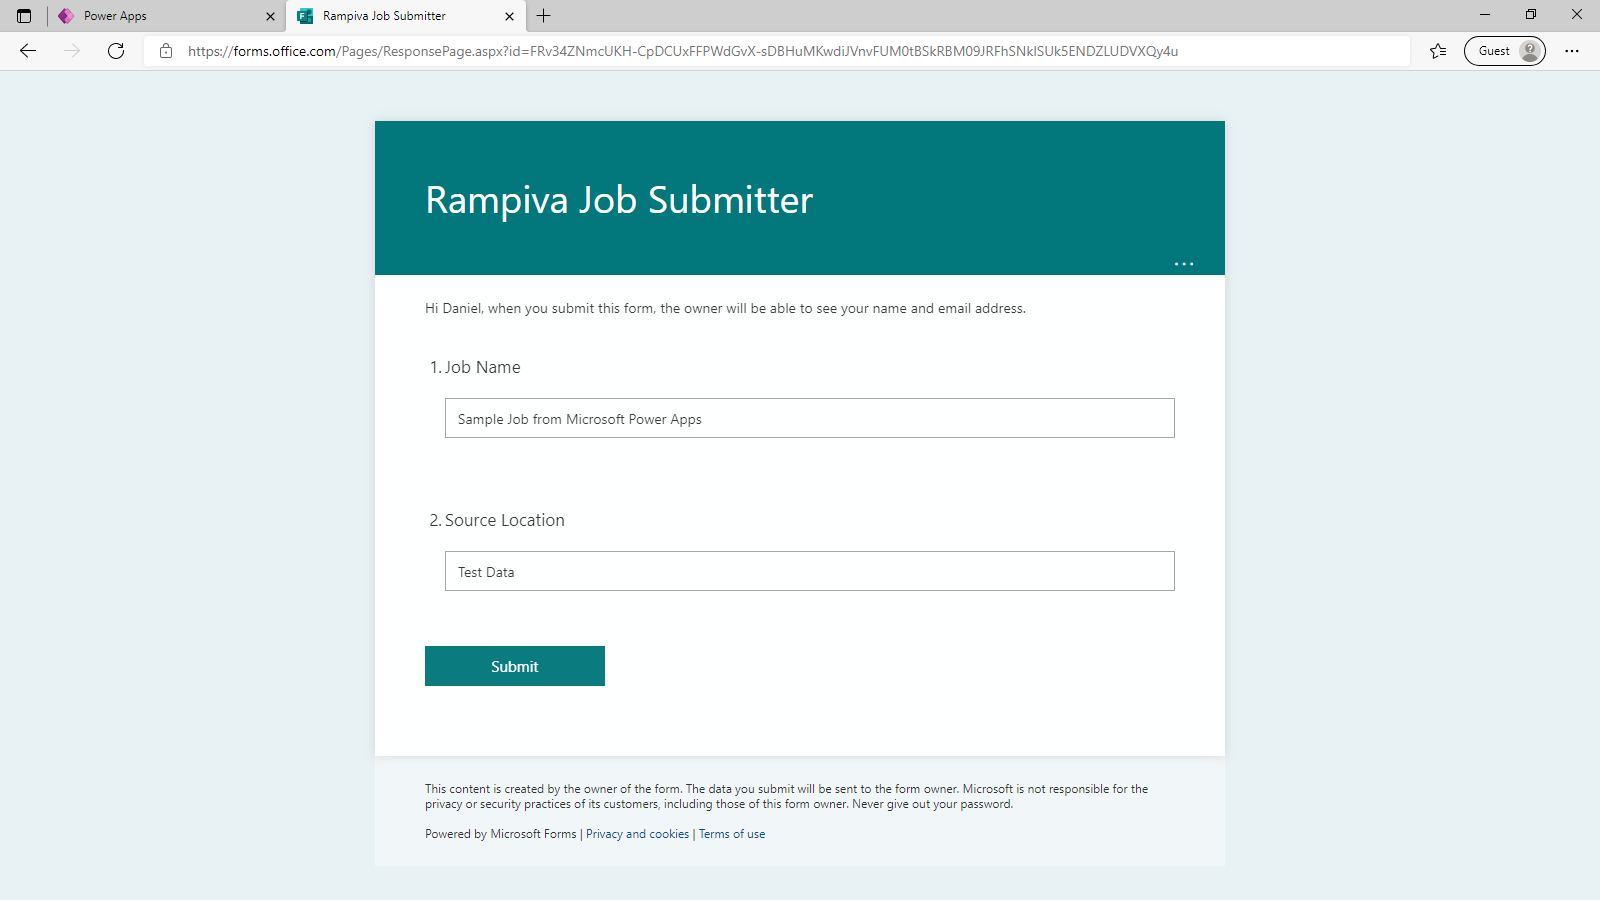 |
| 2 | Fill out the form with a sample Job Name and Source Location and Submit. | |
| 3 | Return to Power Apps, to the Flows tab and select the Submit Rampiva Job application. The 28-day run history section should show a successful run event corresponding to the form submission. | 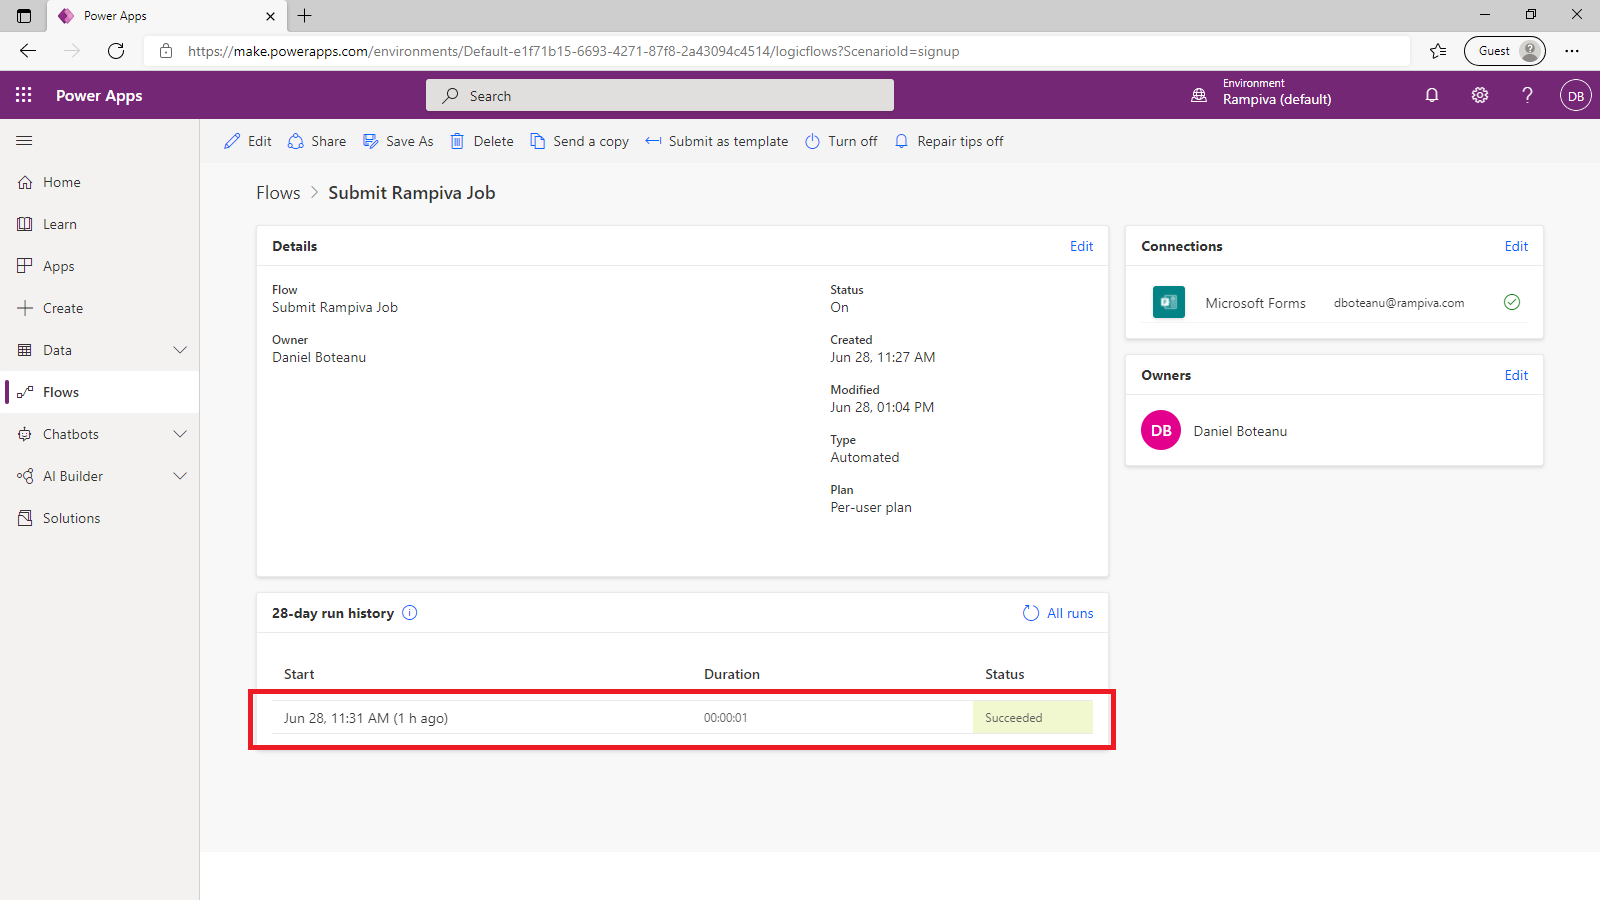 |
| 4 | Open Rampiva Automate. A new job with the settings should appear. | 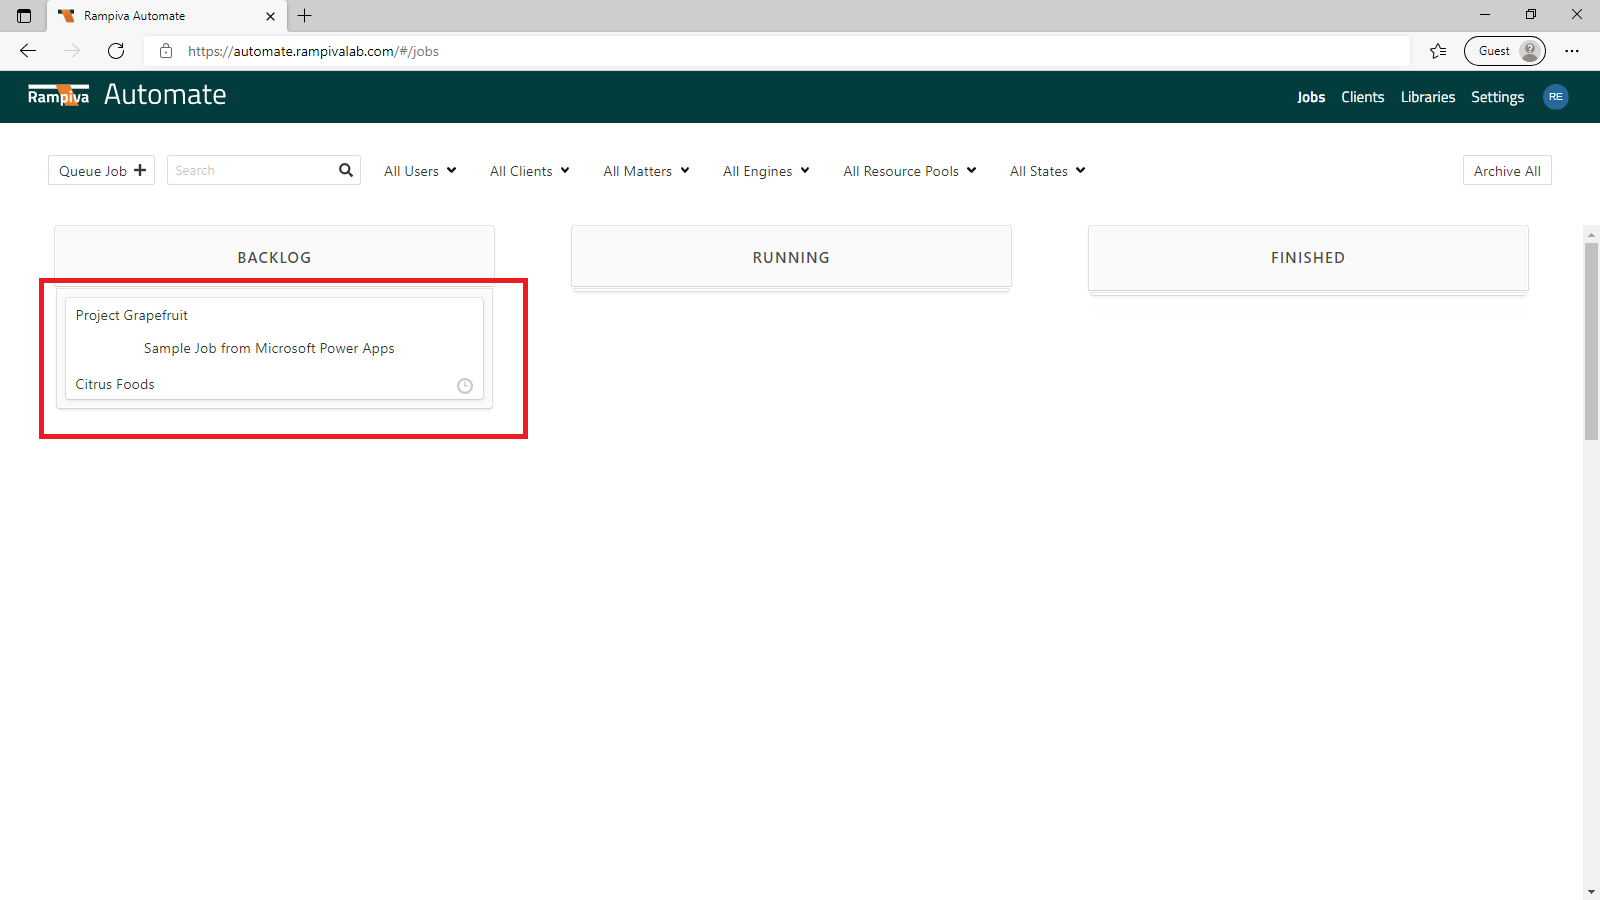 |
D. Troubleshooting
| 1 | If a job is not created in Rampiva Automate, open the flow run history event and inspect the input and output body of the HTTP operation for anomalies or errors. |